Grilled Anaheim Peppers

(Skip to the recipe file here.)
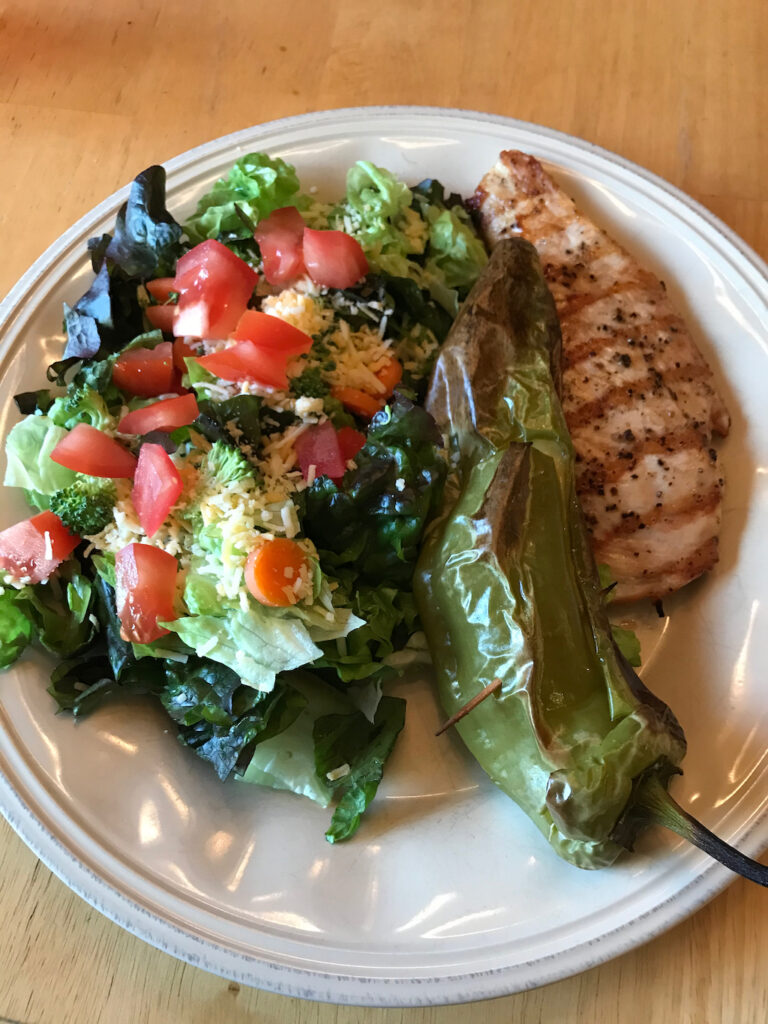
These Grilled Anaheim Peppers are my one of my favorite things my husband taught me how to make. I think it’s one of his old camping recipes, but their simplicity does not keep me from making them in my regular meal rotation at home. I make them every time we (a.) grow some beautiful Anaheims ourselves, or (b.) there are some especially beautiful Anaheims at the market.

I slow grill them on the top rack of the grill for 20 minutes.
If you’re already firing up the grill for a nice steak, chicken breast, or head of garlic, pop these beauties on too.


Grilled Anaheim Peppers
You’ll Need:
(Quantities are for 4 grilled peppers)
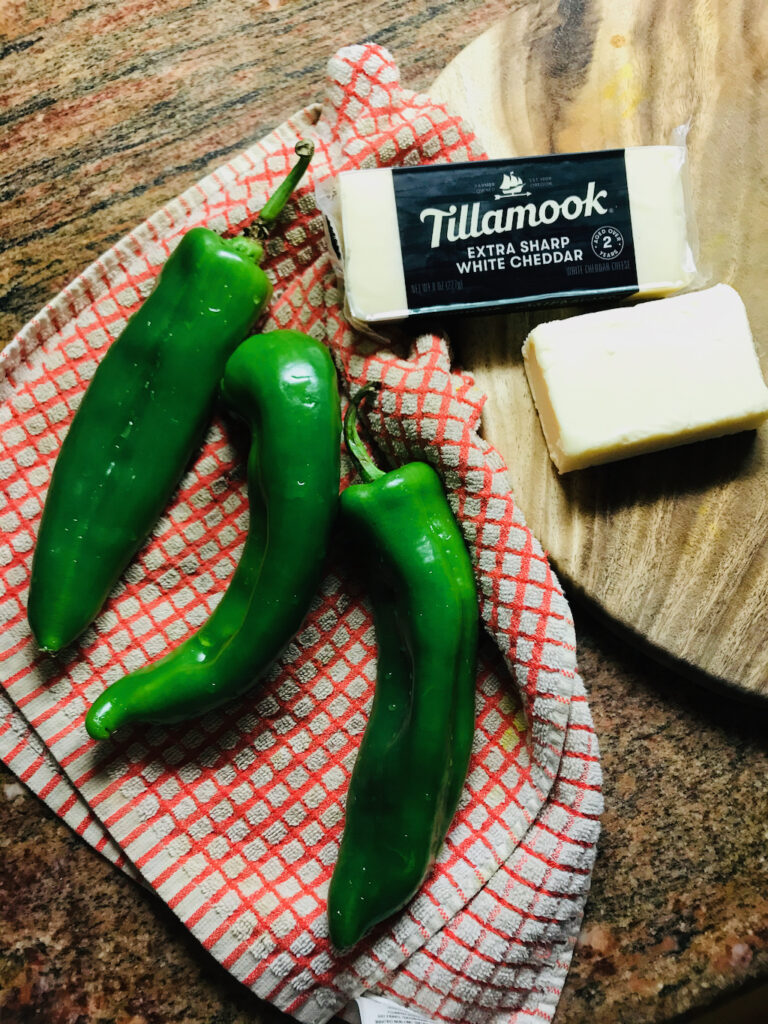
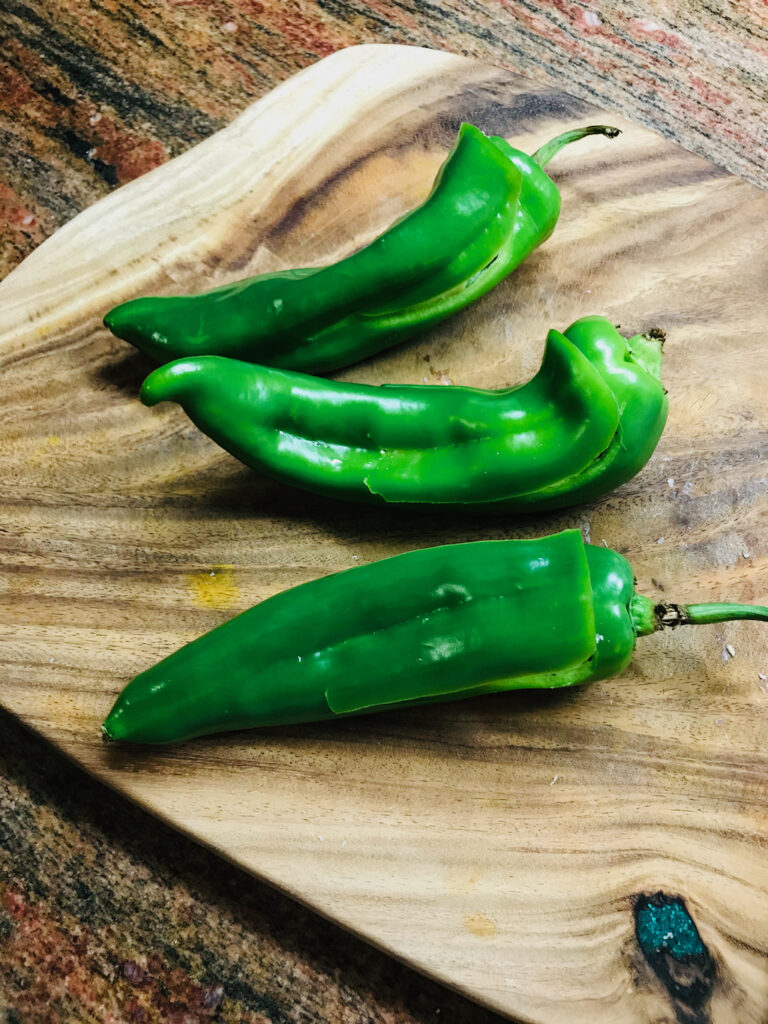
- 4 large Anaheim peppers, try to select ones with a “flat” side that will lay well on the grill
- 6 to 8 oz sharp white cheddar cheese
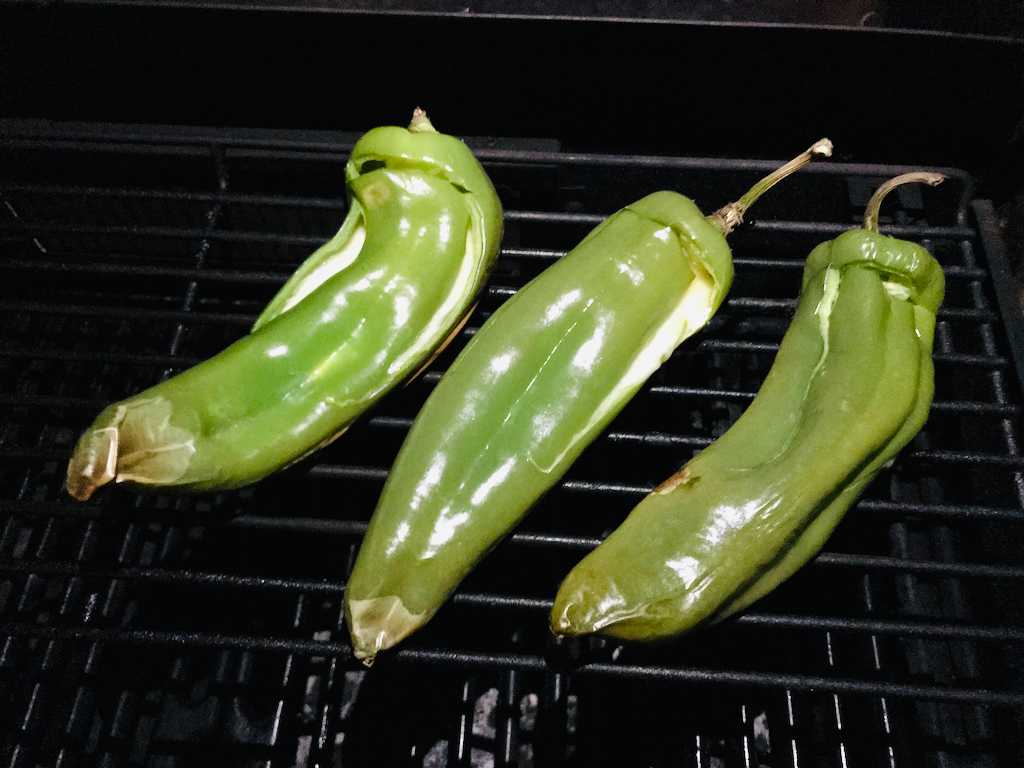
Preheat your grill to medium or medium-high (about 400˚F).
Wash and pat dry your peppers.
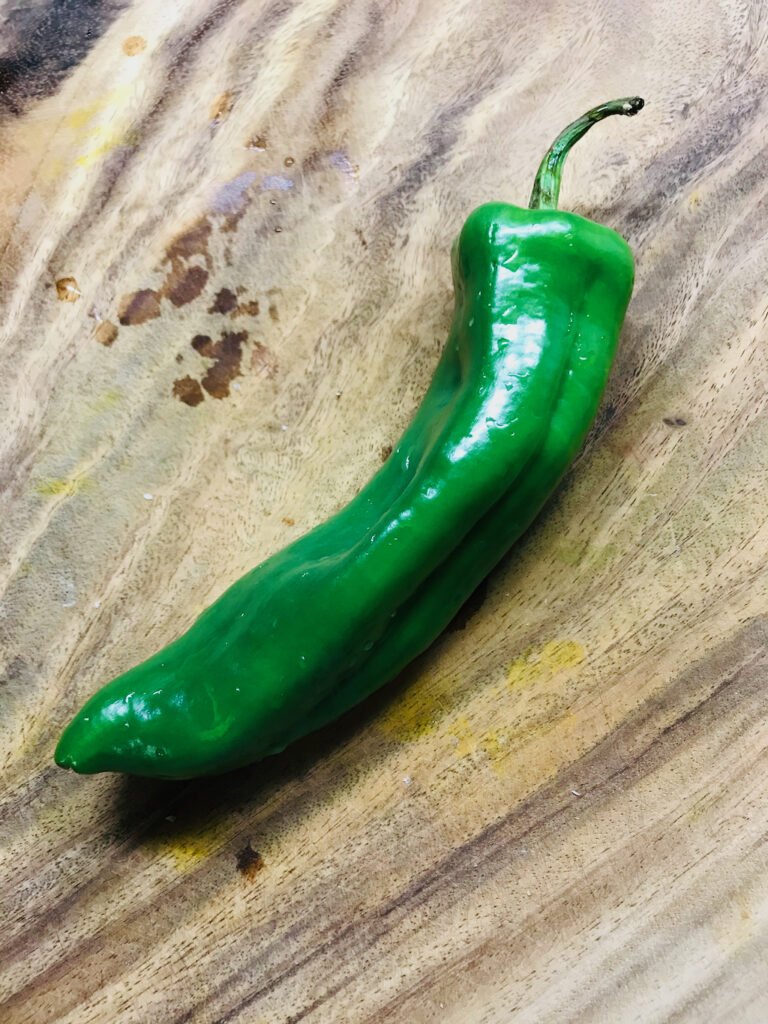
Pick a side of each pepper that will lay flat-ish on the grill and make good contact; this will be your bottom, and the other side, of course, will be your top.
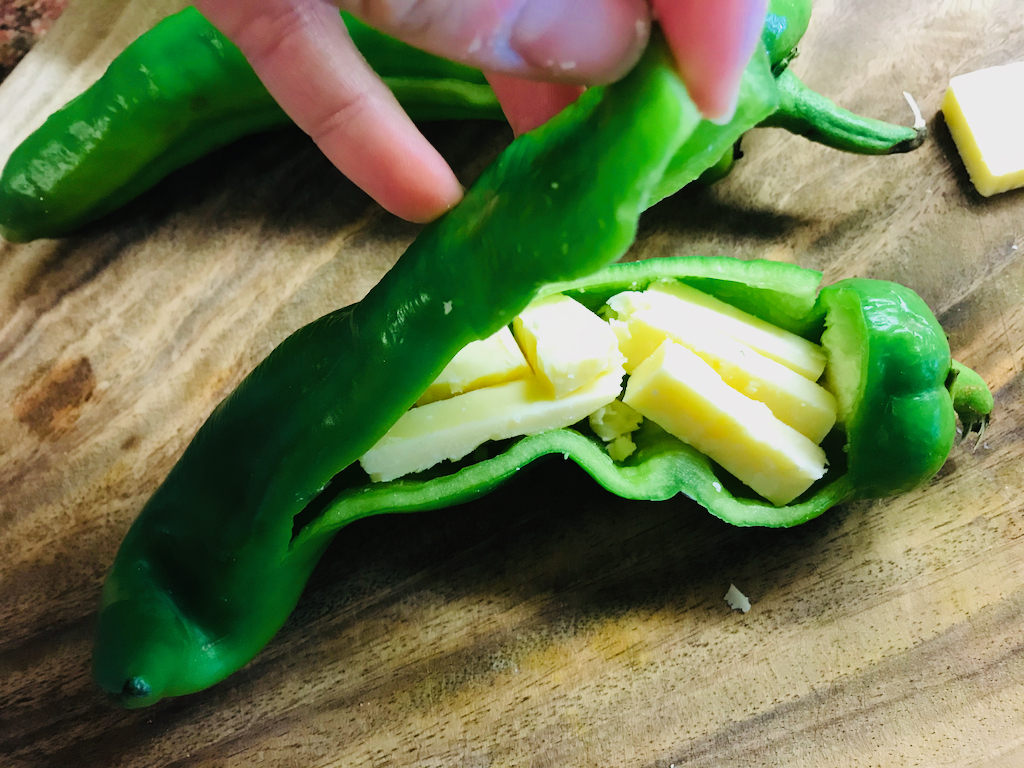
Using a sharp knife, slice less than halfway through the top of each pepper, very near the stem where the seed veins, called the pith, start on the inside. Then sweep your knife to make a flap that goes about 2 thirds of the way down the top of the pepper. You want this flap to be only the top quarter of the pepper, which will give you a nice vessel left on the bottom for holding as much cheese as you can stuff in there. (In other words, don’t cut your pepper in half when making your flap!)


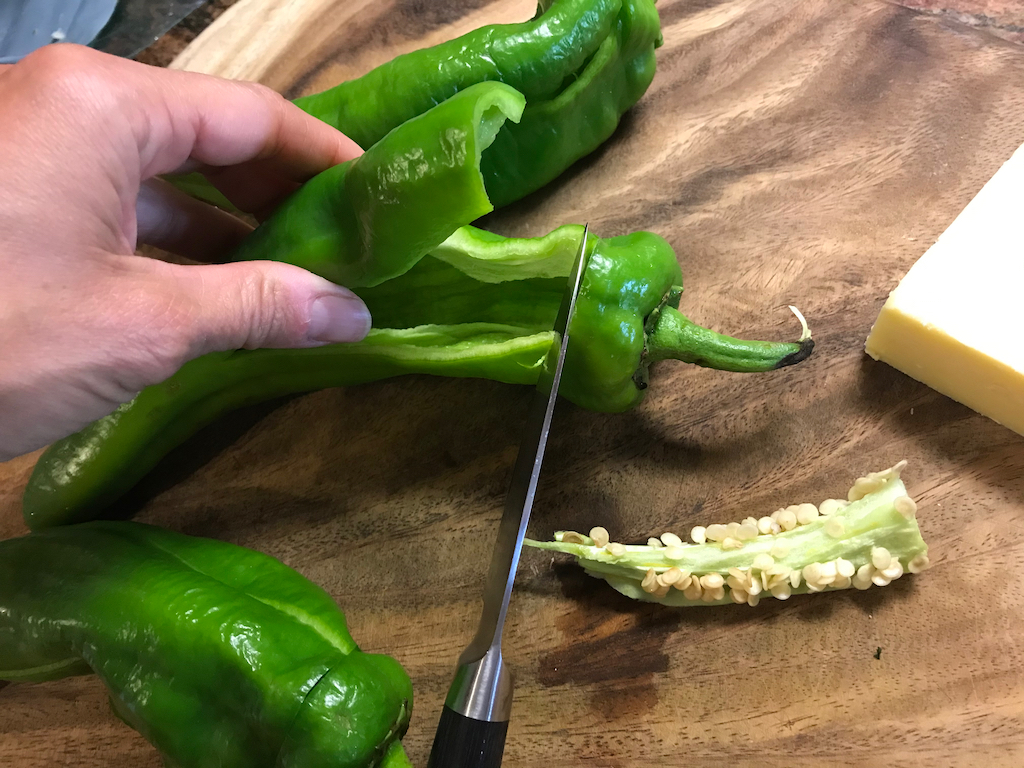
Use your knife to cut the very top of the pith, then switch to using your hands to scoop the pith and all of these seeds out. You will need to be careful not to crack your pepper, because if you do, some of your cheese will leak out, which is sad to start, and much messier that when it doesn’t leak out.


If you have quite a few pesky seeds that just insist on sticking to the inside even once you’ve scraped out the veins running the length of the Anaheim, rinse the inside out with some water and try to shake the seeds out over the trash bin. That always does the trick for me.
Cut slices of cheese about ½ inch thick, then slice those into triangular shapes (that will slide nicely to the end of the pepper!)


And slide that cheddar down in. And press it down as far as you can get the cheese to go without cracking your pepper.
Cut any additional pieces of cheese to fill it all the way to the top.
Repeat with all your peppers.
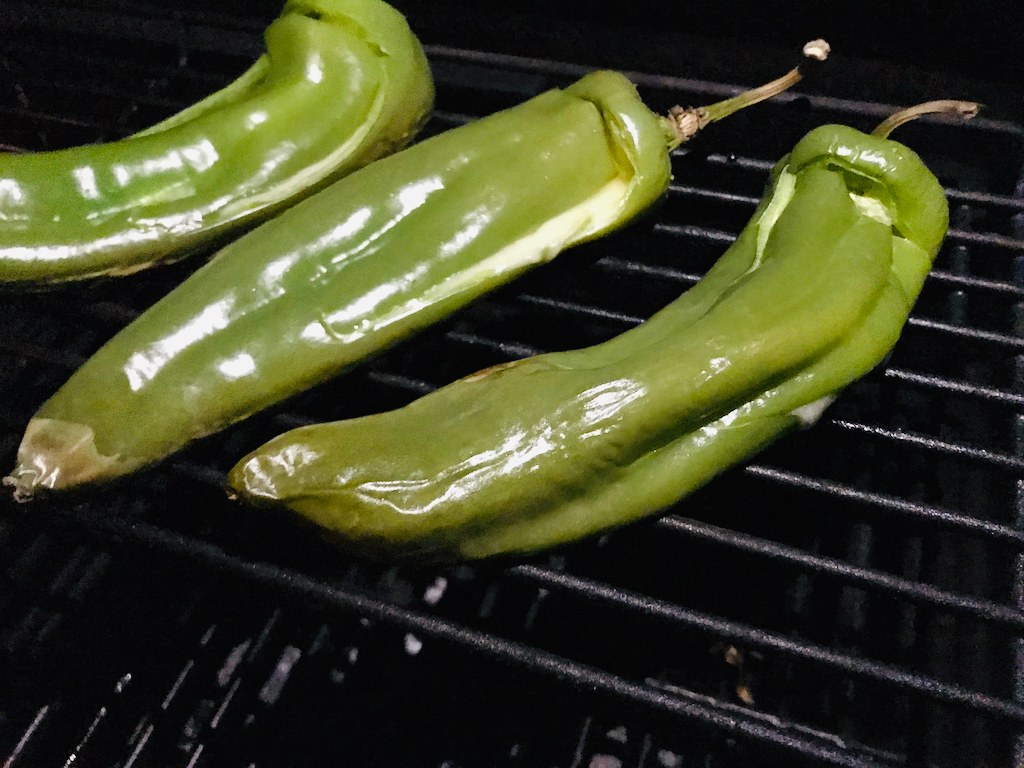
Place the peppers on the top rack of the grill for about 20 minutes.
(You may want to check in on them at 15 minutes and rotate them around, depending on how well you know your grill and if you have any hot spots or if your peppers varied quite a bit in size.)

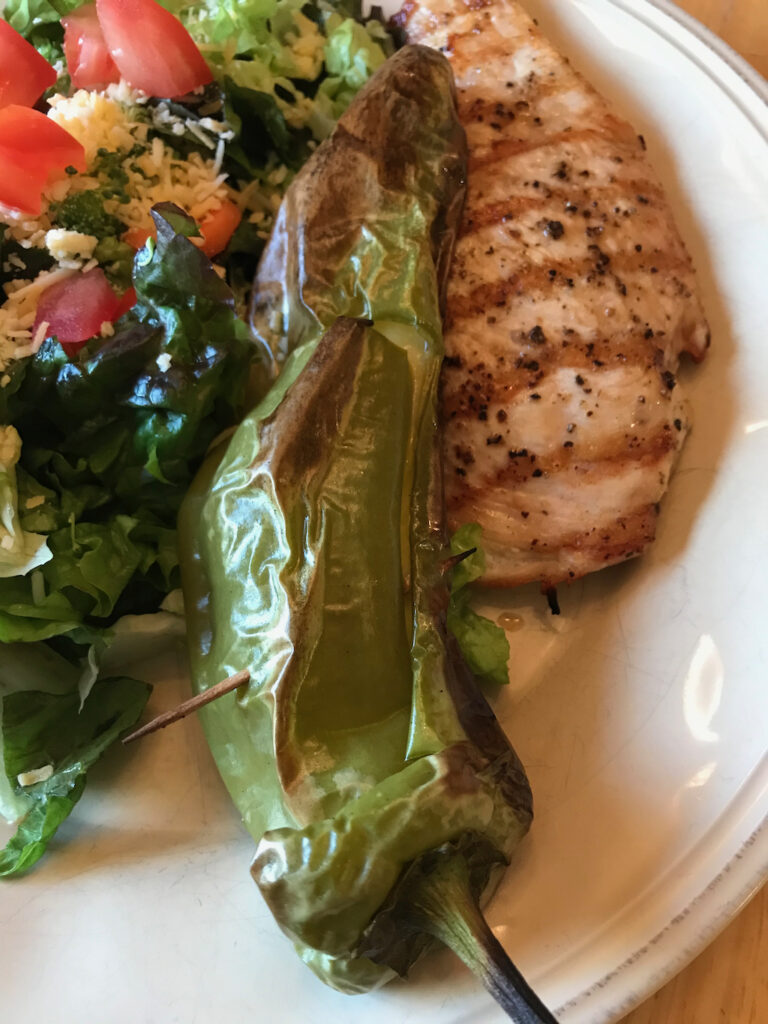
Your Grilled Anaheim Peppers are done when the bottoms are browned and beautifully blistered, and the cheese is bubbling.


Note: If your peppers are beautifully blistered and perfect before the rest of your meal is ready, place them on a baking sheet (I line it with a strip of foil just to avoid clean up sometimes) in a 200˚F oven until ready to serve.
Enjoy!
—Becky
Download the recipe file here.