Pipeable Peppermint Marshmallows
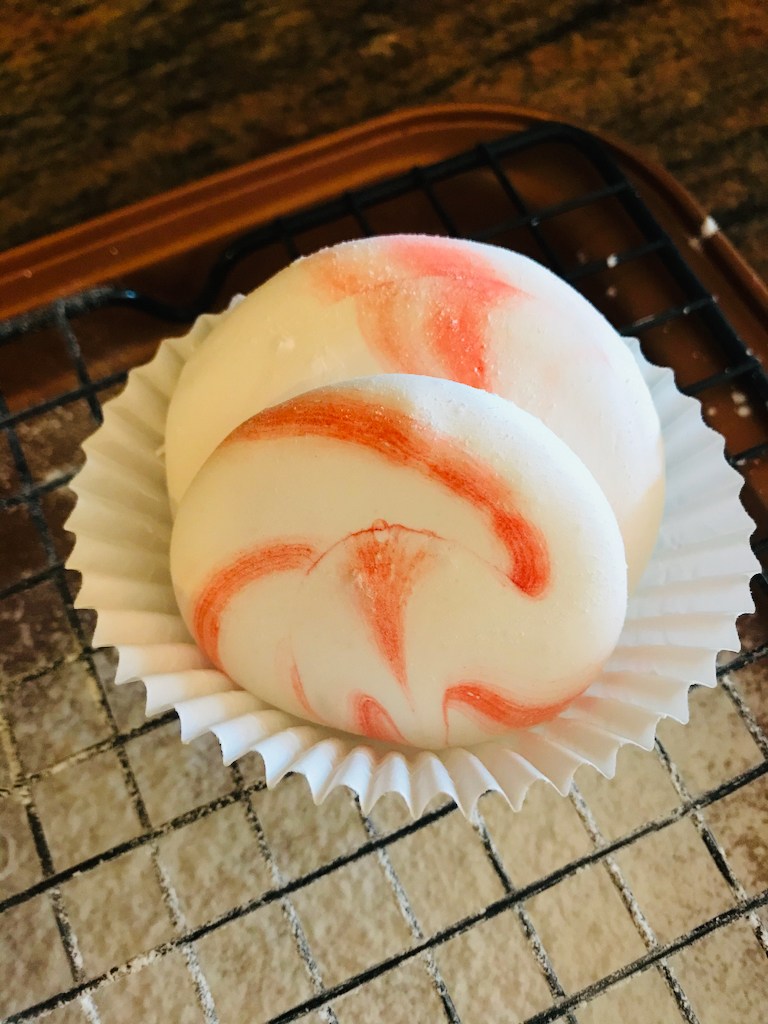
Truly a fun, and graceful treat.
{This post contains some Amazon affiliate links. If you click on and purchase an item linked in my blog posts or from the store page, I will earn a percentage from Amazon. Your purchases don’t cost you any more, but it certainly does help me and my blog!}
(Jump to the recipe file here.)
My husband, Kevin, has this little joke he always asks me. He always asks me what I want to be when I grow up. This is _the_ _one_ _question_ I have never been able to definitively answer, so it’s even funnier to me that he asks me this, and often.
Today, after I finish reading Peter Pan, I want to make marshmallows, that’s all that’s certain.
But! I came to wanting to make marshmallows from finally having answered the question about what I want to be when I grow up. My dream profession would be to take over Claire Saffitz’s role on Bon Appetit’s show called Gourmet Makes, which I of course discovered via YouTube. Saffitz takes requests from editors and viewers of different types of common junk foods, and she reverse engineers them and develops gourmet-version recipes. I love it. It’s not even a guilty pleasure, because I am in no way guilty about loving it. I already do this kind of thing! I love making home-made versions of junk food like Cheez-its, Reese’s Peanut Butter Cups, and Snickers. This is my idea of a really good time! But unfortunately, I have finished reading Peter and, and I can’t do this kind of thing every day, because there are ducks and a kid to feed, and a kid to read to, and laundry to fold, and dishes to wash, and dinner to make. Those are just the things that are there 100% of the time for this Wendy.
However! One of the episodes of Gourmet Makes that really piqued my interest was the Peeps episode. I saw it and immediately wanted to make a pipeable, shapeable, peppermint-flavored marshmallow, for putting on hot chocolate that I could give as gifts this year. My initial vision was of a spiraled, peppermint-striped marshmallow kind of the shape of a spiral of whipped cream. I definitely wanted it to have meringue and gelatin and marshmallow root extract.
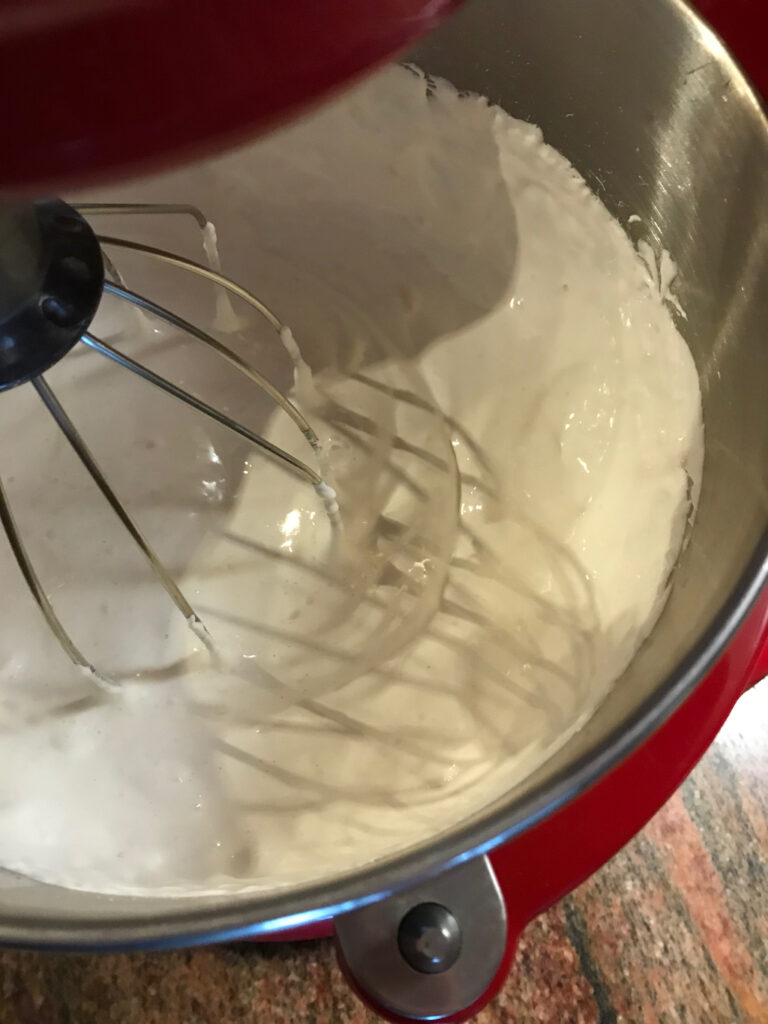
The first version, I followed Saffitz’s recipe exactly, except I used duck eggs, because that’s what I had on hand. I have since learned that duck eggs, though their whites are higher in protein than chicken eggs, which should mean that they would whip better, but their whites also contain more moisture than chicken eggs, so they take, literally, hours to whip, on high speed. So my whole family would need ear protection if I were to continue to use duck eggs for marshmallows. I also coated this batch in granulated sugar, far too soon. Meringue-based marshmallows need to cure and dry out for a day, and then they should be coated in 50/50 mixture of powdered sugar and corn starch. One day, if attempting to make Grand-Made Peeps, I may try coating in granulated sugar somehow after curing for a couple days, coating in 50/50 powdered sugar/corn starch, and then seeing if I can mist and coat with casting sugar somehow without melting the marshmallows. (Nearer Easter time, I’ll let you know if I’ve figured that out.)
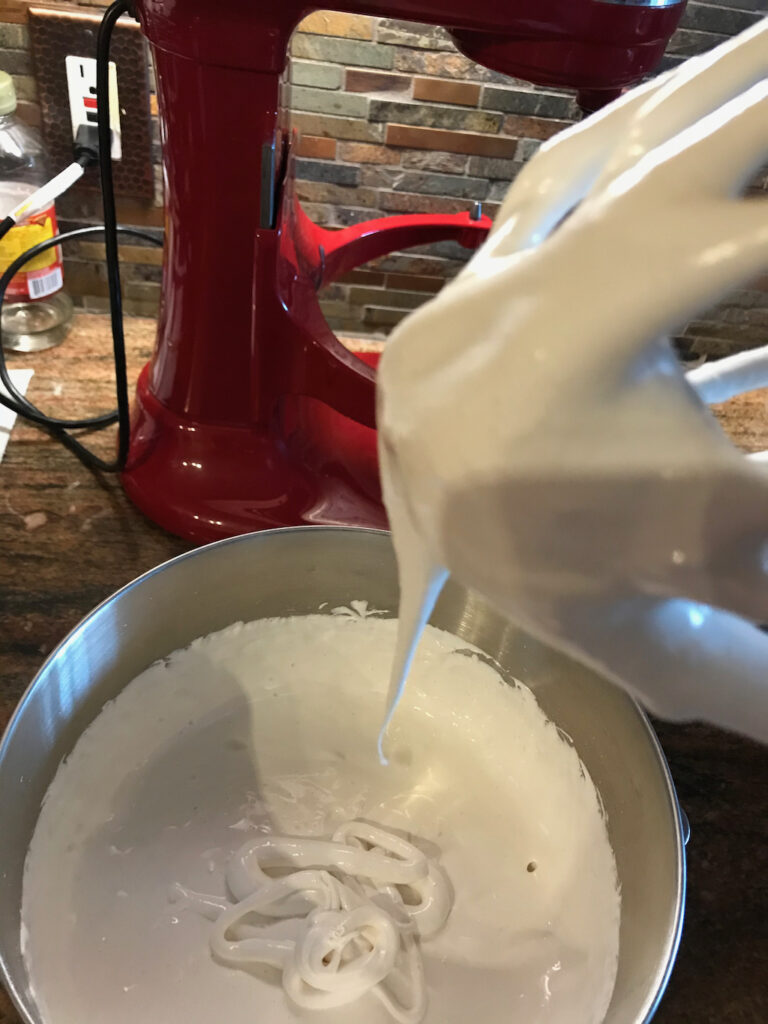
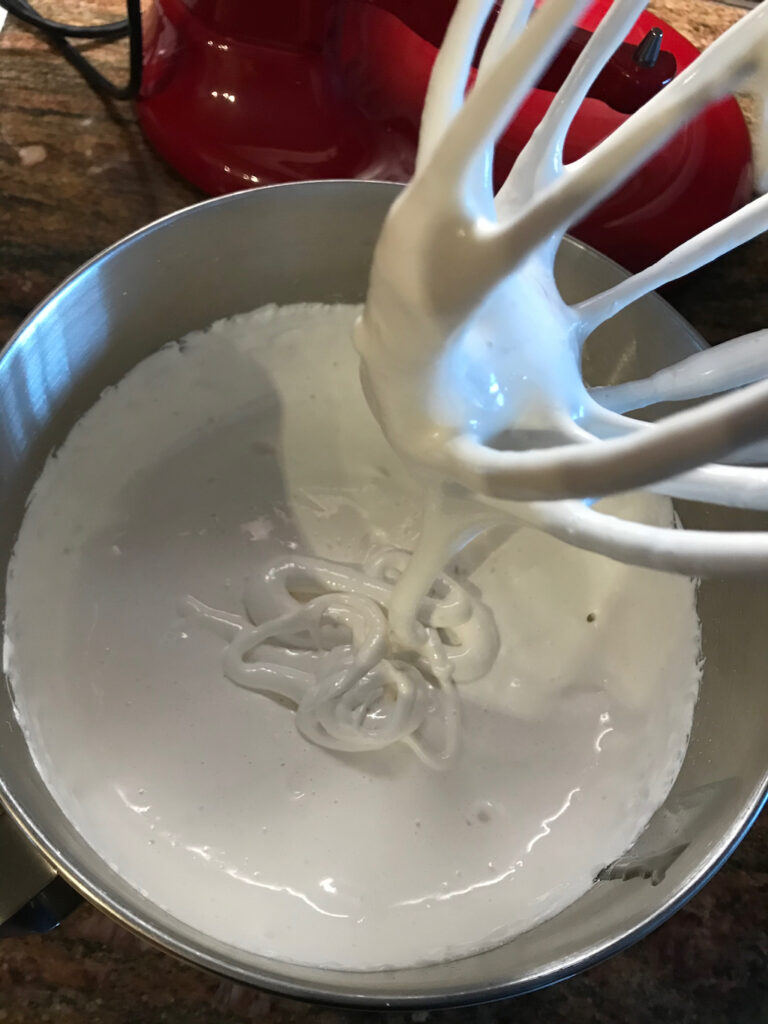
Here are some photos of the 1+ hour of whipping, very pipeable, duck-egg peppermint marshmallows that wept within hours:


My second attempt at pipeable marshmallows, I came upon this pastry forum that led me to a pipeable marshmallow recipe by Chef Eddy Van Damme that did not call for marshmallow root extract, but it did call for 3.5 oz. of reduced lime juice, so I decided to use my marshmallow root extract, some vanilla extract and some peppermint extract added to water to make up the 3.5 oz. of liquid. I also reduced the sugar, because it just seemed like too much.
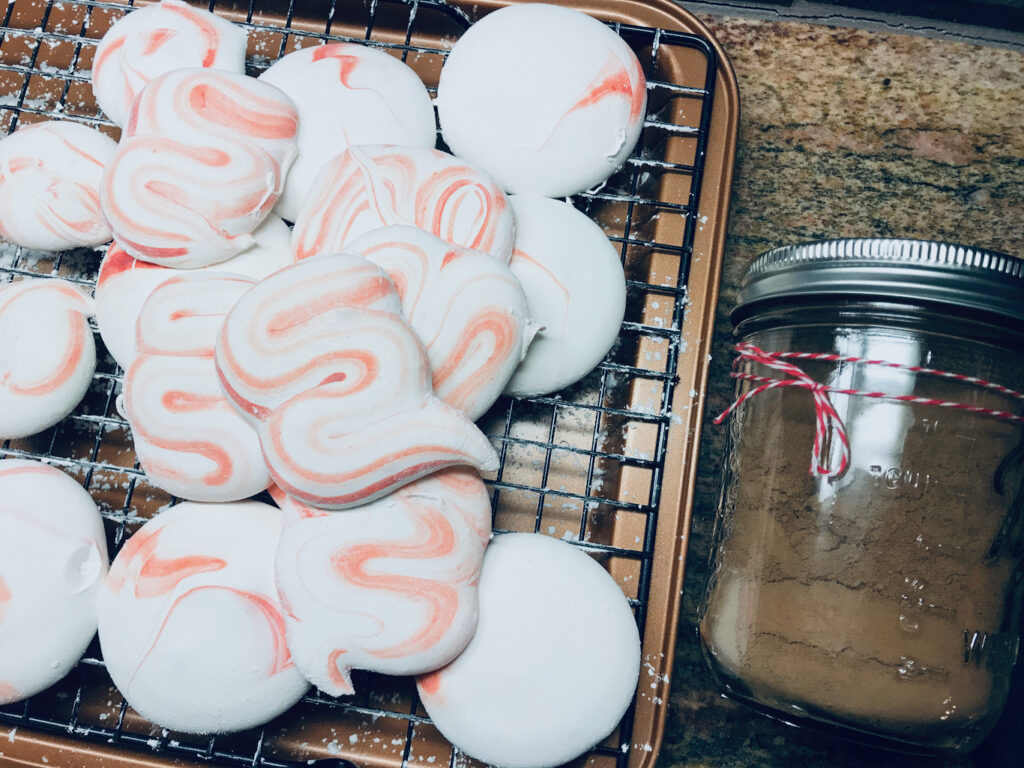
Here are some pics of my first attempt at his full recipe with my alterations, customization, if you will:


I also found, in my trial and error, that working with half the recipe worked really well for me, so those are the quantities that I am posting. It allowed me to get all the “batter” into one piping bag and then I only had to deal with one piping bag instead of 3, which was very helpful.
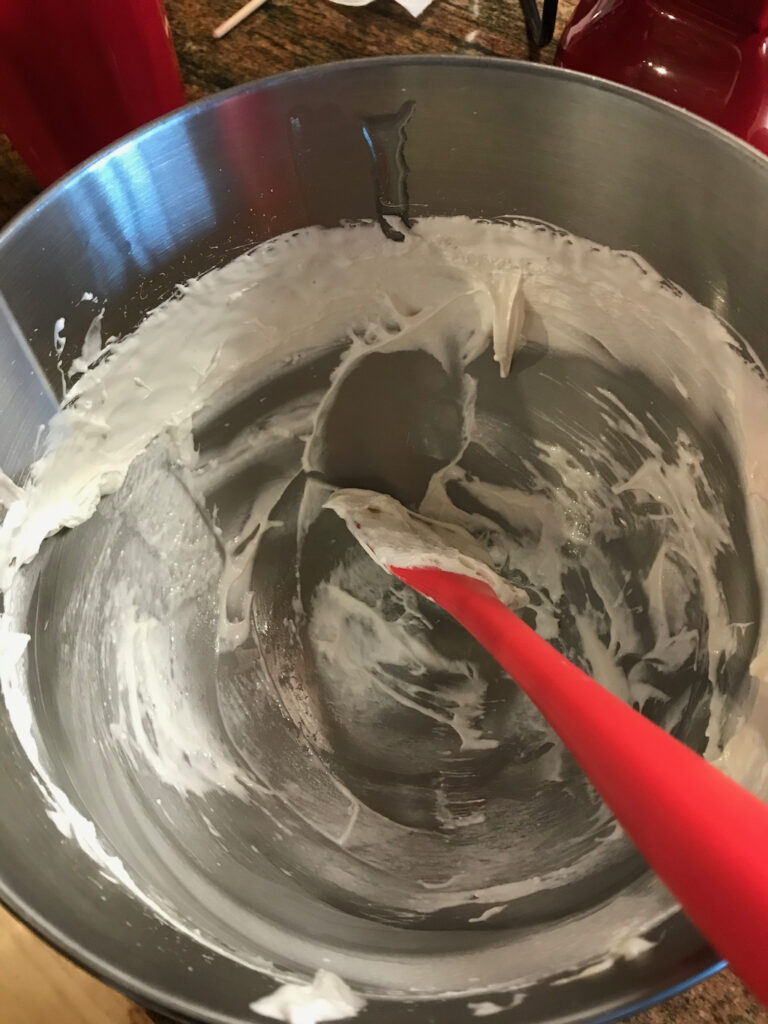
Equipment-wise, marshmallows use a glass 2-cup measuring jug, a stand mixing bowl, whisk attachment, two saucepans, a thermometer, a spatula, a scale, and a piping bag & tip, which seems like a lot, and they are messy, but clean-up is actually easy. Any of the marshmallow fluff melts right off, so if you’re wanting to make a bunch to give out, you can rinse your equipment, give them a good wash by hand and be ready to go again pretty quickly.
So! I enthusiastically recommend this recipe for
Pipeable Peppermint Marshmallows
You’ll Need:
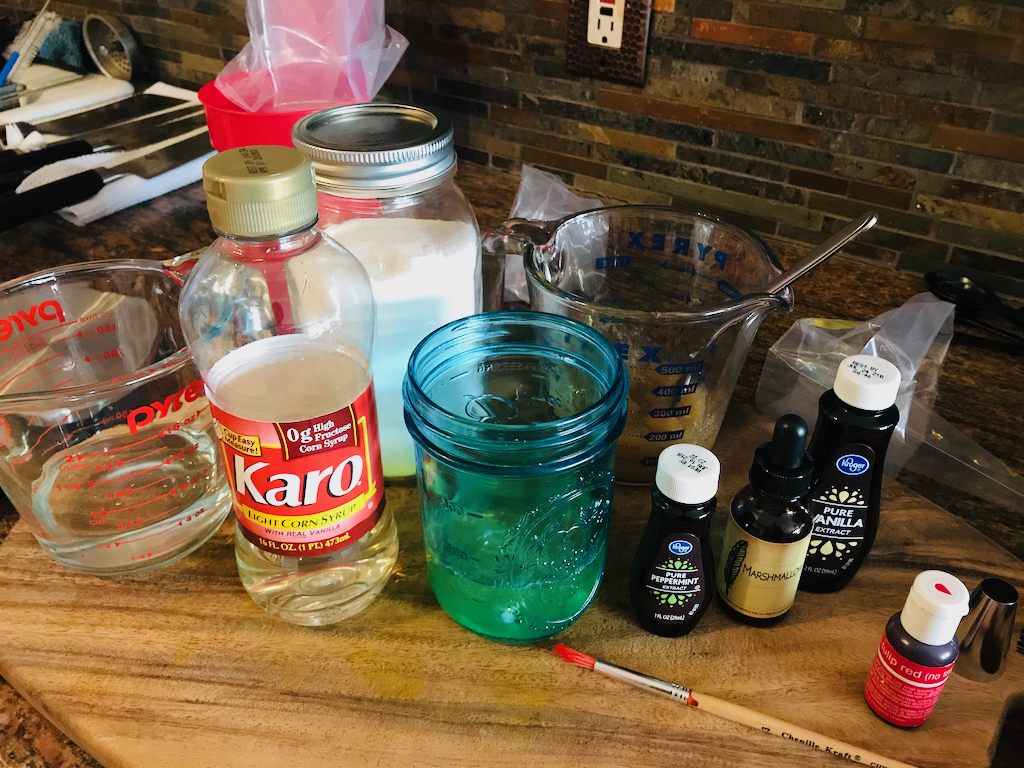
- 2 tsp marshmallow root extract
- 2 tsp vanilla extract
- 2 tsp peppermint extract (or any flavor/extract you’d like – I think cinnamon would be yummy for a spicy hot chocolate)
- Enough water to make up 1.75 ounces in total
- 4 ½ scant teaspoons powdered gelatin (or 4 ½ sheets of gelatin)
- 175 g granulated sugar (or caster sugar if you have it)
- 50 g liquid glucose or light corn syrup
- 50 g water
- 60 g egg whites
In a 2-cup glass measuring jug placed on a kitchen scale, measure in 2 tsp marshmallow root extract, 2 tsp vanilla extract, 2 tsp peppermint extract, then pour in enough water to make 1.75 oz. Add your 4 ½ scant teaspoons of gelatin and stir to dissolve the gelatin. Set aside.

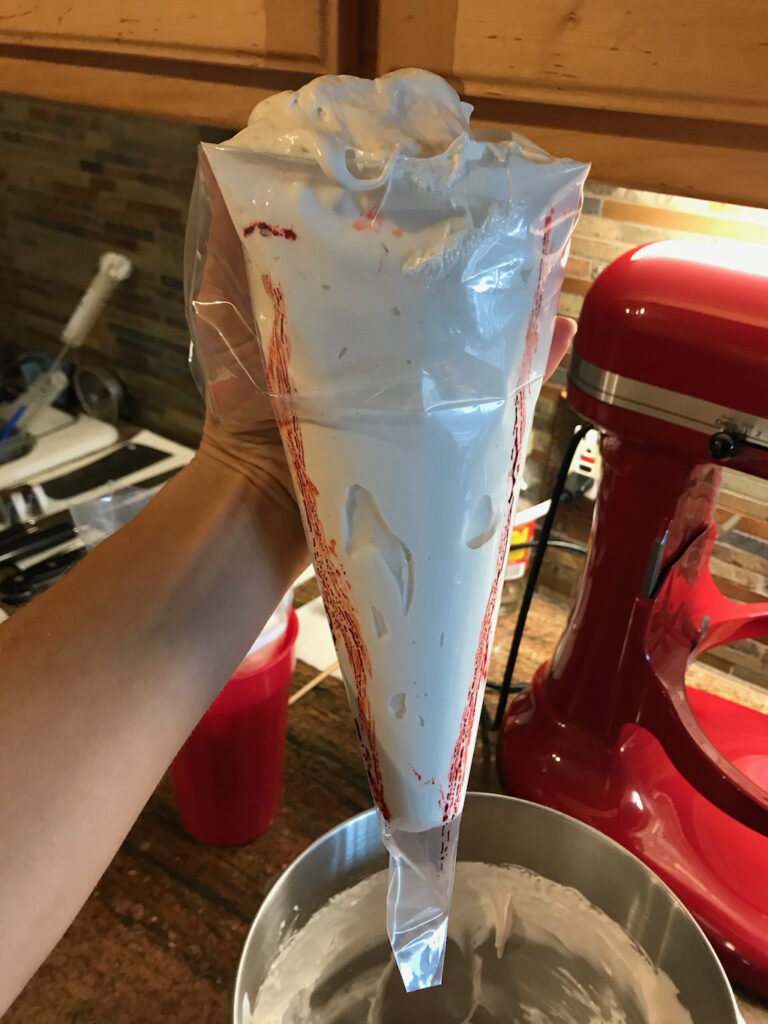
I also like to go ahead and prepare my piping bag now so that I can stay focused on the temperatures in the next couple steps. Prepare a large piping bag by folding down the top half, and very lightly painting three stripes of gel food coloring with a small paintbrush, starting as near to the tip as you can. Don’t clip the tip yet; you’ll do that after you’ve started scooping the marshmallows into the piping bag. Sometimes it’s helpful to place the bag in a large cup to help you hold it. (I even use a flower vase for filling macaron batter.)


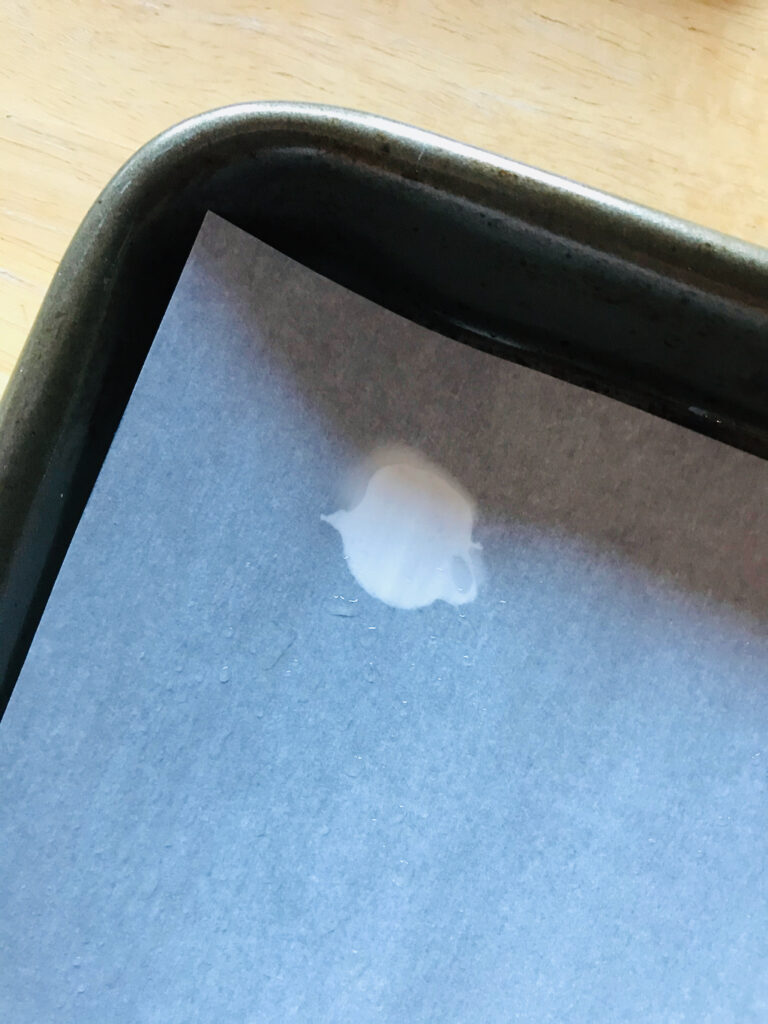
While you’re at it, prepare your pan. Line a large pan with parchment paper and using a paper towel, spread a thin layer of neutral-flavored oil. (Just before piping, you can use your fingertip to dollop just a touch of marshmallow to the corners of the parchment to hold it in place.)

Clean your stand mixer bowl and whisk attachment with white vinegar, then on the scale, weigh in 60 g egg whites. Place your bowl and attachment on the mixer, but don’t start to whip just yet.


In a large saucepan, weigh in your 175 g granulated sugar, 50 g liquid glucose, and 50 g water. Heat on medium high until the sugar dissolves, stir a bit, and allow it to come to a boil. As soon as it comes to a boil, wash the sides of the pan down with either a silicone spatula or a damp pastry brush, to remove any sugar crystals form the sides of the pan. Then measure the temperature.


When the syrup reaches 225˚F, start whipping your egg whites on medium-low.
(The next temperature you want to watch for is when your syrup reaches 265˚F.)
Monitor the temperature of your syrup, pretty regularly. Mine takes about 1 minute to go from the slightest gentle simmer to a boil, then raises 10 degrees every 3 minutes, so it reaches the next desired temperature, 265˚F, in 12 minutes. Your times may vary depending on the dryness of your climate and especially your altitude, as altitude affects boiling temperatures, however, I give you my precise times so that you at least have a reference for how long the sugar syrup takes. It doesn’t take long, and you cannot overcook the sugar syrup or else this happens:
But while your sugar syrup does reach the desired temperature pretty quickly, it feels like an eternity.

Once your syrup reaches 265˚F, remove from the heat and in a small stream, stream it into your egg whites, with the mixer still running so try not to pour it on the whisk attachment. Then increase the speed to medium high.

Mix your egg whites and sugar syrup to room temperature.
While this is happening, scrape your gelatin into a small saucepan and melt on low heat. Don’t let your gelatin exceed 180˚F. (I always need to stir my gelatin pretty often, and sort of wipe the block around to increase contact with the bottom of the pan to keep it melting.)


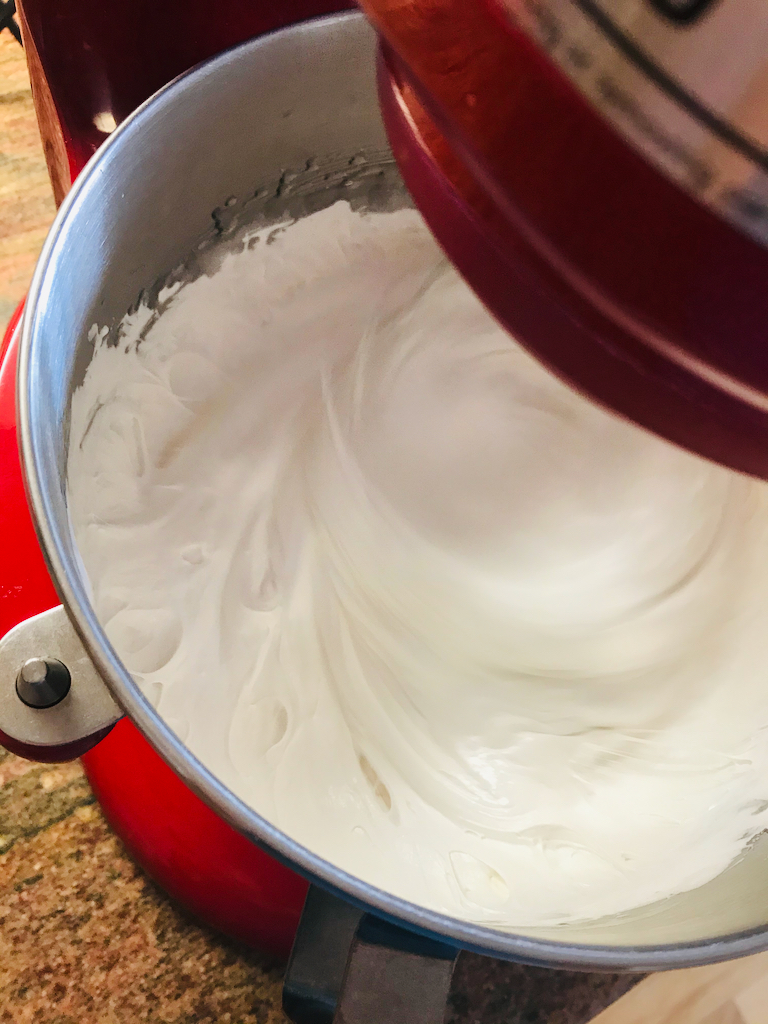
Once your eggs whites & sugar, which is now officially meringue, have reached room temperature, and your gelatin has melted, this takes me about 2 minutes to melt my gelatin, then another 5 minutes for the meringue to come to room temperature or just a little warm when you touch the bottom of the mixing bowl.

When both those things have happened, pour your gelatin in slow and steady stream into the bowl, being careful not to get it on the whisk attachment.

Whip until when you lift the whisk, ribbons hold for a brief couple seconds, as this means that the marshmallows are beginning to set. The whipping time from the time I pour my gelatin in until ready-ish to pipe, it takes me about 13-15 minutes.
With a silicone spatula, fill your piping bag, that should still be folded down. (I also like to fold just a ridge of the bag back up to give me something to grab onto when I’m trying to pull the edges back up when it’s full of all that sticky marshmallow.) And you do need to work pretty quickly filling and moving on to piping.
Don’t worry about whether your gel-food-coloring lines will stay intact, because they will.
Once you’ve quickly filled your piping bag, just take a dollop, or whatever is already stuck to your hands and dab them on the corners of your parchment.
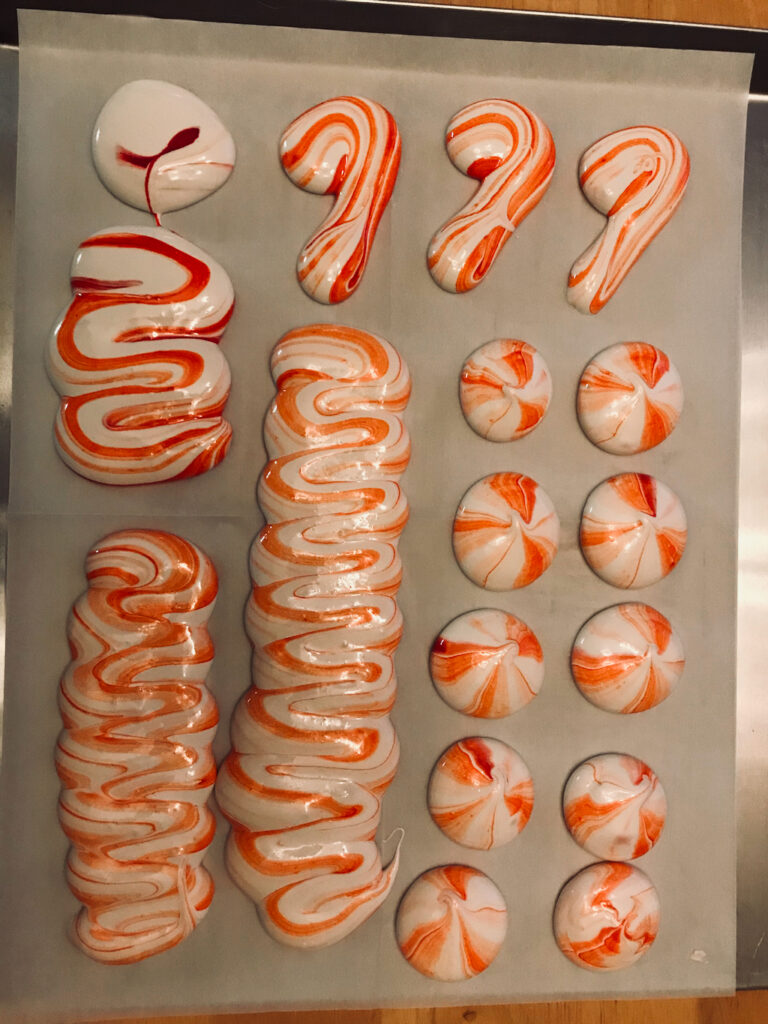
Then start piping.
I found that the small dollops about the size of a quarter were my favorite. The ribbon-candy swoops ran a bit too much, so I tried long ribbon-candy swoops that I intended to cut later, but that defeats the purpose of a pipeable marshmallow, so the dollops are my favorite, and it doesn’t waste any marshmallow.
These do spread by about 50%, so my quarter-sized kisses spread to 2-inch dollops.
Allow your piped marshmallows to cure and dry out overnight.
(I place the cookie sheet in my bottom oven and told everyone in the household that if they turned on the oven without looking inside, I would sic the elf on the shelf on them.)
Once dried a bit (and they are still sticky, so do be careful to avoid touching the tops, because it will take some of the coloring off and muck up your beautiful swirly-swirl) coat them in a mixture of 50% / 50% powdered sugar and corn starch.


I use the parchment to help me peel the marshmallows off, and then drop them face down into the powder, then I can pick them up to coat them, and I leave them somewhat heavily coated for the rest of the day or at least a few hours. (If wanting to ship them anywhere, allow them to sit coated for another day.)


After allowing them to sit, brush off the excess powder with a pastry brush and either package up with hot chocolate mix, or place them in an airtight container to enjoy with your own hot chocolate mix while your family is gathered around the Dish Network’s Dish Scape channel.


I do hope you’ll give these a try sometime, as these are definitely in the top three of my favorite things I’ve ever made. (It’s Tiramisu, coffee macarons, and peppermint marshmallows, in ranking order of my personal enjoyment, if you were wondering.)
Merry Christmas to all!
–Becky
Download the recipe file here.