Croissants

As their reputation proceeds them, there is no introduction necessary.

{This post contains some Amazon affiliate links. If you click on and purchase an item linked in my blog posts or from the store page, I will earn a percentage from Amazon. Your purchases don’t cost you any more, but it certainly does help me and my blog!}
(Jump the the recipe file here.)
I don’t know if croissants are not as hard as you think they are to make, or if they’re just so much fun that I don’t notice how hard they are to make. Either way, you should give them a try! They remain one of my favorite things to make.


These babies can take several days to complete, if you’ve got anything else going on in your life, but no one in my family has ever complained that it was a waste of my time. Sometimes, I’ve even gotten a pass from being asked to do anything else (like shoveling snow off the driveway or moving a random pile of 2x4s to another random place), because I was busy making croissants!
They’re so much fun, I make them several times throughout the year. I’ve made ham and cheese ones for taking on a camping trip, and I’ve made them filled with almond paste and jam. Yum.


I like to start making these about 3 days before Christmas so that we can have them with Christmas brunch. I usually make a cheese/fruit/vegetable tray and we have that with these beauties. (And then it doesn’t matter how quickly our only kid open presents, because we have this to look forward to when it’s done.)

Christmas Eve, I also walk around to all the neighbors on the street give a bunch to each, so they can do the same. They’re a really, really special neighbor or mailman gift if your neighbors accept food gifts this year.
Here are a couple notes on how I came upon this particular recipe that I like so much: the first ever croissant recipe I used I’ve had for years, and I don’t even remember where I got it. At the time, I just jotted it down, (that’s a joke, I actually drew diagrams) in my handy recipe notebook.


The next recipe I ever tried was from this book, The Book:

And the next one I tried is from a gal named Chef Nicole with a YouTube channel called Bake Toujours. (She also has Baketoujours.com from which, before COVID at least, you can order your very own croissants and macarons, should you be so inclined – but I think you should try making your own at least a couple times!)
Now, to understand the differences in the three recipes that I’ve tried a couple times each, over the years, I made a handy chart.
In the book, The Fundamental Techniques of Classic Pastry Arts, which I just call “The Book,” it has a really good explanation of the requirements of puff pastry, of what ratios of flour, salt, butter and water are needed to make a really tender, flaky, layered dough that still has intact every layer you rolled into it beforehand, present after baking.
Puff pastry, in my mind, is kind of the precursor, daddy pastry, to croissant dough. Puff pastry contains flour, salt, water, a small amount of fat and then a specific ratio of butter in the butter slab, the beurrage. Croissants use additions of milk and yeast and sugar. (Danish dough, if you’re interested, takes it that one amazing step further and incorporates eggs.)
For puff pastry you need, for any amount of flour, 2.8% salt, a small amount of butter, and 50-60% liquid/water, and your beurrage (your butter slab) should be 50-100% the weight of the flour.
Using those percentages, you can judge any croissant or danish recipe you’d like to use to see if it will work before you go out and buy $20 dollars’ worth of European butter and take 3 days to make them.
The Croissant Recipe from “The Book”
| What Could Be | 500g a/p flour, or a mix of flours | 14g salt (2.8%) | 250-300g water/milk (50-60%) | small amt of butter | small amt yeast & sugar | 250-500g beurrage (50-100%) |
| What It Is | 500g a/p flour only | 7g salt (1.4%) | 125g milk (25%) | 60g butter (12%) | 12g active dry yeast / 60g sugar (2.4% 12%) | 300g beurrage (60%) |
Chef Nicole’s Recipe from Bake Toujours
| What Could Be | 735g a/p flour or a mix of flours | 20.6g salt (2.8%) | 367.5-441g water/milk (50-60%) | small amt of butter | small amt yeast & sugar | 367-735g beurrage (50-100%) |
| What It Is | 735g four (600g bread & 135g a/p) | 15g salt (2%) | 414g water & milk (56.3%) | 75g butter (10.2%) | 12g active dry yeast / 55g sugar (1.6% / 7.5%) | 454g beurrage (61.8%) |
The 1st Recipe I Ever Used
| 540g a/p flour or a mix of flours | 15.12g salt (2.8%) | 270-324g water / milk (50-60%) | small amt of butter | small amt yeast & sugar | 270-540g beurrage (50-100%) | |
| 540g a/p flour only | 9g salt (1.6%) | 350g water only (64.8%) | 113g butter (20.9%) | 10.5g active dry yeast / 75g sugar (1.9% / 13.9%) | 339g beurrage (62.8%) |
You can see that each of these recipes will work (with the exception of the third one which has too much water), but I have come to really like chef Nicole’s recipe because (a.) it doesn’t skimp on the salt (salt is my favorite spice), and (b.) it’s on the high side of being right in the middle of all the enriching agents. I’ve come to really like this croissant recipe.
Let’s get to it:
*Chorus of Angels*
Croissants
You’ll need:
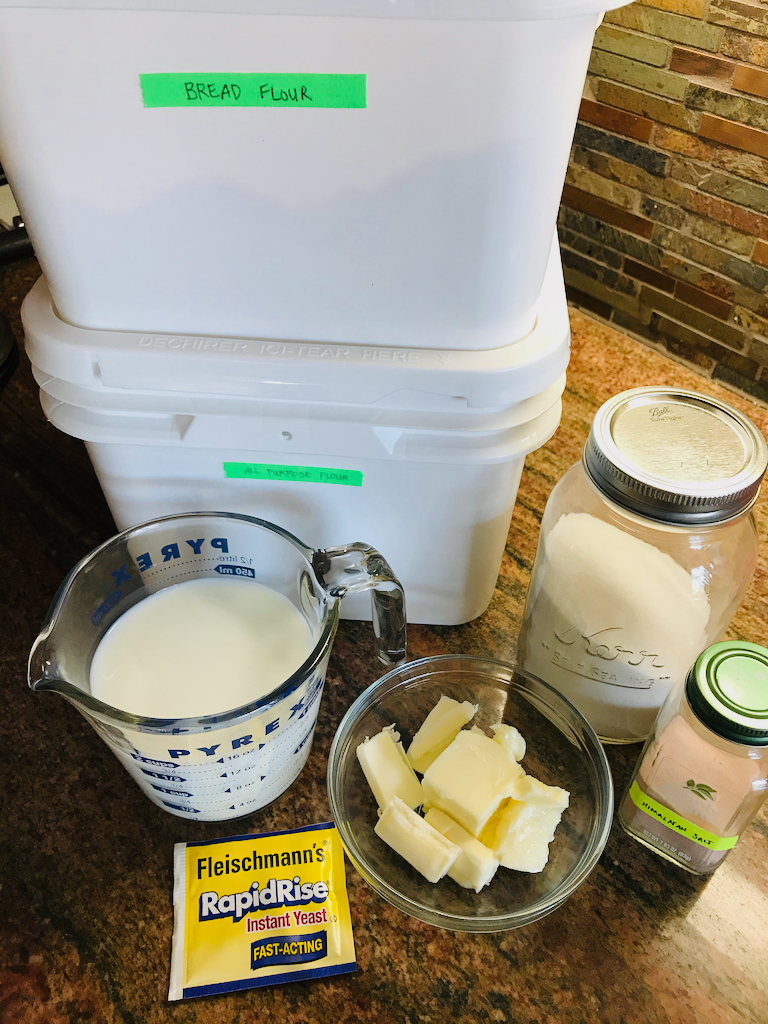
- 207 grams room temperature whole milk
- 207 grams room temperature, filtered if possible, water
- 12 grams instant yeast
- 600 grams bread flour
- 135 grams all-purpose flour
- 75 grams room temperature butter, lightly whipped until creamy (it can be plain ol’ American butter here)
- 55 grams granulated sugar
- 15 grams salt
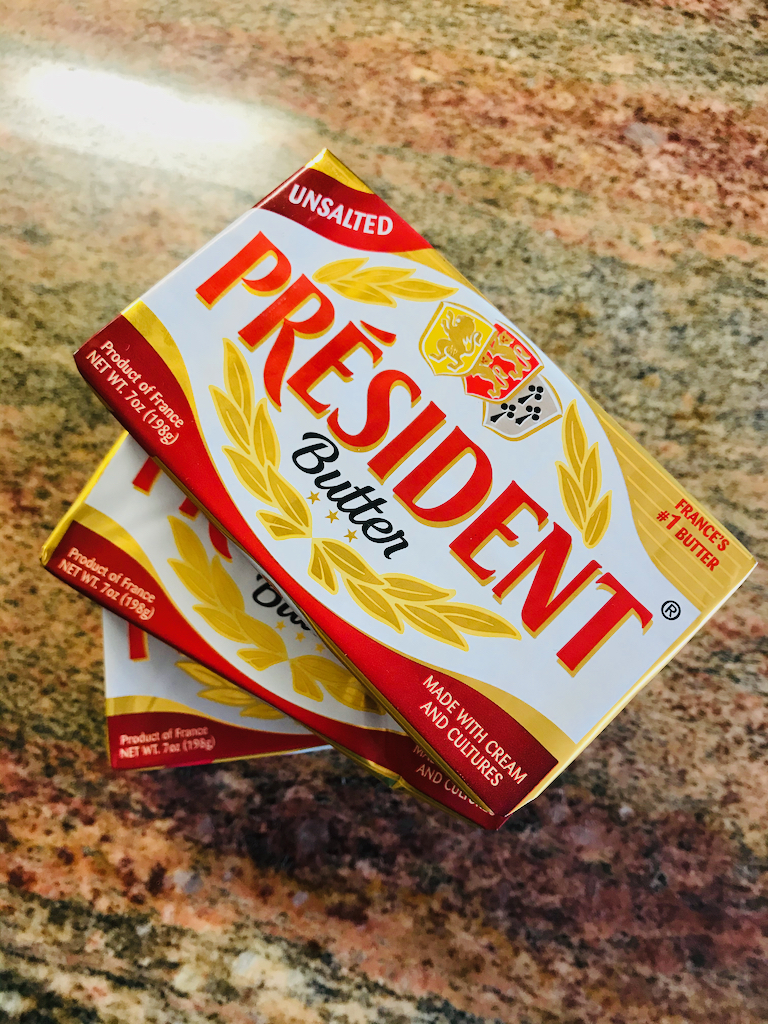
- 450 grams European, high-fat-content butter (for the butter slab)
One of my favorite purchases that I bought for no reason, just for myself… well, for myself to make things for other people… is a kitchen scale. I love being able to just weigh the ingredients into the bowl. It cuts down on ramekin washing like you wouldn’t believe, and most bread-making recipes are only listed in weights versus volumes.
(I have never worked out the volumes of this croissant recipe until writing this post, but if you’ve asked for a kitchen scale for Christmas this year, but need to make croissants a couple days beforehand, here are the volume equivalents:
- 1 cup water
- Scant 1 cup whole milk
- 1 heaping Tbs instant yeast
- 4 cups + 1 heaping Tbs bread flour
- Scant 1 cup all-purpose flour
- 4 ½ to 5 Tbs American butter, whipped to a creamy consistency
- ¼ cup + 2 tsp granulated sugar
- 1 heaping tsp salt
- 2 cups high-fat-content butter for your butter slab
Try to be sure to add the ingredients into your bowl in the order listed. This order will make sure that your yeast doesn’t come into contact with any fats or salt before it’s had a chance to activate. (Fats and salt give your dough all that flavor, but they are yeast killers.)
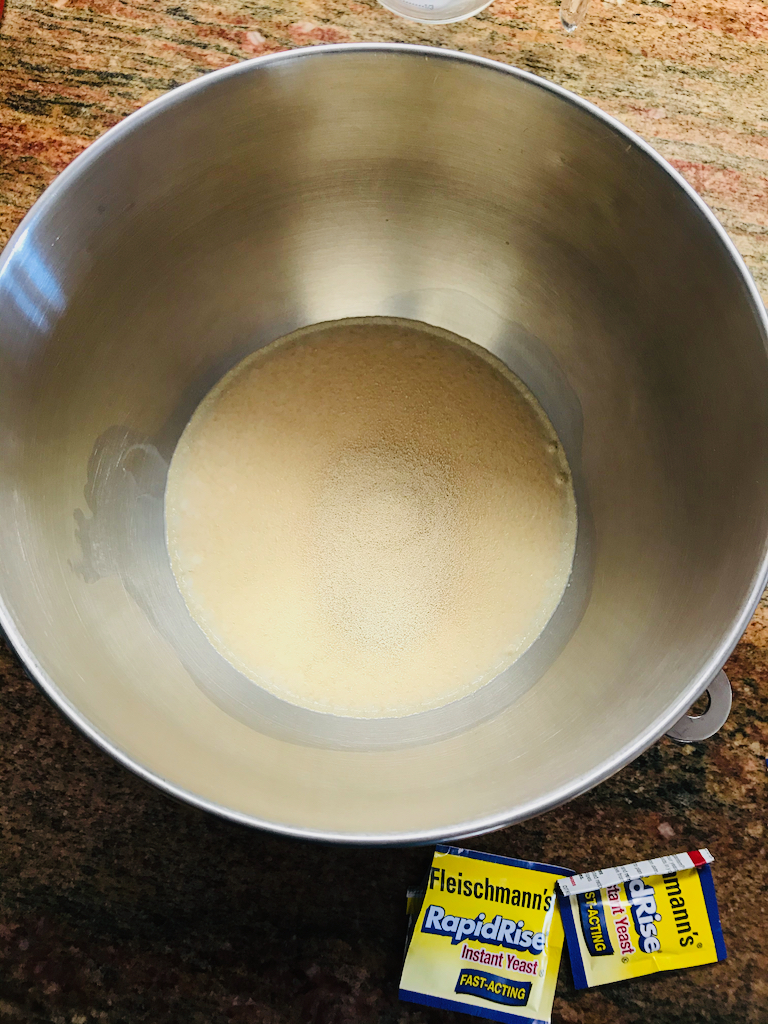
Into the bowl of your stand mixer, weigh in your 207g room-temperature whole milk, 207 g room temperature, filtered water, and 12g instant yeast.
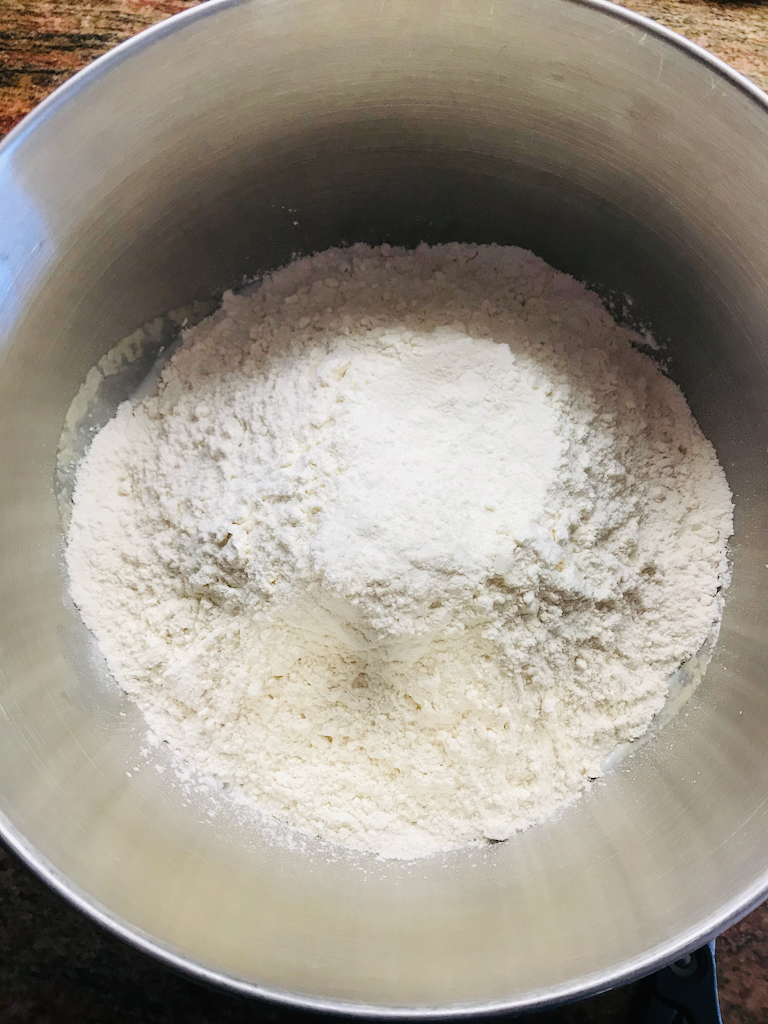
Then measure in your flours, 600g bread flour (which has a higher protein content which allows for gluten development and good structure to stand up to all the butter layers as they release steam in the oven) and 135g all-purpose flour.
In a small bowl, weigh and whip your 75g butter until it’s smooth and the consistency of thick sour cream, this is called a beurre en pommade. Return your stand mixer bowl to the scale, add your beurre en pommade to your bowl, then measure in your 55g granulated sugar and 15g salt.


Fit your mixer with the dough hook attachment and mix on low speed for just a minute or so to incorporate all the ingredients, then increase the speed to medium-low for a couple minutes more.
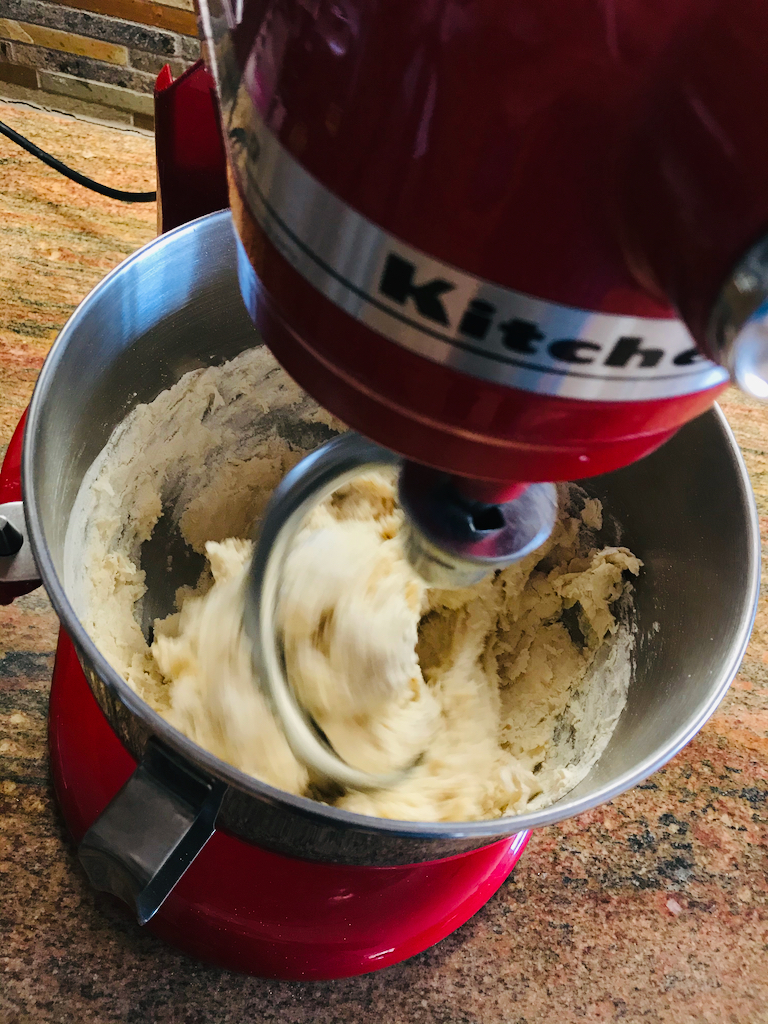
After about 3 minutes, the dough should wipe the sides of the bowl clean. If it’s still a little shaggy, mix on medium-low for another minute.
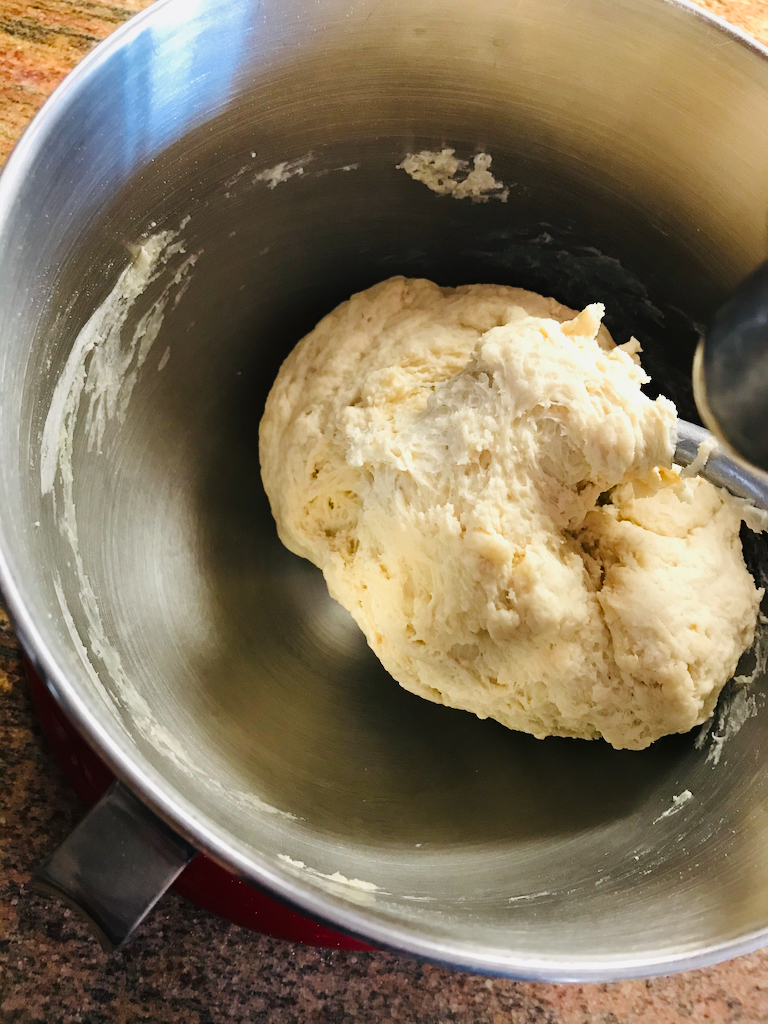
Remove your dough from the bowl and knead on a work surface for a minute or so to check the smoothness and homogeneity of your dough and then roll it into a ball, wrap somewhat loosely with plastic wrap and place in the refrigerator for 30 minutes.


In the meantime, make your beurrage, your butter slab. (This may be my favorite part.)
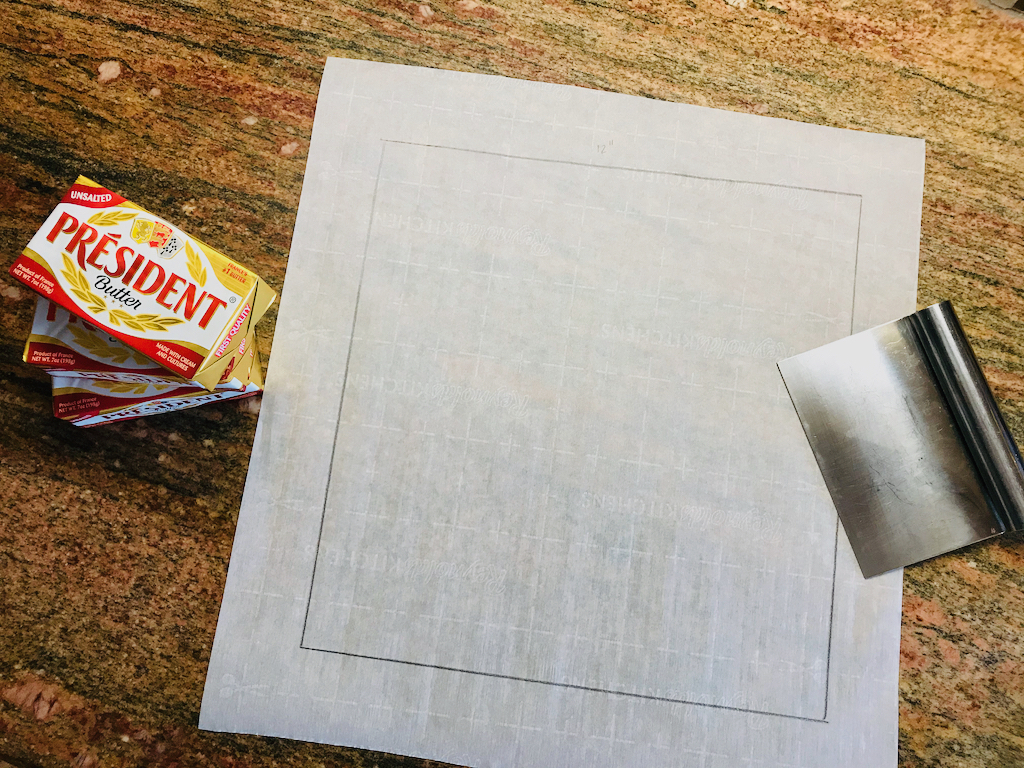
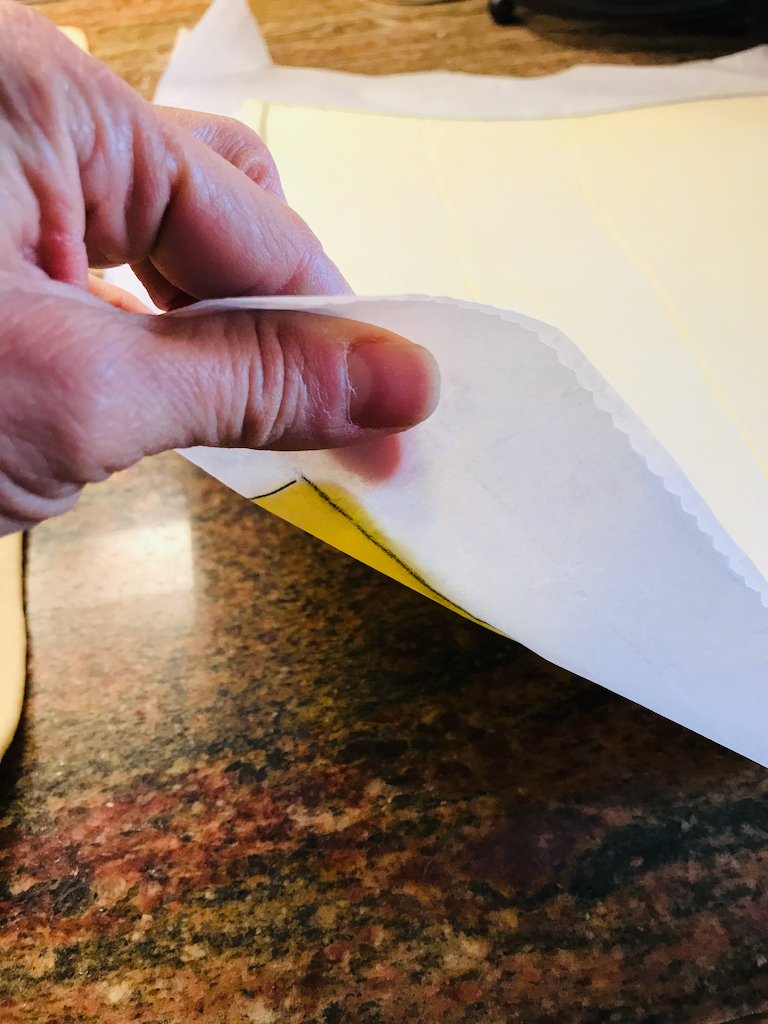
I like to use two sheets of parchment paper and draw out dimensions in pencil on each (I do a 12”x12” butter slab), then flip over so the pencil markings are on the back, fill with slices of my high-fat butter, then place the other piece of parchment directly on top, then whap and roll out the butter slices until they merge into that perfect slab.


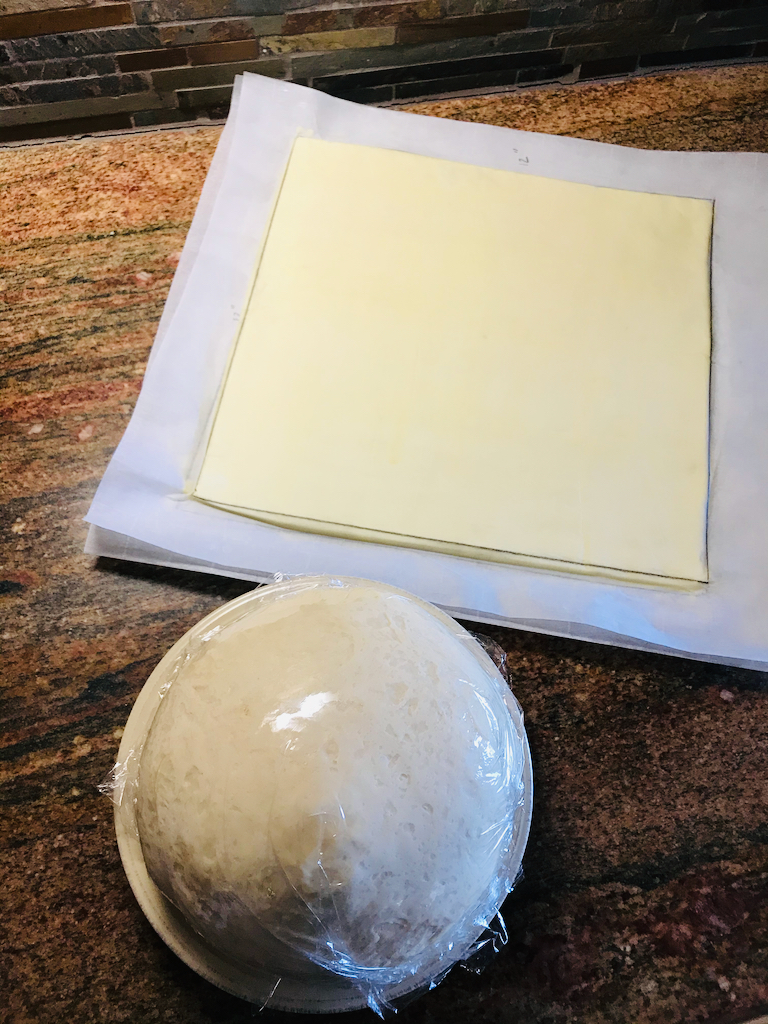
Cut the edges with a spatula or bench scraper and smear whatever goes outside your lines back into to slab. Try to find a place that’s thin and could use some more butter.
I then seal the edges of the top piece of parchment, and make really defined square edges, and then I can smooth the top of the slab with my rolling pin, making it really even.


I use a flat cookie sheet to transfer the slab (the beurrage) into the refrigerator.

Every tutorial, recipe, video I’ve ever watched or read on croissant making all stress the importance of having both the dough and the beurrage at the correct temperature when proceeding with each next step, and this is true. The dough needs to be rested and cool at each step, and the butter slab needs to be cool, but still rollable and malleable. If the butter is too cold, it will crack and break into pieces which have a tendency to act more like they are just moving around within the dough than being rolled out evenly within the layer between the dough layers. Try not to rush any step. If your dough springs back and won’t stay where you roll it, put it back in the fridge. If after you’ve removed your butter slab from the fridge, you can’t bend your butter before starting to roll, wait a few minutes, and check back to see if you can spread it instead of crack it around. (Consequently, if you wait too long to roll out one of the turns (each fold is called a turn), and your butter starts to seep out the edges and feels like it may be completely mixing with your dough layer, then stop and put the whole thing back into the refrigerator for a few minutes.
(I don’t think I’ve ever made croissants in a day; even on the best temperate day where all the stars were aligned, it still ended up taking two days start to finish, which is about my average these days. In the past, like now, life happens in between turns, and I’ve spread it out over three or four days, and they still turned out somehow. On one occasion the very first, initial 30-minute rest before adding the butter slab the first time, I let the dough sit in the refrigerator for 3 days and it looked like a basketball, it was so proofed. But, I had this nifty butter slab made and all these ingredients invested, so I went ahead anyway. They still tasted great once I finished. All this is to say, each turn needs to be rolled when both the dough and the butter are the right temperature, so if you don’t have time, or you get pulled away, just leave it in the fridge in between steps and pull it out when you have time to let it come to the right temperature to roll out the next turn.)
By the time you’ve read this far in my post, your dough ball has most likely been resting for its 30-minute first rest, and that means, it’s time to add the beurrage and complete the first turn. (This is my favorite part.)
Pull your beurrage out of the refrigerator and allow it to become pliable while you roll out your dough, and while we’re at it, take your dough out of the refrigerator and wait a few minutes before you roll it too.
On a lightly floured surface, shape your dough ball into a rectangle and roll it out to the width of your butter slab, and three times as long: 12” x 18”. Don’t be afraid to manipulate and shape your dough as you roll it in order to keep it in a rectangle. (For each turn, be sure to use as little flour as needed to roll out. I lightly flour everything, my hands, the counter under the dough, and the rolling pin, and then I generally don’t need a large amount of flour anywhere.)


Once your butter is still cold, but bendable, peel off the top layer of parchment paper and use the bottom layer to help you lift and maneuver your beurrage onto the lower two thirds of your dough rectangle.


Now fold down the top third, then fold up the bottom third, and fold your dough like a business letter. This is a letter fold. Gently smooth your dough rectangle and press the butter and dough layers together.


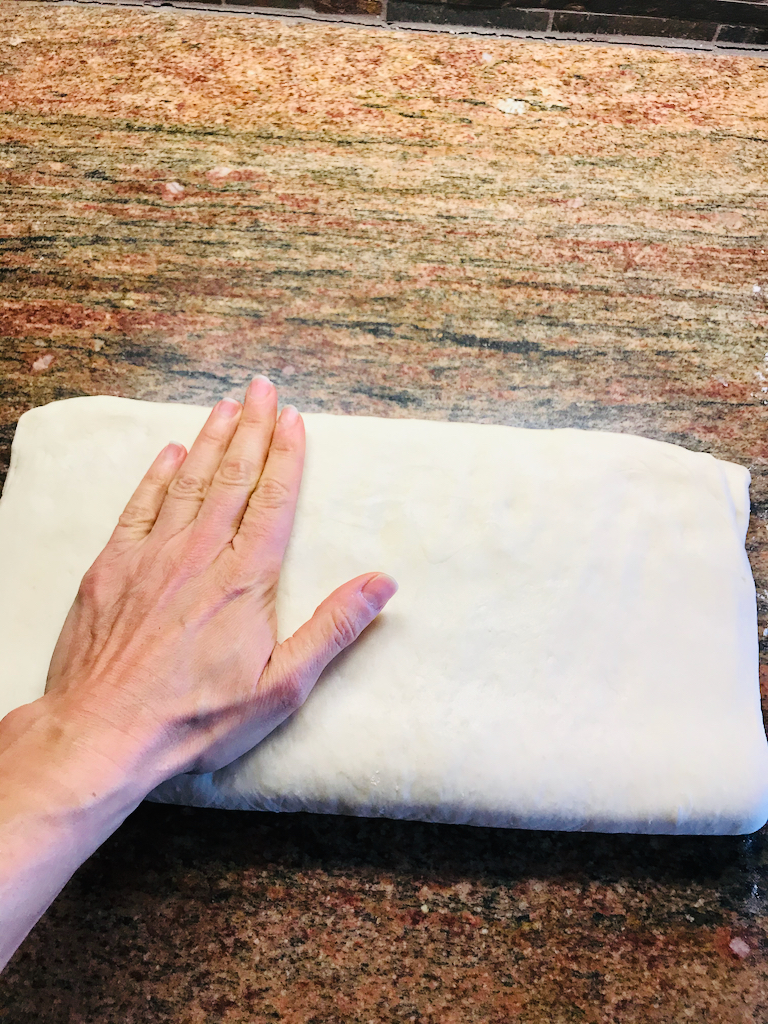
This is your first turn!
And you now have two butter layers. You’ve just doubled your butter. It’s a really good feeling.
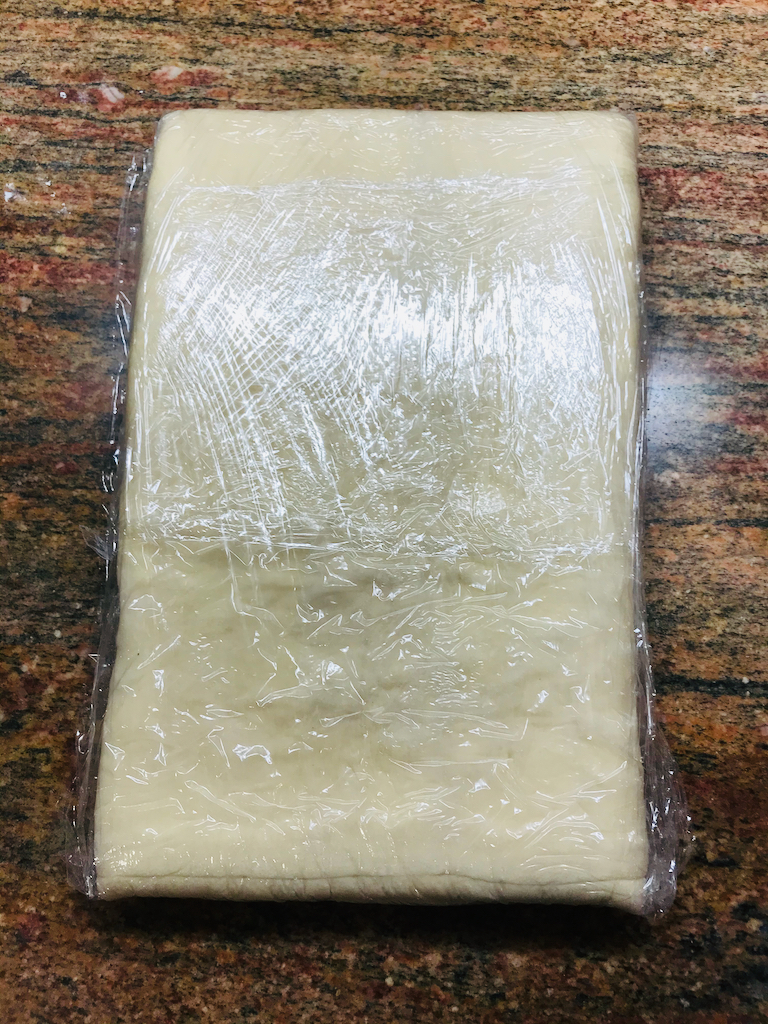
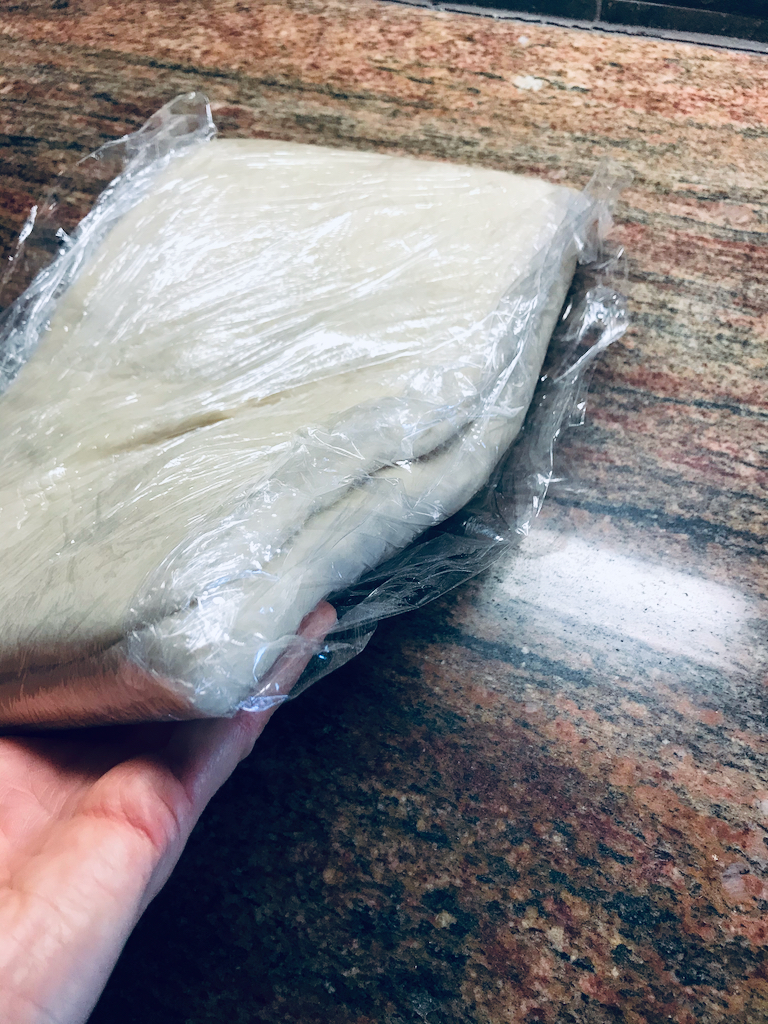
Wrap your dough rectangle (now 12” x 6”) in a couple layers of plastic wrap and use your cookie sheet to balance it somewhere in the refrigerator for 30 minutes before proceeding with the 2nd turn.


(Also, one note from Chef Nicole of Bake Toujours: You can save your pieces of parchment paper from your butter slab. Wrap loosely in plastic wrap and put in a freezer bag in the freezer. I keep my butter slab parchment and my cutting templates wrapped in plastic in a quart-size freezer bag in the door of my freezer. It doesn’t take up any space, and all that work is already done for the next batch.)


After your dough, your now laminated dough, I should say, since you have two layers, has rested, pull it out of the fridge for anywhere from 10-30 minutes before rolling it out. It should be chilled, but you should be able to push and stretch the butter instead of cracking it. As you roll the dough, the butter needs to just go along for the ride.


Once the butter inside your dough is pliable, you can begin to roll it out to a rectangle 12” x 18-20”, and again, don’t be afraid to manipulate the dough, especially in the corners. It helps to keep it even if you don’t roll completely to the edge until just before you’ve reached your length, then roll those thicker upper and lower edges to get that nice rectangle back.


You also will need to flip your entire dough rectangle over ever few passes, otherwise your butter layer on the bottom will fall behind and you’ll get butter leakage on the back of your dough.
Once you’ve rolled, flipped, rolled, and manipulated back into a rectangle 12” x 18-20”, fold the top third of the dough down and the bottom third of the dough up, and complete another letter fold.


You’re second turn is done!
Wrap in plastic wrap and place it back in the refrigerator to rest for at least 30 minutes before it’s third and final turn.
After 30 minutes of rest, remove your dough from the fridge and let it sit at room temperature until the butter layers are pliable again. Check it at 10 minutes, then check back every 5 minutes or so, once that butter is bendy, unwrap, lightly four everything, and roll it out again to a 12” x 18-20” rectangle. “The Book” just has another letter fold for the third turn, but I like to throw a book fold in there, especially if the other two turns have felt smooth and perfect with no butter breakage. So, your choice: either do another letter fold by folding the top third down and the bottom third up, – or – do a book fold by folding the top fourth down, the bottom fourth up, then fold the dough in half. Pat your dough rectangle together to tighten those layers, and re-wrap in plastic wrap and chill one more 30-minute rest before the final roll out for shaping.


You’ve just completed your third turn!


After that last 30-minute rest, remove the dough from the fridge once more (and let it say it’s good-byes to all its friends in there, because this is the last your dough will ever see of the refrigerator.)
It’s helpful for the final cutting and shaping to work with one half of the dough at a time. (So one half of your dough said its refrigerator goodbyes a bit too soon.) Once your dough is pliable, yet again, roll it out to about 8-10” x 12-14”, approximately, and cut the dough in half. Wrap one half loosely in plastic wrap and return it to the fridge just while you finish rolling, cutting and shaping the other half.


Roll the half left out to 12” x 20” or 12” x whatever length gets you to 1/4 – 1/8” thick.


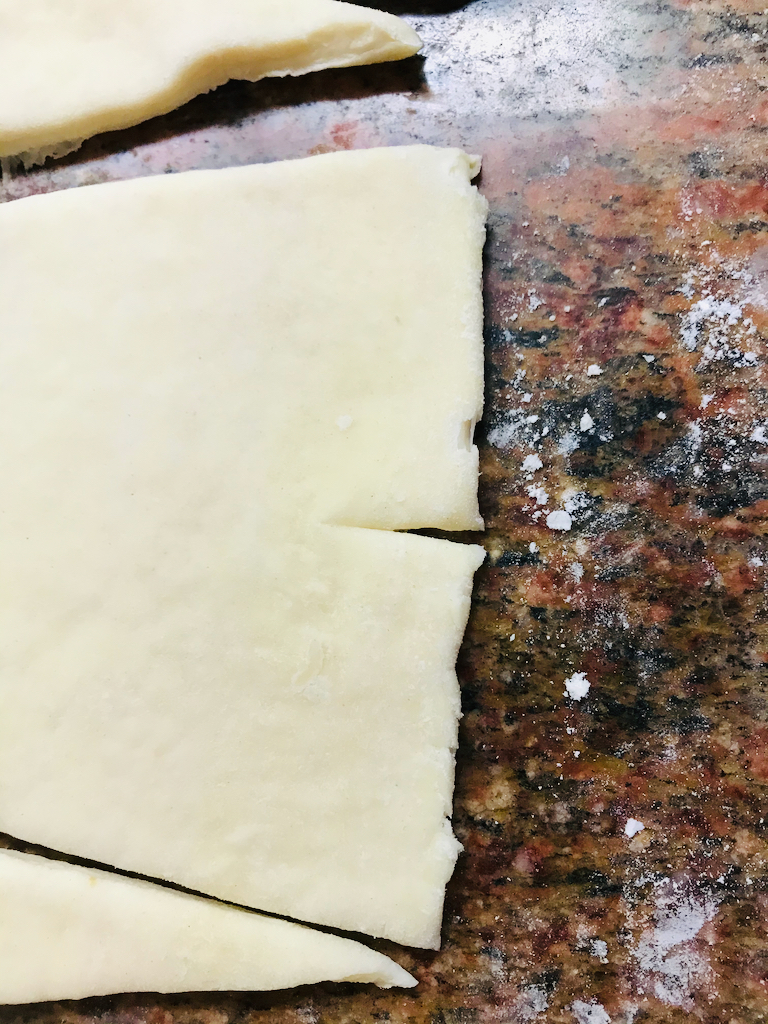
Now it’s time to cut your dough. I use a template that I made out of card stock that I keep with my butter-slab-marked parchment paper in the freezer. My template is an isosceles triangle that is 4” x 8” x 8”. I like the visual of having a template to just lay, cut, flip, cut, all the way to the end, but you can absolutely eyeball it if you’d like.
I get 8-9 croissants out of half the dough.


My weird end bits, I still roll up and bake, and those are usually my daughter’s favorite, because each one is unique, and sometimes they tip over in the oven and morph into something entirely different; she loves that.


To help shape the croissants, in the center of the 4-inch side of each triangle, cut a tiny, one-inch slit to help get the edge started rolling.
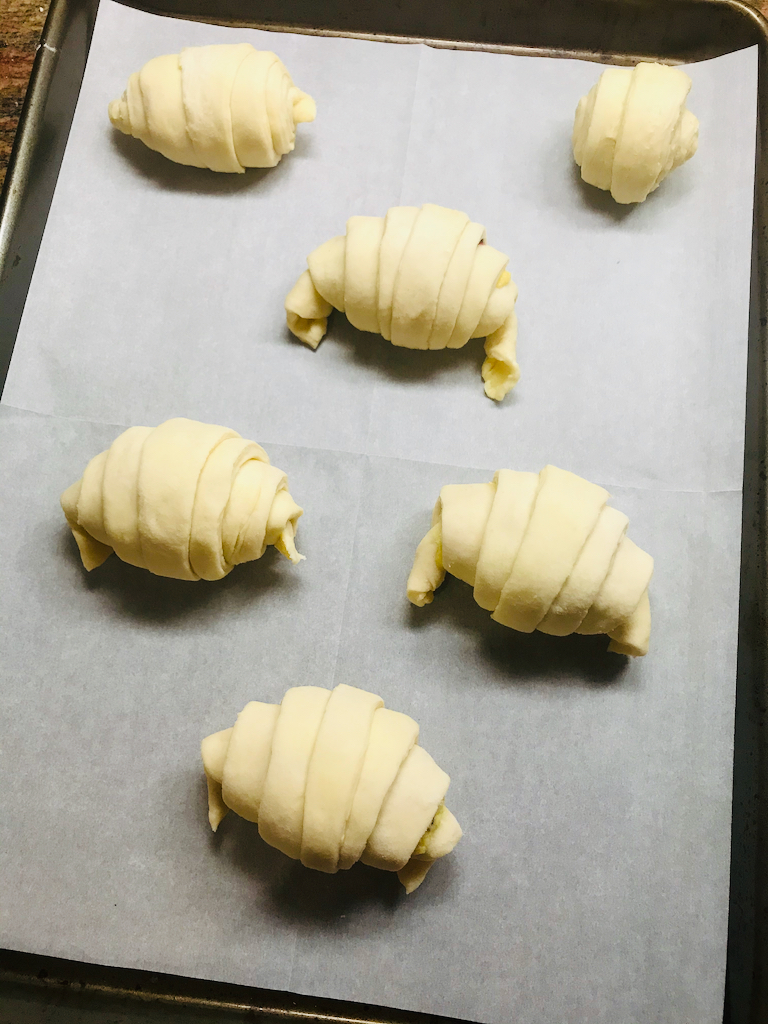
Pick each triangle up, one at a time, and bring it in front of you and spread the slit open slightly and press a little as you roll the croissant, as you near the middle, feel free to stretch the dough a bit to help it really stick together and not unravel in the oven. Once it’s completely rolled to the end, place it with the point tucked under on a parchment-lined baking sheet and press the two corners or arms, or whatever you’d like to call them, towards the front to make the curved crescent shape.


Continue until each one is rolled and placed on the pan and shaped.
Also, be sure to alternate them on the pan, so they are spaced in a kind of zig-zag as opposed to right next to one another.
Allow the shaped croissants to sit at room temperature for 1 hour, or until almost doubled in size, before baking.
Then proceed with the second half of the dough. (Remember to allow it a little time to become roll-able out of the refrigerator.)
If you like filled croissants, then I like you, but that’s beside the point; here’s how to do it:
I like to fill half the recipe with almond paste or frangipane and jam and the other half with ham and cheese.
For Almond Paste / Frangipane, you’ll need:
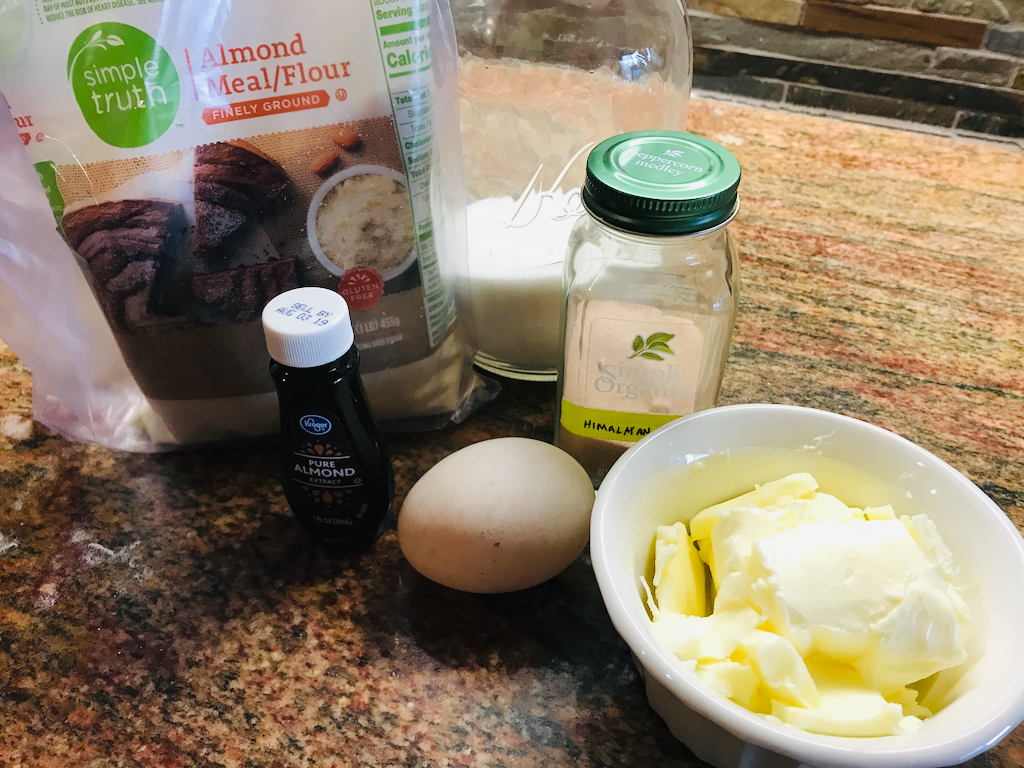
- 100g (1 cup) almond meal
- 100g (1/2 cup) granulated sugar
- 115g (1/2 cup) unsalted butter
- 1 egg
- 2 g (1/2 tsp) almond extract
- 1/8 tsp (a generous pinch) salt
Mix the almond meal and sugar together. Then add the softened butter and mix to make a paste. Add the egg, almond extract and pinch of salt and mix well to combine.


This can be stored in an airtight container in the refrigerator for a several days. Bring to room temperature so it’s spreadable when filling your croissants.
For Jam, you’ll need:


- Any amount of berries you’d like to use, I generally use 1 cup, and weigh them
- 65% granulated sugar (the weight of your berries multiplied by .65)
- A squeeze of lemon juice
- Perhaps a dash of pectin
Weigh your berries into a heavy-bottom, deep saucepan, and calculate how much sugar you’ll need.
(To make any fruit into a jam, you need minimum 65% sugar, which is what I prefer to use, the minimum, and then add a squeeze of lemon juice and you’ll get a fragrant, tangy, not-overly-sweet jam that you’ll actually want to eat. [This is the same jam recipe that I use for macaron fillings, becuase it’s something you want to eat, which compliments the sweet, airy cookie really nicely.])
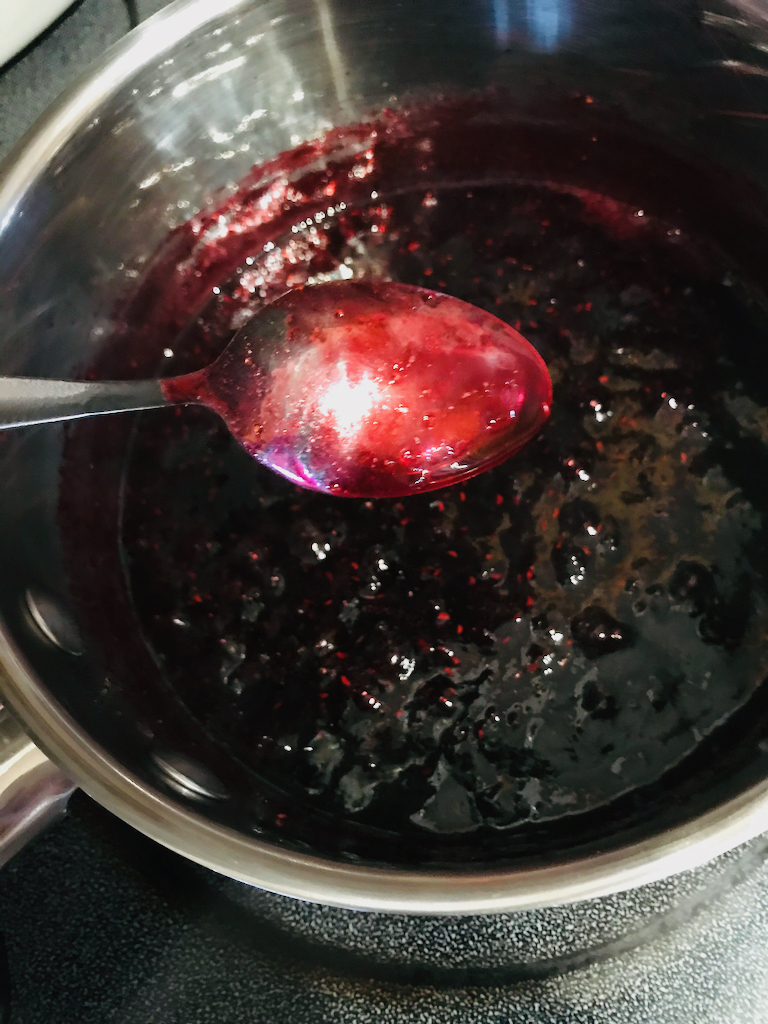
Add your calculated weight of granulated sugar, and heat on medium low until the berries begin to release their juices (and you can use fresh or frozen berries, either works just as well). Once the berries begin to release their juices, squash them with a potato masher or a fork, as much as you can break down the berries. Then stir to dissolve the sugar. Add your squeeze of lemon at any time after this point.


Allow this to cook down and reduce and thicken, which may take several minutes or even 15-20 minutes, so be sure to stir the bottom often to keep it from scorching. When you streak a spatula across the bottom of the pan and a clean trail is left behind for a second or two, and when the jam coats the back of a spoon, your jam is done. (It will also thicken slightly more after cooling.)
If I can’t get this thickness, sometimes I add a pinch of pectin (and my package is a universal, low-sugar-requiring, pectin, which calls for calcium water, and so I add a drop or two of that as well, follow your pectin package instructions… or just continue to cook your jam very low and slow, stirring often to reduce.)


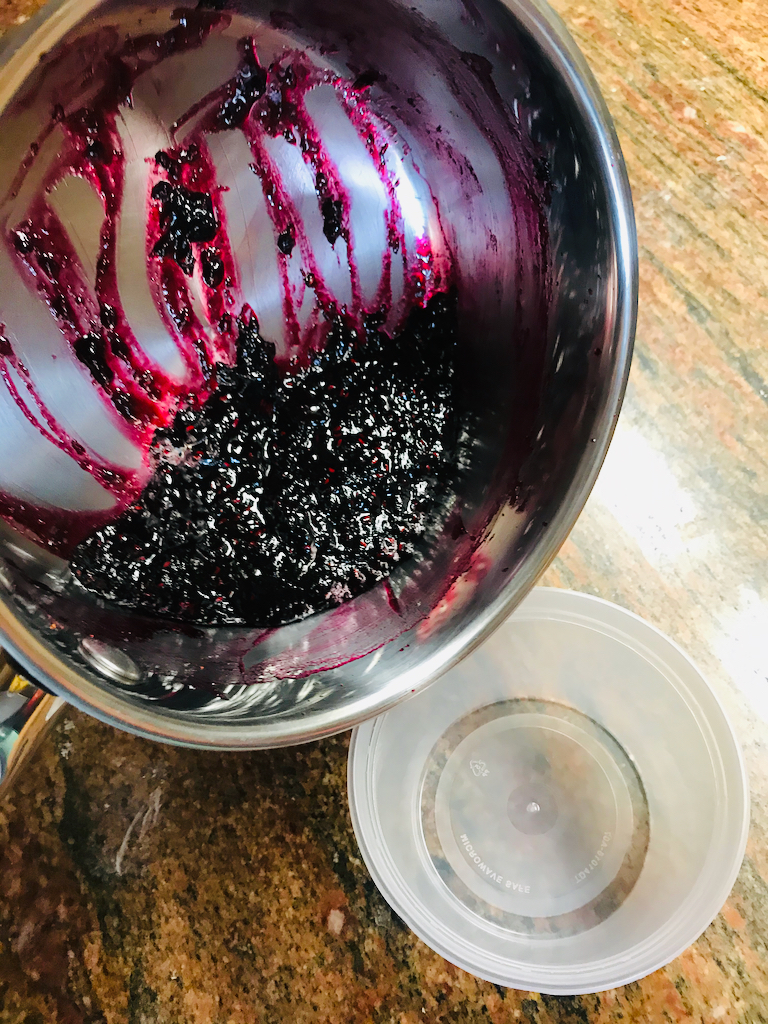
Remove your jam to an airtight container, and this will store for ages in the refrigerator. I always end up using it up somehow or other, so I don’t truly know how long before it spoils, but it lasts months in the refrigerator.
To fill frangipane & jam croissants, spread 1 tsp of room-temperature frangipane onto your croissant triangles, starting ½ inch away from the top edge and stopping about an inch or 1 ½ inches from the bottom point. Repeat with the jam.


Then roll your croissant, spreading the slit in the top to get that first ½ inch tightly rolled, then gently squeeze and roll, and stretch towards the middle if need be to get a tight roll. On a parchment-lined rimmed baking sheet (please do be sure to use a rimmed baking sheet!), place your filled & rolled croissant with the point tucked under and then curve the ends to make that crescent shape. Alternate your croissants on the pan in that zig-zag pattern and allow them to proof for 1 hour, or until almost doubled in size.
To make my favorite, Ham & Cheese Croissants, you’ll need:


- 8 slices of black forest ham, lunch meat, moderately thickly-sliced
- 12 slices Gruyere cheese, about 1/8” thick
(If filling your entire croissant recipe with ham and cheese, double those quantities.)
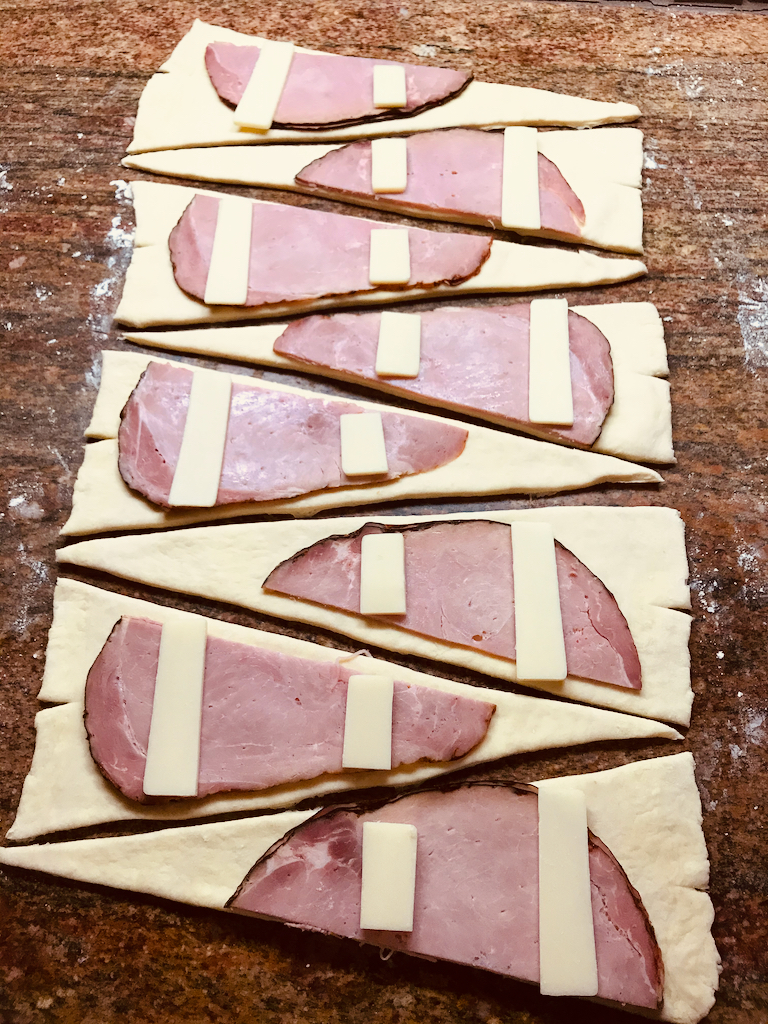
Slice your ham slices diagonally so that they will fit your croissant triangles for the most part.
My block of Gruyere that I can find most often is the exact length that I need for croissants, so I just need to slice 4 of the pieces in half, but just slice your cheese so you have one slice that fits near the beginning of your rolling and one smaller slice for around the middle of your rolling.
Once your dough half is rolled out to about 10-12” x 18-20” and is 1/8” thick, and cut into triangles, and the slit cut in the top edge, lay two slices of ham per croissant about ½” from the top edge and arrange the cheese, one near the beginning/top, and a second nearer the middle.
Move one croissant at a time to a place that is comfortable for you to roll, and tightly seal the first ½” and then roll the croissant as tightly as possible. These are harder to get tight, but just be patient and gently squeeze and roll and stretch if you can. Tuck that last, uncovered pointy bit under and place on the parchment-lined, rimmed baking sheet and curve the ends into that crescent shape.

Allow to proof at room temperature for 1 hour, or until almost doubled in size, before baking.
Nearing the time you’d like to bake, preheat your oven to 400˚F.
Prepare an egg wash by beating 1 egg with 1 tsp water. Gently brush the tops of your croissants with a thin layer of egg wash.


Bake your croissants 1 tray at a time at 400˚F for 15 minutes, then rotate the pan, reduce the oven temperature to 375˚F and bake for another 15-18 minutes.
(I happen to have double ovens, so I bake one tray in each oven, and when making this particular batch for this post’s photos, I needed to pick my daughter up from swim practice right about the last 15 minutes of baking, so my husband offered to set a timer and check them for me. 25 minutes later, when I come home to the aroma of ham & cheese croissants, I check them out [he had gone ahead and removed them to a cooling rack ] and thank my husband, of course, but then realize that I only see one tray of croissants on the cooling rack, so I rush to the oven… …and they were fine! Slightly crispier that the first, but I do not mind that at all. All this just to say, watch your croissants and remove from the oven when they’re to your liking. As it turns out, there’s a little bit of leeway in letting them go 10 minutes longer, if it happens to you.)
Remove to a cooling rack to cool… or go ahead and sample on of each while they’re warm.


Voila! Croissants!
(That’s a joke, these do not just appear by magic, other than the two days of magic you put into them, but they are magical nonetheless.)
–Becky
Download the recipe file here.