Tiramisu
This is my absolute, all-time favorite dessert. It needs no explanation as to why I would choose to make it and write about it, (and take more photographs of it than I do of my child,)
{This post contains some Amazon affiliate links. If you click on and purchase an item linked in my blog posts or from the store page, I will earn a percentage from Amazon. Your purchases don’t cost you any more, but it certainly does help me and my blog!}
(Jump to the recipe file here.)
But here goes.
Tiramisu means, “pick me up,” and some think that’s a literal meaning from the coffee- or espresso-soaked lady fingers; then there are some that think it comes from a wife who made it for her husband before marching off to war, which is lovely. But most likely the dessert was created by a confectioner named Roberto Linguanotto, owner of a restaurant called Le Beccherie in Treviso, Italy in 1969.
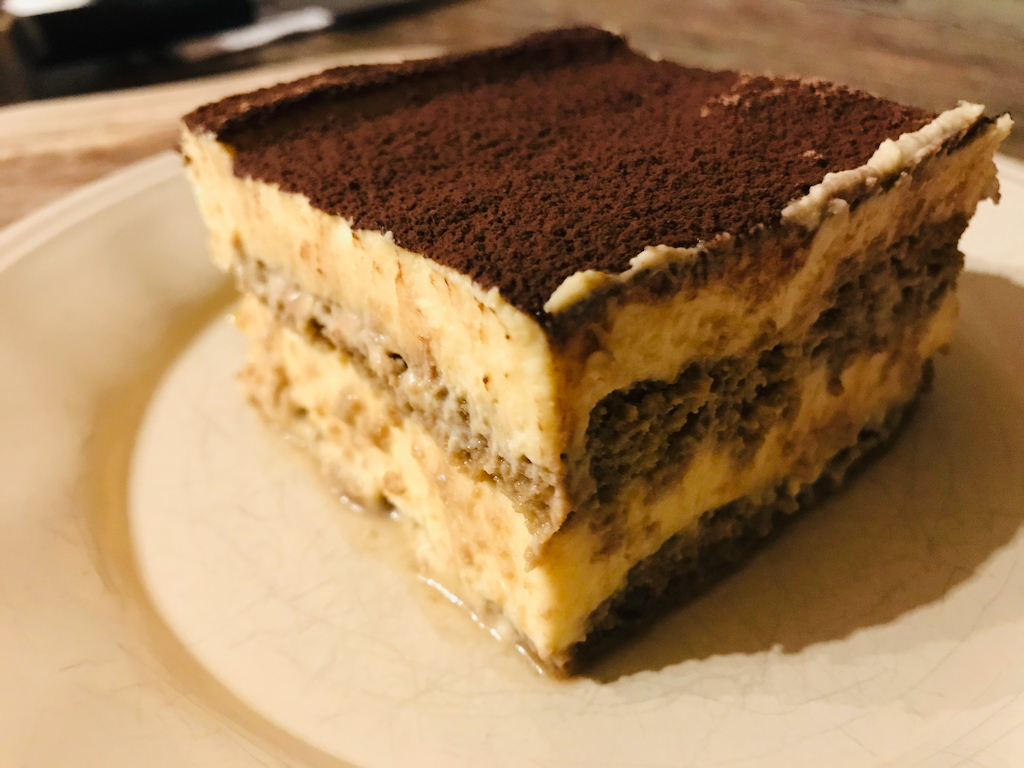
However it came about, when it’s well done, it’s the perfect desert, in my opinion. It’s one of those perfect combinations of creamy, sweet, bitter, density and lightness, all in one thing. (And it’s one of those deserts that never makes me feel icky or oogley, even if I have a big ol’ slab of it… and yet I can also be satisfied with a little slice. Sometimes.)
Here it is:
Tiramisu
You’ll Need:
For the Lady Fingers Biscuits
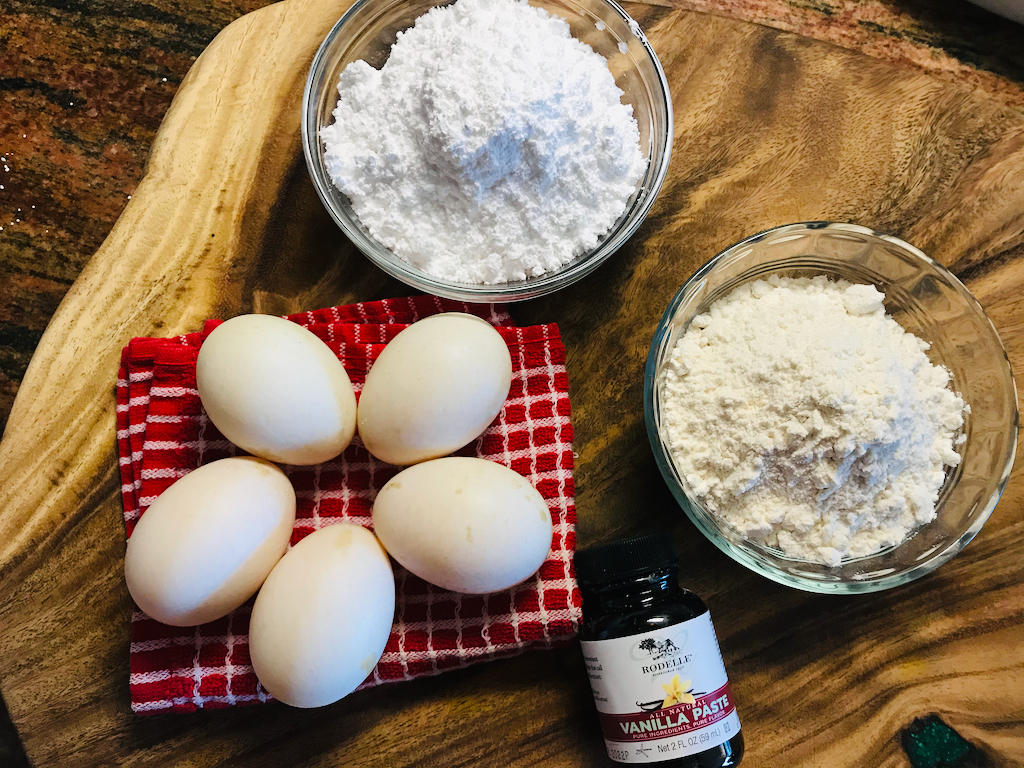
- 5 egg whites at room temperature
- 125 g confectioner’s sugar (4.5 oz.)
- 5 egg yolks at room temperature
- ½ tsp vanilla extract
- 125 g cake flour (4.5 oz.)
For the Dipping Coffee
- 2 Tbs sugar
- 350 ml strong coffee or espresso (12 oz.)
For the Zabaione Filling
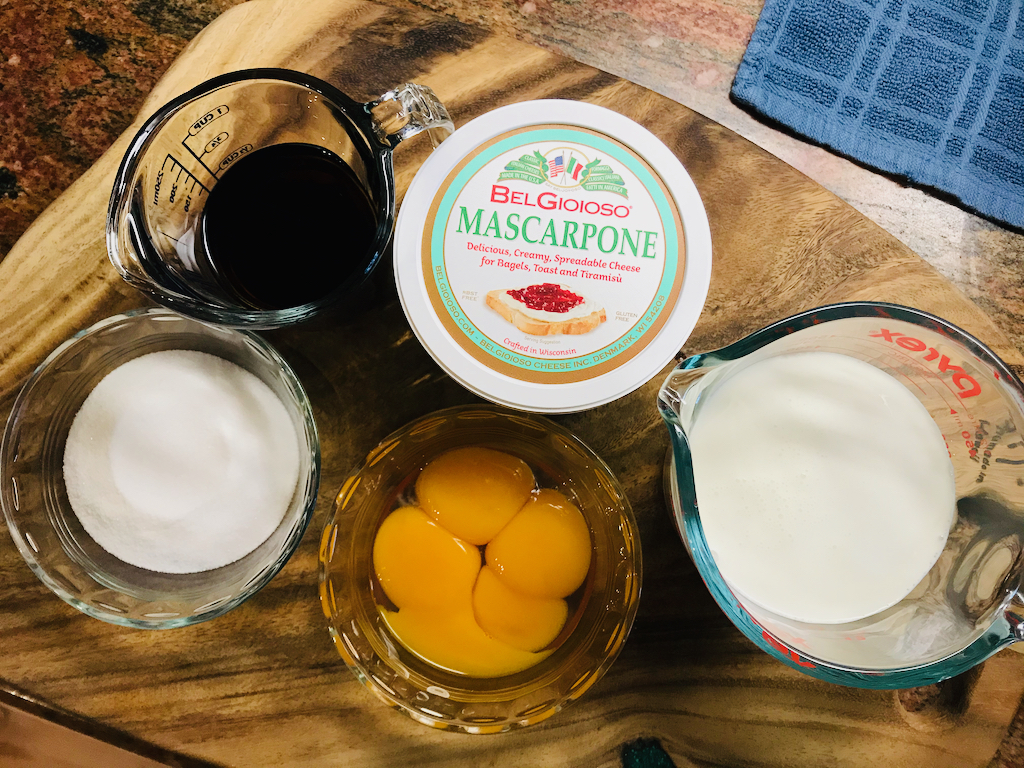
- 4 egg yolks
- 100 g granulated sugar (3.5 oz.)
- 116 g Madeira wine (4 oz.)
- 450 g mascarpone cheese (16 oz.)
- 350 ml heavy whipping cream (12 oz.)
For Finishing
- 3 – 4 Tbs cocoa powder
Start by making the Ladyfingers.
(This can be done a day or two ahead – finished and cooled ladyfingers can be wrapped in plastic wrap or in Ziploc bags for up to 3 or 4 days.) (And, of course you can use store-bought ladyfingers, but they will be different. I love meringue-based elements, and the store-bought ones will not be true meringue based, because they simply don’t last forever.)
Line a baking pan with parchment paper, preheat your oven to 350˚F, and prepare a piping bag with a #5 plain tip (or just snip the end to make a large hole.)
Separate your room temperature eggs. And clean the bowl of a stand mixer and the whisk attachment with white vinegar (to ensure there’s not fat residue on your bowl or whisk so the egg whites will whip.)
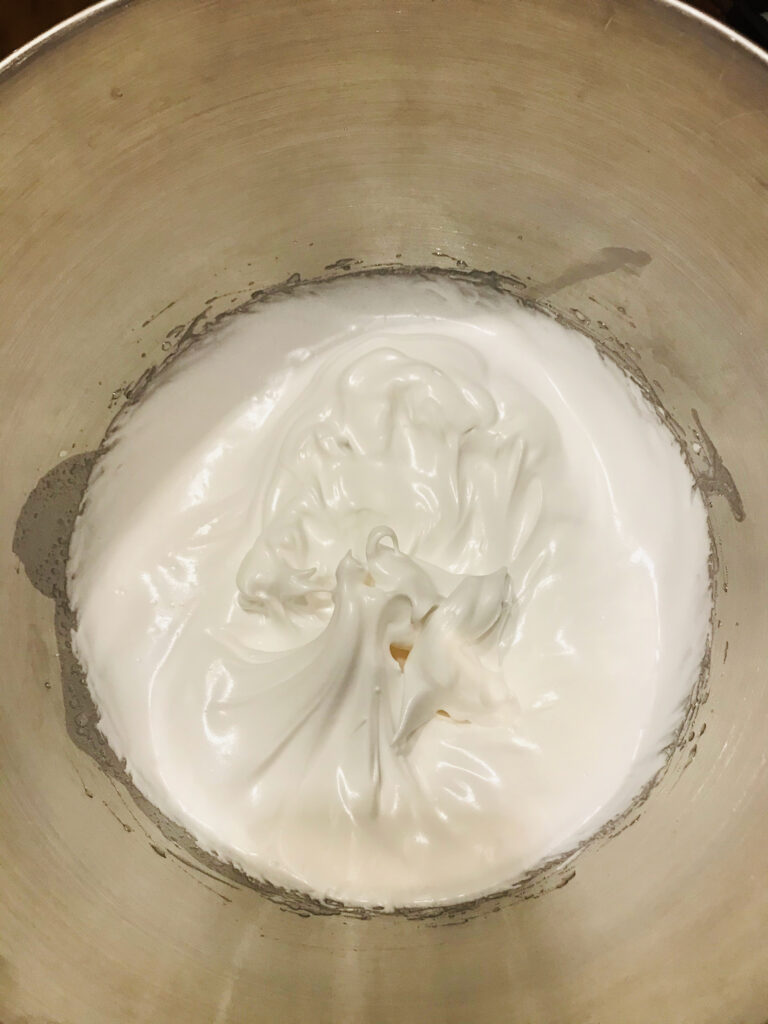
Place the egg whites in your stand mixer and mix on low speed for about a minute to aerate, then add the 125 g confectioner’s sugar and increase the speed to high speed and beat until stiff peaks form, about 4-5 minutes.


In a separate bowl, beat together the egg yolks and vanilla until well blended.


Carefully fold the egg-yolk mixture into the stiff-peaked meringue. Then carefully fold in the 125 g cake flour, being careful not to deflate the batter.


Immediately transfer the batter to your piping bag and pipe into Ladyfingers, about 2.5 to 3 inches long. And these can be piped directly next to one another or with space in between.


Bake your Ladyfinger in the preheated 350˚F oven for about 7 minutes, or until they are very lightly browned around the edges and the centers spring back when lightly touched.
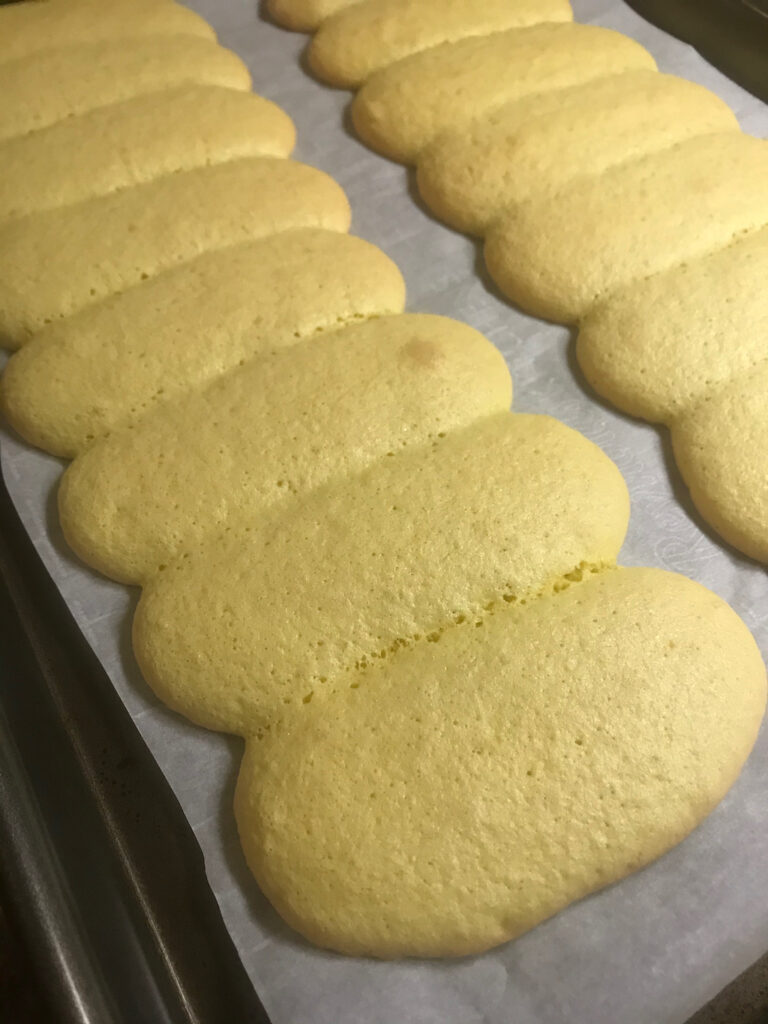
Allow to cool on the pan for just about a minute before transferring to cool completely on a cooling rack.
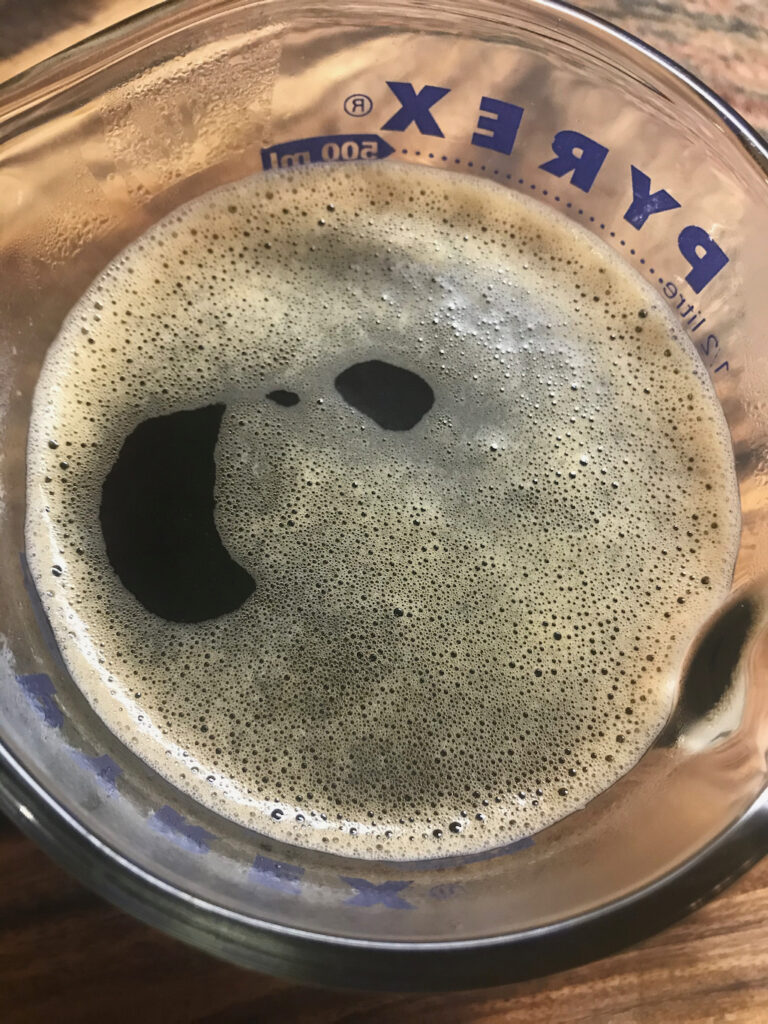
Next make the coffee for dipping.
Brew 12 oz. of strong coffee and stir in to dissolve 2 Tbs granulated sugar. Set aside to cool completely.


Now make the Zabaione filling. (Pronounced zah-buh–yoh-nay, if you’re interested.)
Either in the bowl of a double boiler, or in a heat-proof bowl that will rest above a pot of simmering water, beat together your 4 egg yolks until slightly fluffy.


Start a pan simmering with about an inch of water in the bottom.
Add your 100 g granulated sugar and 4 oz. Madeira wine to your beaten egg yolks. Beat until well-combined.


Place your mixture over the pan of simmering water and stir frequently until just about to simmer.
Do not let it come to a boil.
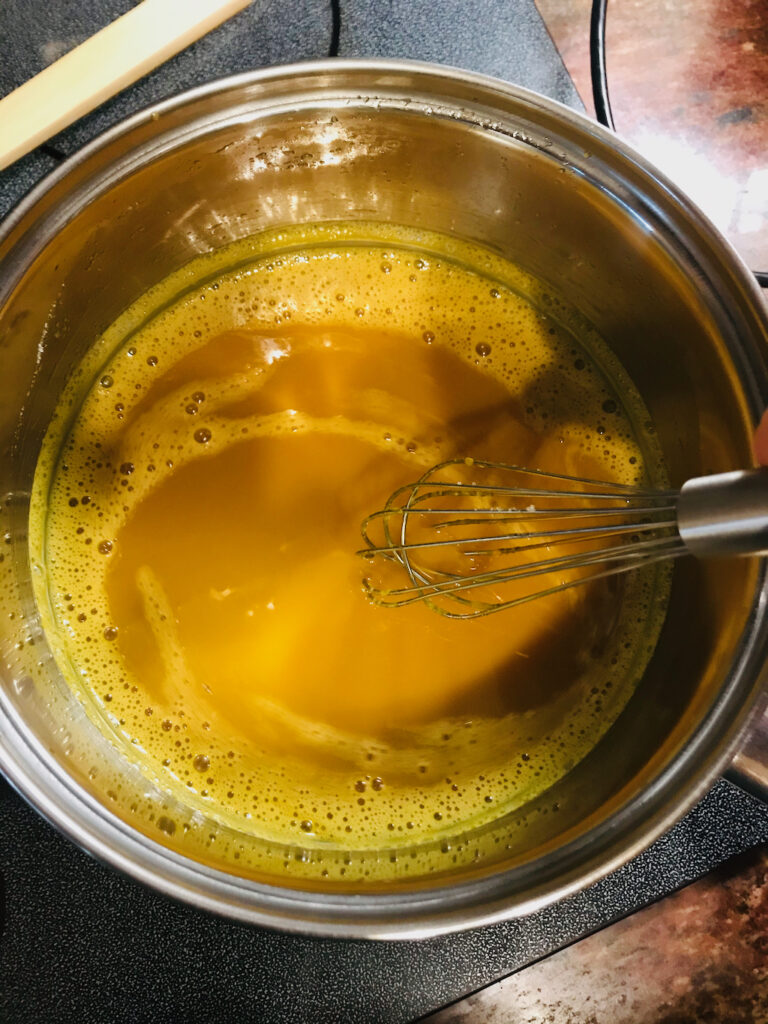
Remove from the heat and set aside briefly.
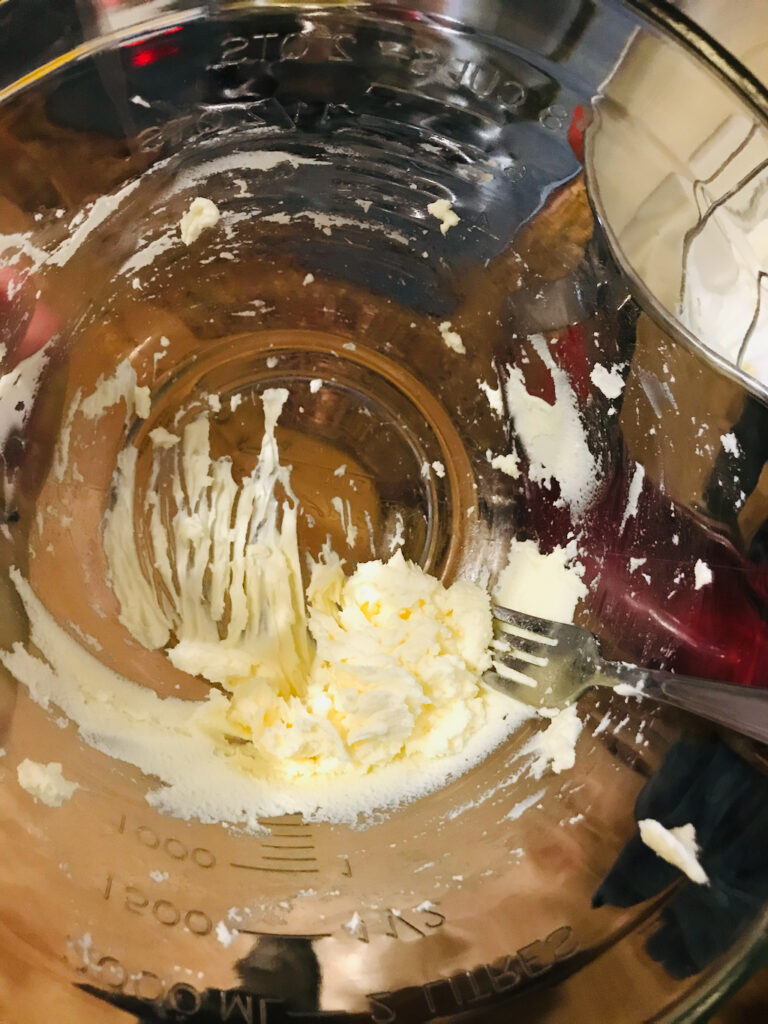
In yet another bowl, whip your 16 oz. mascarpone cheese until fluffy.
In yet another bowl, whip your 12 oz. heavy whipping cream until it’s whipped cream. (This should take only a few minutes in a stand mixer, or a lotta few minutes by hand.)

(IF! You ever go slightly too far when whipping cream and it starts to become butter, stop!, you can drizzle in more cream (generally about 40% of what you started with) and gently whip it in, and it will bring it back to whipped cream; just fyi. See this great little snippet by Helen S. Fletcher of Patsries Like A Pro on salvaging over-whipped cream, if you’re interested. Before learning this trick, I once made went ahead and made custard-butter while making ice cream, and just ate it on some scones – a first-world problem, happily solved.)
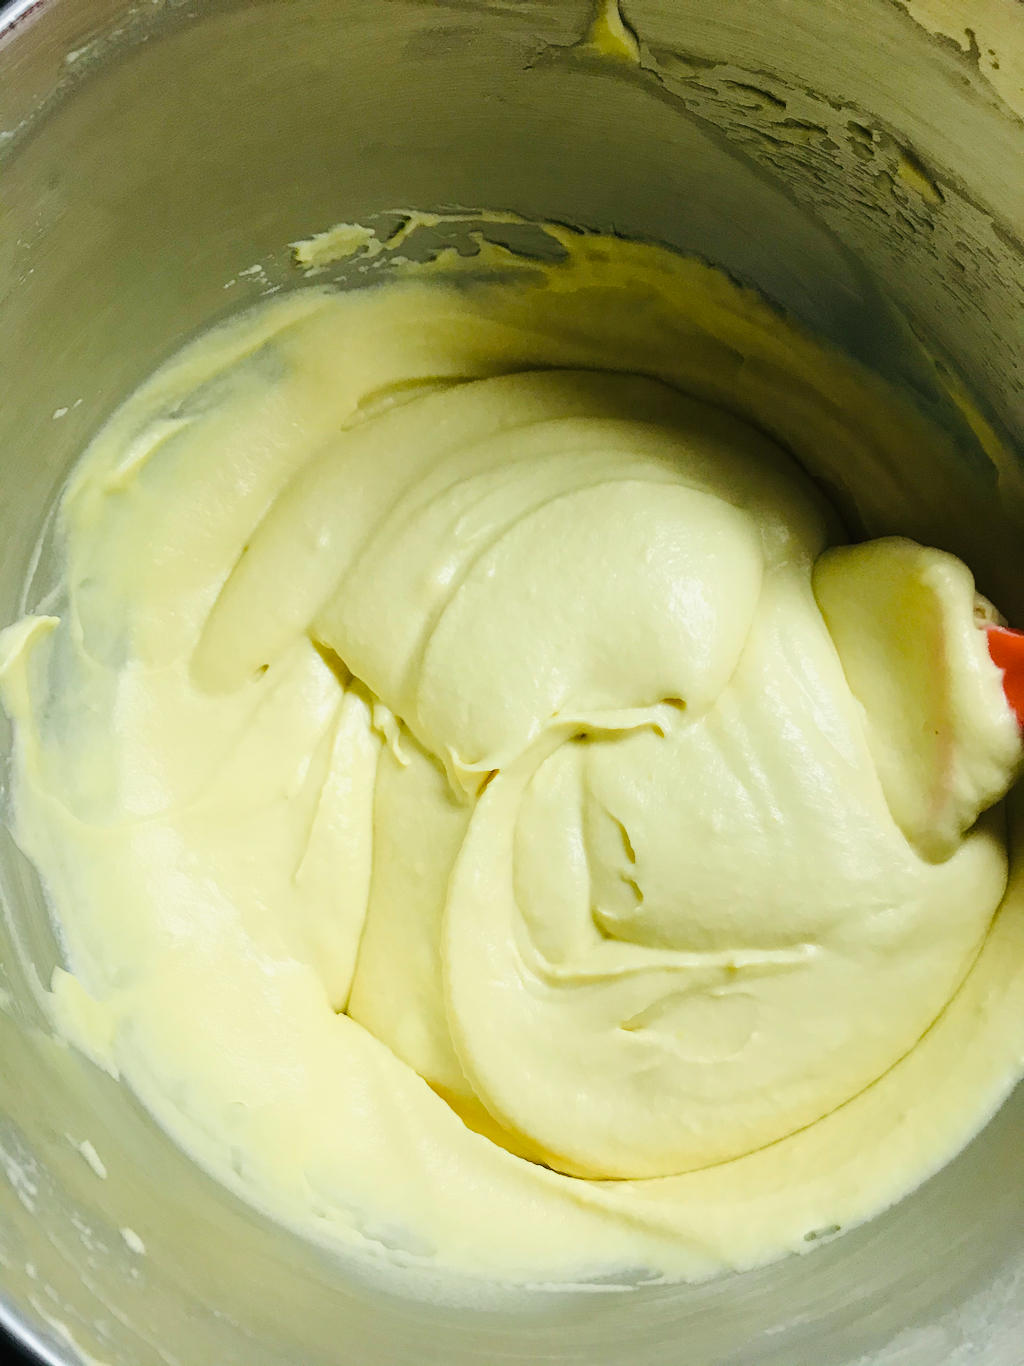
Stir the whipped mascarpone cheese and the whipped cream together.


Then fold in the cooled (and thickened) egg mixture until smooth and creamy.


Now it’s time to layer!
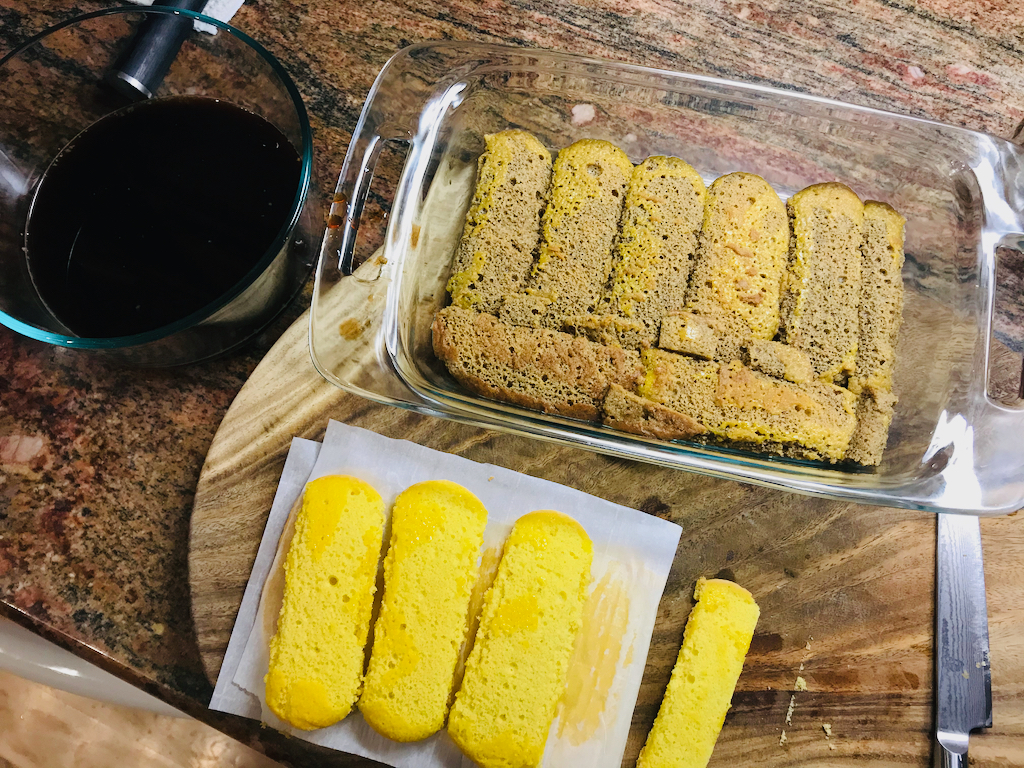
Set a glass serving or baking dish near your coffee mixture and Ladyfingers. Dip Ladyfingers in the coffee very quickly, one at a time, and lay them across the bottom of the dish. I like good cookie coverage, so I cut up pieces of ladyfinger to fill any gaps. (Soak those tiny ones quickly.)


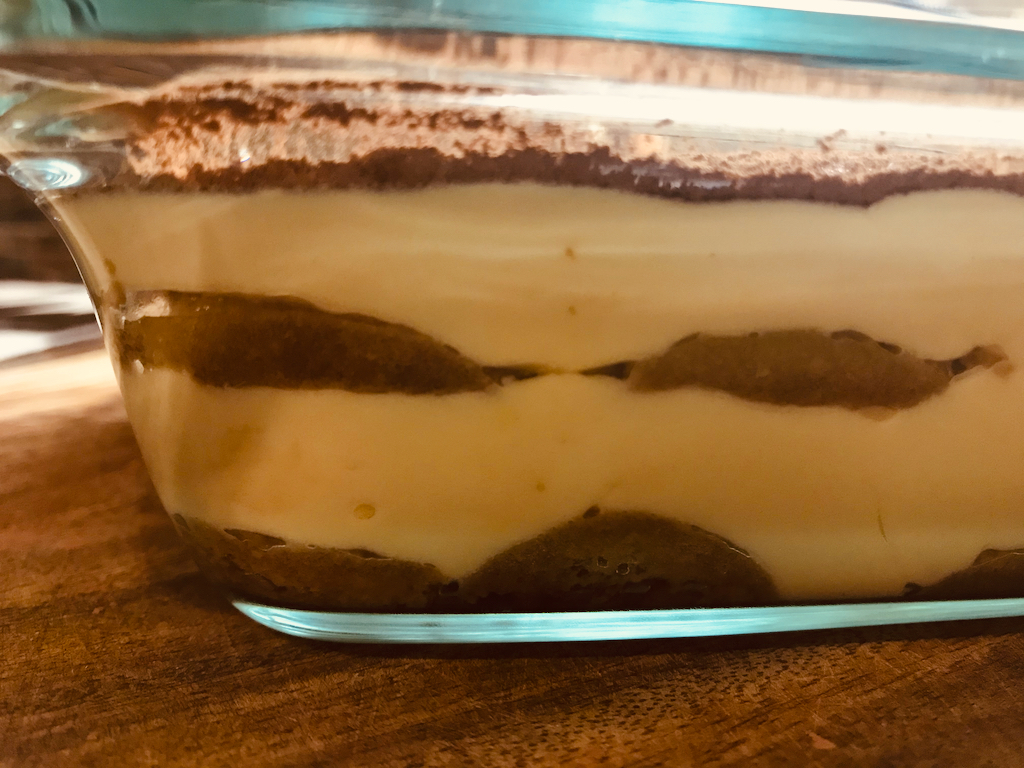
Then spread ½ of the Zabaione filling and spread evenly.


Then repeat with soaking and arranging Ladyfingers; then with the other half of the Zabaione.


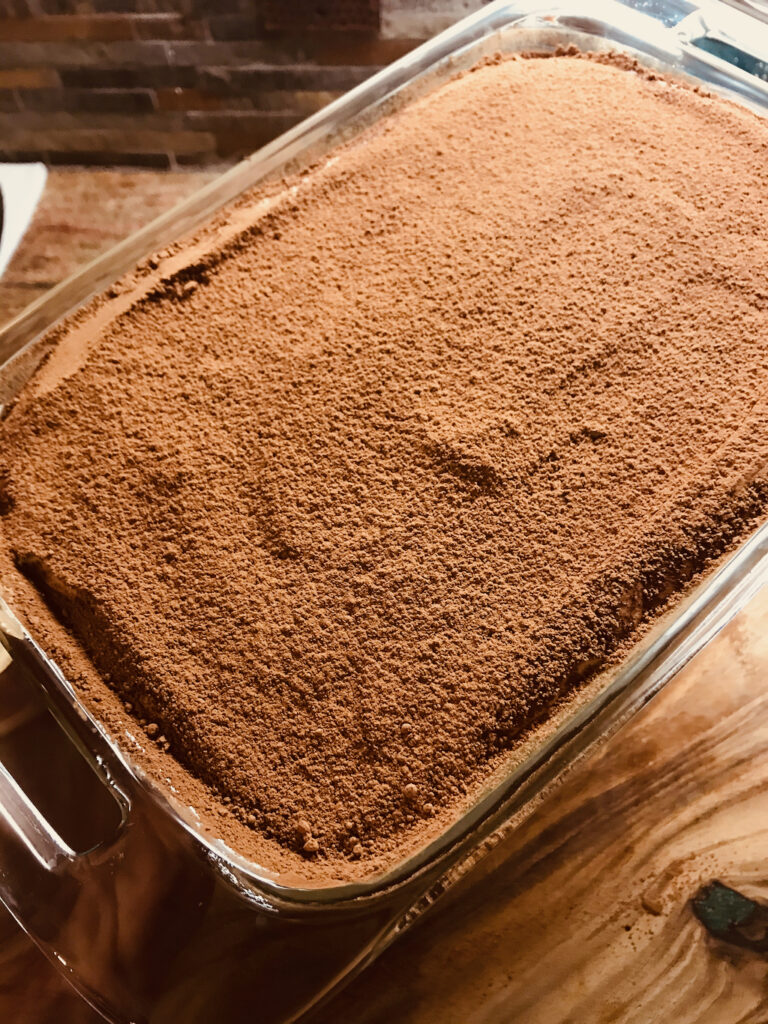
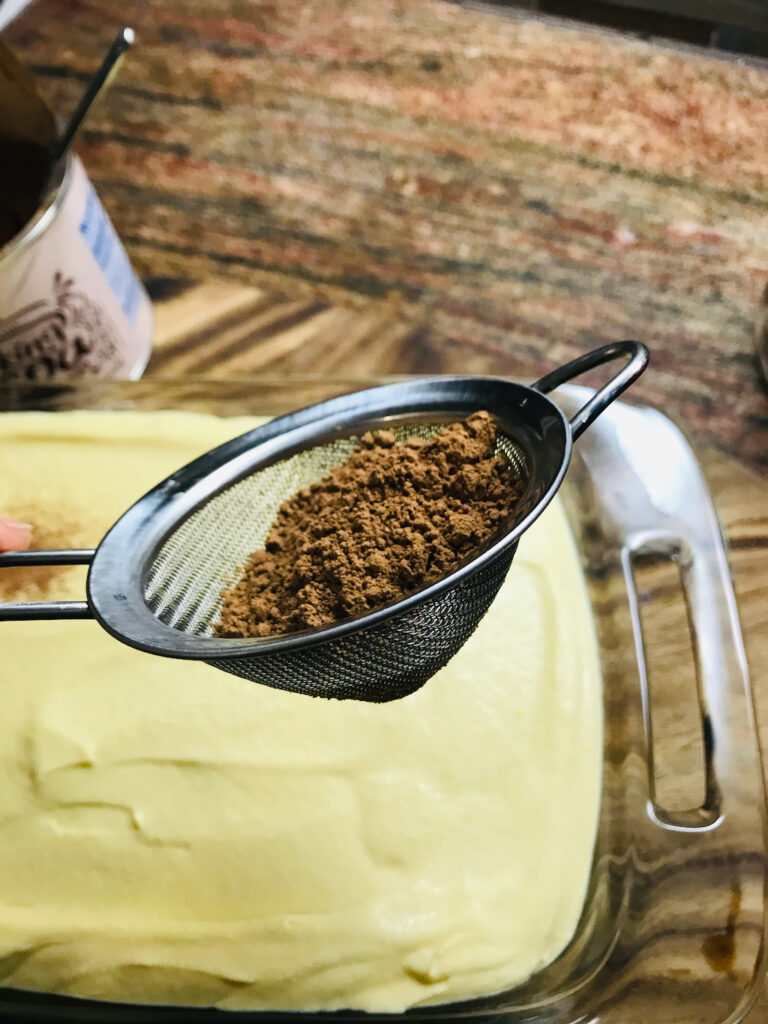
Then dust the entire top with cocoa powder.


Let chill in the fridge, and wait several hours or overnight.
Wait! What?!
I know, it’s the hardest part, but it only gets better with melding time.
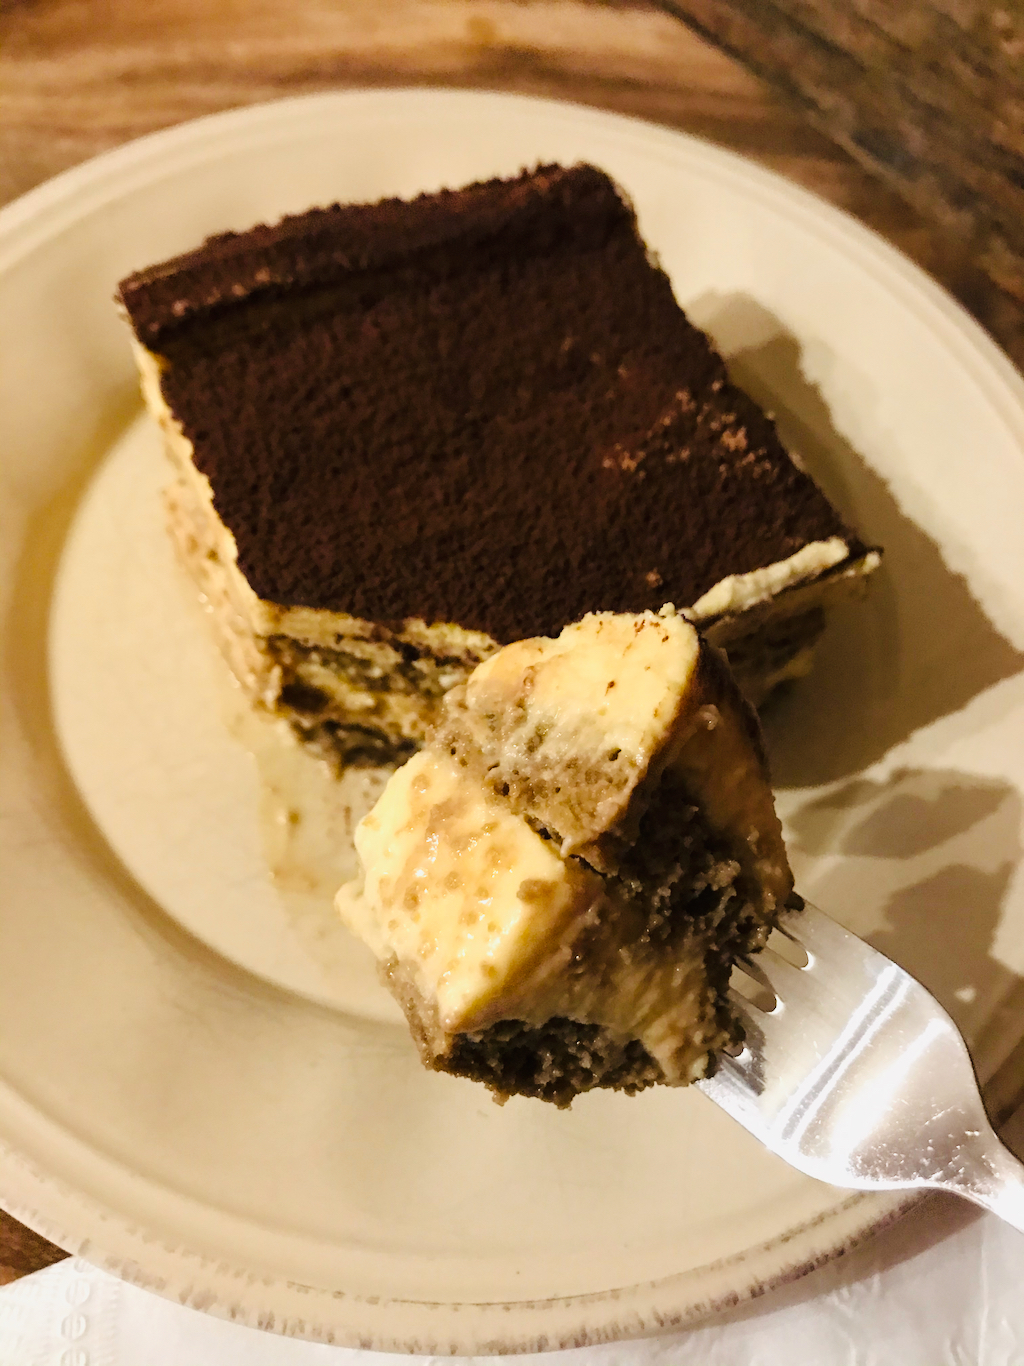
Tomorrow, cut yourself twice as big of a slice as you thought you wanted.
E goditelo!
–Becky


Download the recipe file here.