All-Butter Double Pie Crust
Decidedly a kitchen staple.

{This post contains some Amazon affiliate links. If you click on and purchase an item linked in my blog posts or from the store page, I will earn a percentage from Amazon. Your purchases don’t cost you any more, but it certainly does help me and my blog!}
(Jump to the recipe file here.)
There are a few things that are funny and fun to make for oneself, maybe once, such as homemade oyster crackers or homemade phyllo dough, but those particular items are very fiddly and any of my attempts to make them have not been as good as store-bought.
However, pie crust is one of those kitchen staples that I think is so versatile, and can be the base of many a clever main dish, a base for a hearty side dish that fills out a light meal, or a really special dessert.


Every cook should have a good pie crust recipe in his or her back pocket.
This pie crust has always turned out better than a store-bought one for me, and really doesn’t take that much more time than running to the store to pick one up. (I often, I’ll admit, do have trouble running in to the store for just one thing, I usually end up remembering another three or four things I’m out of. I also live in a touristy town, and sometimes there’s a 20-minute wait to check out, even at the self-check-out kiosks.)


This recipe, that I have used loyally since the first time I tried it, I came upon accidentally.
Shortly after being married and getting a whole family right out of the gate, in other words, when I started cooking on a daily basis, I signed up for a free trial of a new cooking app, the Pana Cooking App. I scanned it a few times and bookmarked some things I really meant to try, but then, didn’t go back to it for a long time. Then, of course, the free trial ran out. My card was charged 45 dollars, and I had never paid that much for an app before in my life! If I cancelled, however, it would simply not automatically renew the following year. So, I decided to make that app worth the 45 bucks! I would scan recipes and watch the tutorial videos while in the tub; I picked dinner and dessert recipes from that app for at least two to three meals a week for about six months, and have used it regularly ever since.
I have saved 163 recipes from the Panna app, and one of those recipes was this all-butter double pie crust from Emily and Melissa Elsen of Four and Twenty Blackbirds.
That app, as it turned out, was a bargain, and one of the reasons is this simple, reliable pie crust recipe. (The Panna app is now joining the Food Network Kitchen app, just for your information. If I’ve sold you on the app, and you must have it, you can’t; you’ll need to get the Food Network Kitchen app instead. If they have kept all of the content from Panna, I can only assume that that one is also worth the price, whatever that is— as a Panna subscriber, I have a complimentary year of the Food Network Kitchen app. I’ll let you know what I think of that one too.)
I use this pie crust recipe for, apple pie, of course


but also for quiche, mini onion tarts, chicken pot pie;
I feel like I end up making this pie crust recipe at least once a month.


So, you’ve made it this far.
Here it is!
The essential,
All-Butter Double Pie Crust
Recipe and Instructions
You’ll need:


- 1/2 lb (that’s 2 sticks) cold, unsalted butter (using salted butter does work, but I find it changes the overall moisture content more than it changes the taste, and I have to be very careful when adding the liquid, so if you’ve got it, stick to unsalted for this.)
- 2 1/2 cups all-purpose flour
- 1 Tbs sugar
- 1 tsp salt
- 1/4 cup apple-cider vinegar
- 1 cup cold water
- 1/4 cup ice cubes
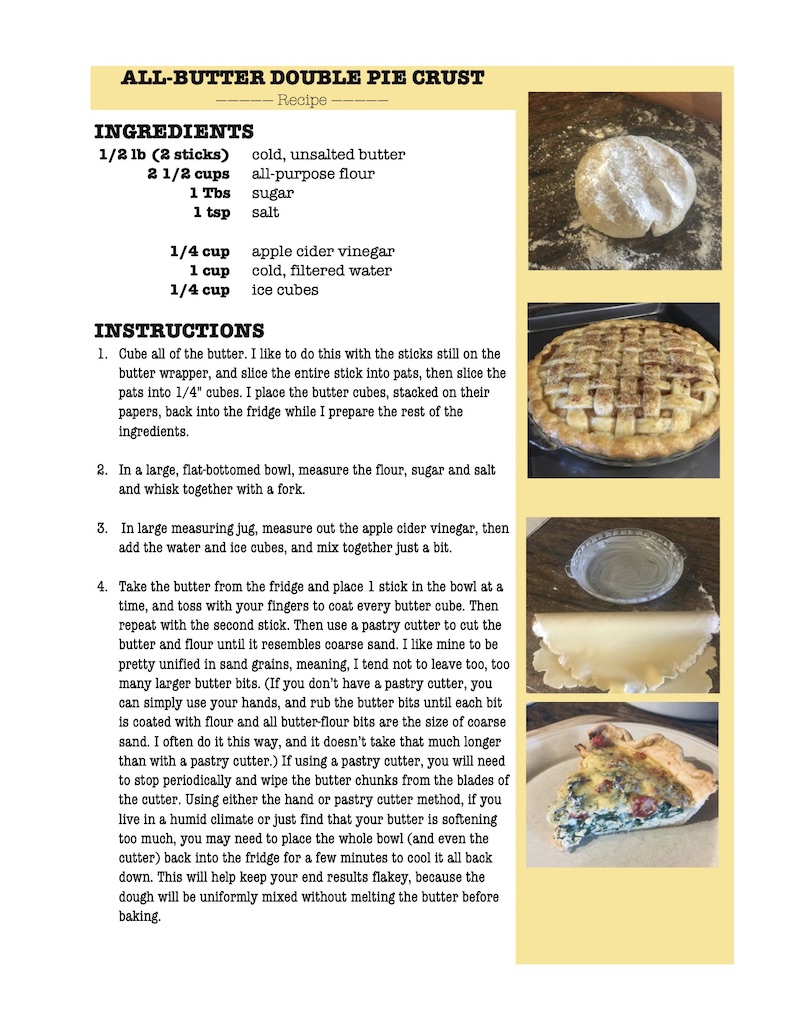
First, cube all of the butter into about ¼” cubes.
I like to do this right one the paper wrapper, so that I can transfer the butter cubes back into the refrigerator while I measure out the dry ingredients and mix together the wets.


I cut the stick of butter into ¼” pats, then cut the whole stick in half, then turn some of the pats on their sides a few at a time, and cut those into ¼” cubes. Carefully stack the cubes back up on their respective papers, and transfer the piles back to the fridge.
Next, prepare your “dries.”
In a flat-bottom bowl, measure the flour, sugar and salt, and whisk together with a fork (it’s easier to clean than a whisk.) (Also, a flat-bottom bowl is indeed recommended. I once used a kind-of, slightly-too-small bowl with a very curved interior, and also used a pastry cutter instead of my hands, and my pastry cutter slipped several times and splooshed flour over the sides several times, which is less fun than when it all stays in the bowl.)

Then prepare the “wets.”
In a large measuring jug, measure out the apple cider vinegar, then add the cold water, then the ice cubes, and swirl it all together. (I like to use my Pyrex or Anchor Hocking 2-cup glass measuring jug, because it’s the prefect size for this part.)

Now we start the dough!
Take the butter from the fridge and place the cubes from one stick of butter at a time into the dry mixture and coat all of the cubes of butter with the flour. Once every cube is coated, add the other cubes from the second stick, and coat all of those cubes as well.


You can use a pastry cutter to cut all of the butter into the flour until.
You’ll need to cut, cut, cut, and wipe the clumps of butter from the pastry cutter several times in between cutting sessions. I like mine to be pretty unified in texture, meaning I tend not to leave too many larger lumps of butter bits (especially if using the crust for something savory. For sweet pies, I will sometimes leave some larger pieces of butter about the size of peas and some smaller pieces of butter about the size of large sand grains.)


If you don’t have a pastry cutter, you can use your fingers. Pick up each butter cube, one at a time, and squeeze each cube. Toss the smashed cubes around in the bowl, then begin to slightly rub the now-smashed cubes into the flour even more. With each pass, you’ll break each piece of butter into a smaller piece which is also coated in flour. Eventually, you’ll get to the point where each piece of butter has been cut or rubbed into a teeny-tiny piece that is coated with flour, and your whole mixture will look like coarse sand. This sounds like it takes a long time, but it really doesn’t. Once you’ve made pie crust a couple times, you’ll get quicker at this step, and you’ll find it doesn’t take any longer to cut the butter by hand than it does with a pastry cutter – and you don’t have to wash a pastry cutter 😉
I have used my hands many times, simply to not have to wash the pastry cutter, and it has worked just as well for me, texture-wise, (though my climate is dry, and I tend to have dry hands as well. (Between owning ducks and the existence of COVID-19, I feel like I wash my hands 100 times a day – so I have cold, dry hands – my hands are basically a pastry cutter.) If you tend to run warm, you may find a pastry cutter worth getting and using.
If while cutting at any time you feel your butter is beginning to soften, just pop the entire bowl (and the cutter, if you’re using one) into the fridge for a few minutes, and then continue on until you get that coarse-sand texture you’re looking for. (In the next step, is when you add the liquid, so you really don’t want the liquid to leave your butter at any point in making the pie crust. If your butter softens while you are cutting it into the flour, the liquid from the butter will start to seep out and become absorbed by the flour now, instead of later in the oven during baking. You don’t want the liquid to seep out of the butter until it’s in the oven, which creates steam and makes your pie crust flaky, so feel free to pop your dough base back into the refrigerator if you need to; a couple minutes should do it.)
When you have coarse sand, you’re ready to start adding the wets.

Once you have course sand, it’s time to add the ice-water-vinegar mixture. Start by adding 3-4 tablespoons, then toss the liquid around the “sand” until it’s completely incorporated.
Then add 1 tablespoon at a time, as you mix the liquid into the “sand.” Mixing gently with your hands, bring the bottoms of the contents of the bowl to the top until it feels like the liquid has been evenly distributed throughout.
Continue adding the liquids 1 tablespoon at a time until the dough just holds together when squeezed. You do not want it to be too moist, but you want it to hold together and to be shape-able. Your end goal is a flaky crust, but to get it there, you also have to be able to roll it out, right?
You have added enough liquid when the dough just holds together when squeezed, at that sweet spot in between dry and wet. This can take anywhere between 5-12 Tablespoons of liquid in total, when all is said and done.

If you’ve noticed that the picture above is the same picture from immediately above that, you’re right. This is an image of the 4 Tbs of liquid added to the coarse sand, flour-butter crumbles. It’s hard to tell that liquid has been added.
I put this photo in twice to emphasize adding a little liquid at a time. You’ll be so happy you did it little by little.
(The original recipe states that you will use anywhere between 10-12 tablespoons in total, however, I have never used 12 tablespoons, and once only needed 5 tablespoons. So the best bit of advice is to start with 3 or 4 tablespoons and then just add 1 tablespoon at a time, mixing and tossing and squeezing after every addition, until you get this:)

Divide the dough into two equal portions.
(I eyeball this.) Shape each half into a sphere, then flatten into a disc.
(It’s easy to roll into a circle later, after it’s chilled, if you start from a circle now.)
Wrap each half in plastic wrap and allow it to chill and meld together in the refrigerator for about 30 minutes.


If only using half of the crust now, the other half can be wrapped in a few layers of plastic wrap, and placed in a freezer bag and stored in the freezer. I label mine with a sharpie, “all-butter pie crust” and include the date. Mine have stored for several months, and have baked up really flaky and nice. I thaw them, still wrapped, in the refrigerator overnight, if I think about it that far ahead, and then on the counter for a couple hours. I’ve also brought it straight from the freezer to the counter, and used it as soon as it was roll-able.)
After chilling for 30 minutes, it’s time to roll it out.
Liberally butter a nine-inch glass pie pan, and don’t be shy on the butter. Why put all this work into your creation and not be able to get it out of the pan.


Keep a small amount of flour handy for rolling.
I tend to just leave it in the measuring cup that I used to dish out the flour and set that next to my rolling space.
And since we’re mentioning rolling space, I roll pie crusts and knead bread dough directly on my granite countertops, which works really well, stays cool, and is easy to clean up afterwards. If you have laminate countertops, those work really well too, and will be just as easy to clean up afterwards. Laminate countertops, if the weather is particularly warm, won’t keep the crust quite as cool as granite, so you may require just a smidge more flour to roll it out, and be sure to dust your rolling pin with flour. If you have a wooden surface for rolling, you’ll definitely need to use more flour, and will need to flip your crust over a few times, flouring under and on top. Wooden surfaces can be used, they’re just more porous and a bit trickier.
Unwrap your crust.
Lightly flour your surface, your hands a bit, and your rolling pin. You may need to whap your disc of crust with your rolling pin in about three places to get some leverage for rolling started.

Then you’ll want to roll from the middle of the disc up, then from the middle of the disc down.
Then rotate the crust ¼ turn, and repeat, rolling from the center up, then the center down, then turn 90˚.
Continue this way until your crust is both bigger than your pan by about an inch, after going across the bottom and up the sides, and is also about 1/8” thick.


Then lay your rolling pin across the middle of your crust and fold half of the crust over the pin, and bring your buttered pie dish next the fold.
Use the rolling pin to pick up the crust and lay the pin across the center of your dish, then lift the crust.


Now smooth the bottom of the crust into the pan from the center towards the edges. Then smooth the crust up the edges.
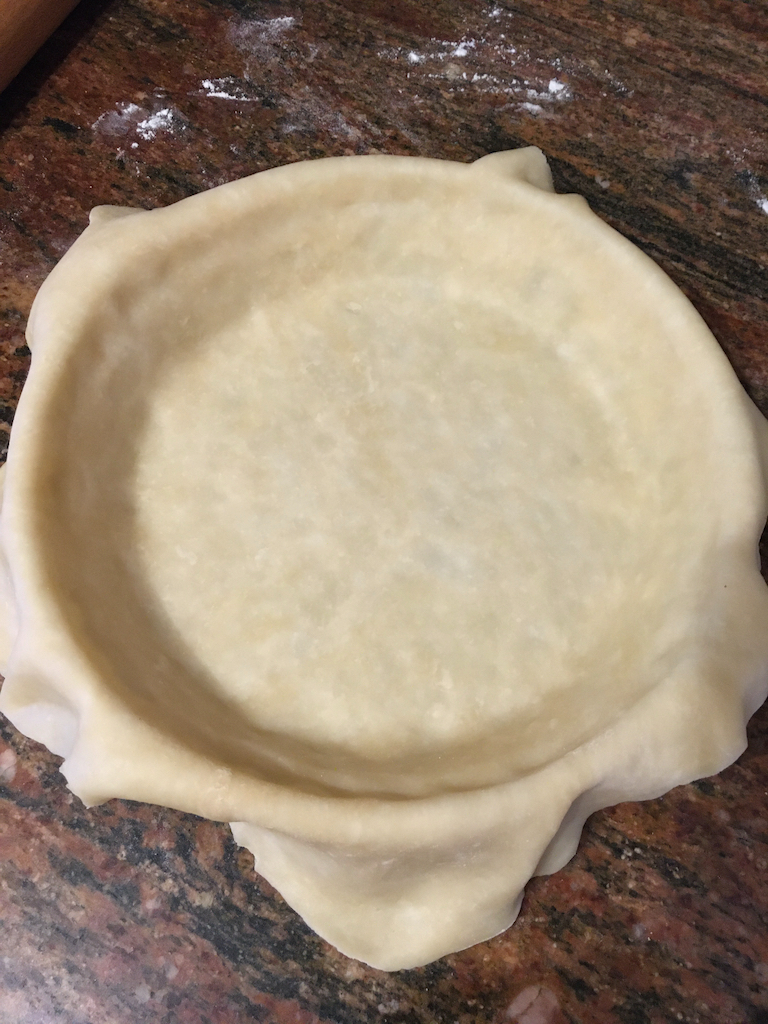
You may need to lift parts of the crust and smooth an air bubble or two out from under the crust.
Once it’s all smooth and adhered to the dish, trim away any hanging bits about 1 to ½ inches away from the edge of the dish, all the way around.
I have a pair of kitchen scissors that came with a set of knives in a knife block that I use for this.


If you don’t have kitchen scissors, or any scissors you’d like to dedicate to the kitchen, you can trim the crust before you move it into the pan, by turning the pie dish upside down on top of the rolled-out dough and trimming around the pie pan by running a knife about 2 ½ to 3 inches from the edge of the dish all around. Then turn your dish back uprights, and you can use the rolling pin to help you pick up the already-trimmed crust, trying to center the crust over the pan as best you can, since it’s already trimmed. If you miss and get too much off center, you can definitely pick up the crust and move it before you’ve smoothed it into the buttered pan, just be sure to lift and move rather than stretch the crust into place.

Next, once smoothed and trimmed or trimmed and smoothed, whichever order you used, roll the edges of the crust under, and here you can and should really squeeze the little rim that you are rolling together. Roll the edge under itself and keep rolling the edge under all the way around the pan, squeezing the roll tight, and trying to get that rolled edge right over the top edge of the glass dish. If the rolled crust edge is too much to the inside of the pan’s edge, it can shrink away from the pan and pull towards the center. If the rolled edge is too much overhanging the edge of the dish, it can be easy to flake off or burn a little too readily.
You want to build a wall of crust right up the side of the dish.

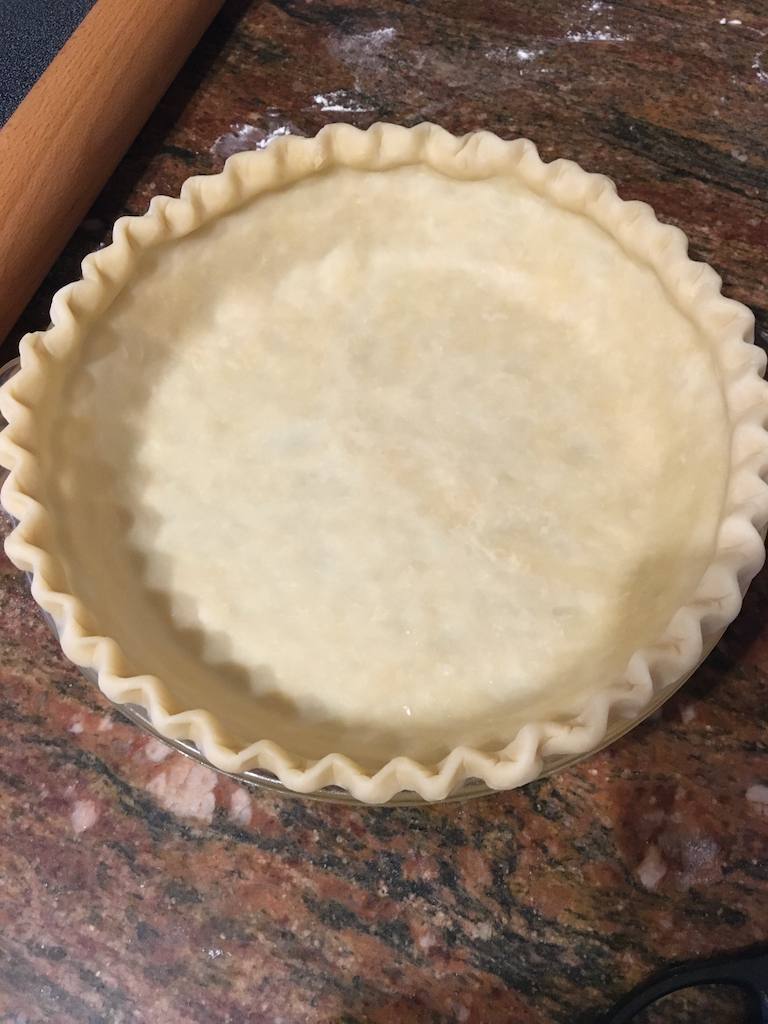
Now it’s time to crimp the edge.
Use your thumb and pointer finger of one hand on the outside edge of the crust-ridge-wall you just made, and place your thumb on the inside of the ridge between your thumb and pointer, and squeeze together, then move your inside-edge thumb to the edge of the crimp you just made and squeeze your outside-thumb and pointer finger over the inside thumb. Repeat all the way around the crust edge, and you’ll find if you use the previous crimp to place your inside-thumb each time, you’ll end perfectly in line with the first crimp you made.
(One day soon, I will get a family member or set up a tripod at the very least and get some step-by-step pictures of the crimp. It’s very hard to take pictures while doing this step.)
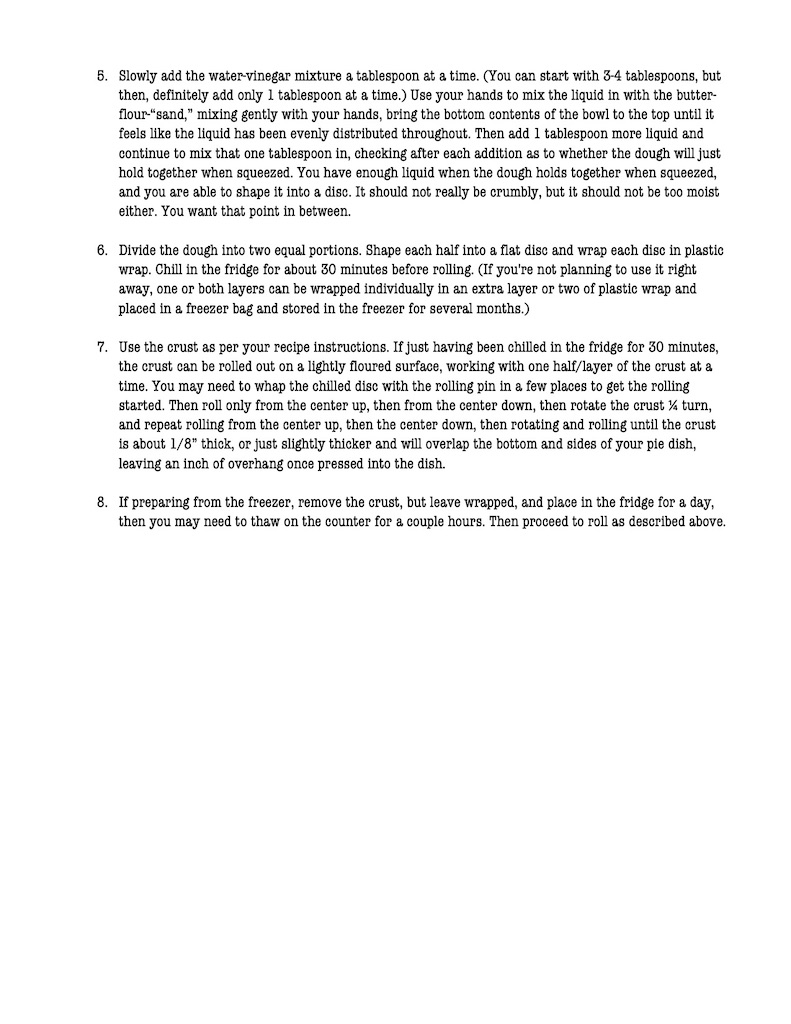
But here it is! So classic!

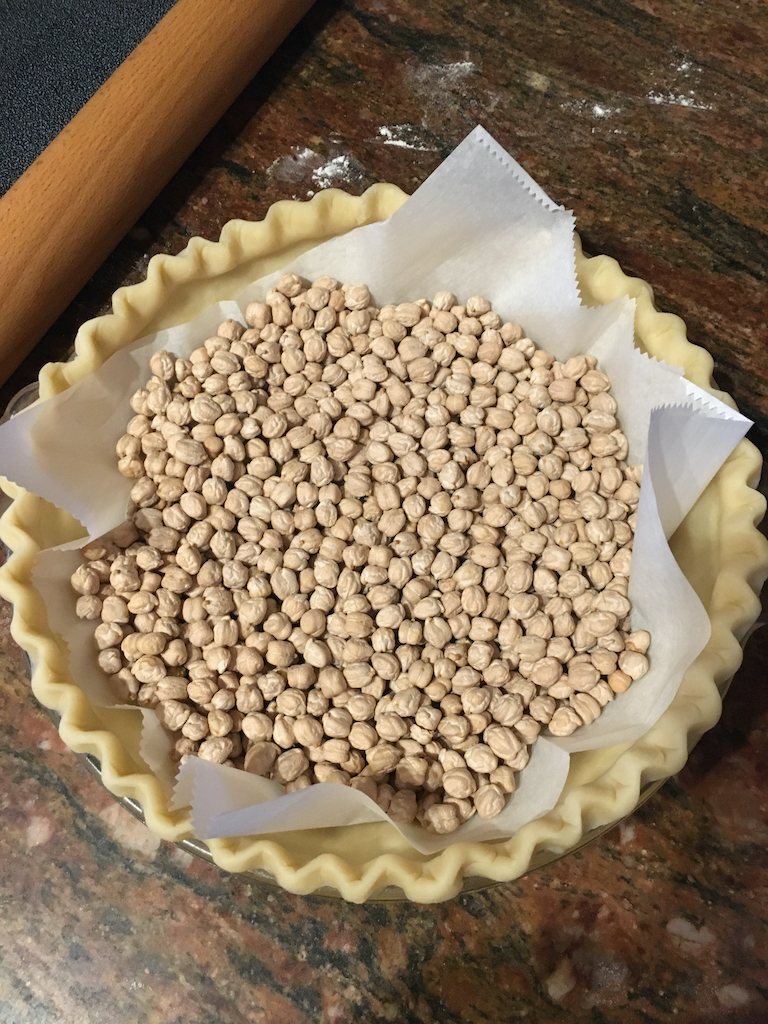
Continue with your recipe instructions as to using the crust from here, either chilling, or pre-baking, filling and creating a lattice top, etc.
The world is your oyster!
(Though saying that, now I want to figure out a recipe working oysters into a savory tart recipe with lemon, shallots and garlic. Hmmm.)
Download the recipe file here.