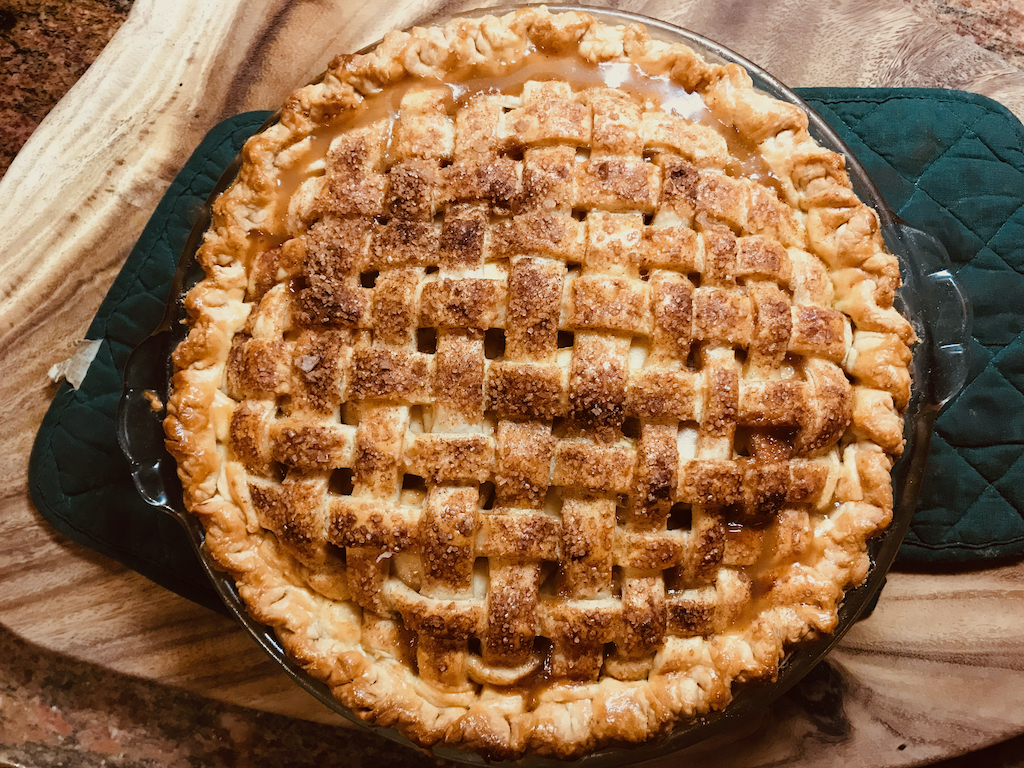
Salted Caramel Apple Pie
Make this apple pie recipe the apple of your eye!

{This post contains some Amazon affiliate links. If you click on and purchase an item linked in my blog posts or from the store page, I will earn a percentage from Amazon. Your purchases don’t cost you any more, but it certainly does help me and my blog!}
(Jump to the recipe file here.)
I have one little note on the timing of this post. I wrote this post, edited all the pictures (I have to reduce the file size of all of my photos), made up the printable recipe card, all of it, early last week, and then my site “lost” my post! Not to worry! I saved all the text and had already reduced the sizes of all my pictures, it should come back together in a snap, so I re-built the whole post, and my site lost my post… again… My hosting service was very kind and helpful, they called the day before Thanksgiving and again the day after, and it’s a problem they are having, with a really handy feature to the site builder, that they are aware of and are working on fixing, but they just couldn’t retrieve either version of the post. So third time’s the charm! This recipe is worth it, people. But, for now, and until October 31st of next year, as you read this post, do me a favor and simply substitute in your mind “Christmas and Hanukah” in place of “Thanksgiving,” any time you see it! Problem solved!
This recipe is pretty special to me.
Apple pie is the first dish I ever made on my own, in my own apartment kitchen, for other people to eat. I made apple pie, Swedish Limpa bread, and sauteed Brussels sprouts as my contribution to Thanksgiving dinner one year. (Back in the day *sigh*.)
That apple pie, I made straight from The Joy of Cooking, and while everything was made from scratch, it was just good. It was good because it was apple pie, and… we all know that apple pie is good. I’d say, that an even number of people chose pumpkin over my apple pie that year.
Nobody’s going straight for pumpkin this year.

This is the first pie that will be gone; if you make this one this year, you’ll just need to plan on having pumpkin pie for breakfast the day after Thanksgiving. (Or if you’re like many folks, and don’t live on an extended family property where all of your grandparents, aunts, uncles and cousins live on the same grounds – that happens here in Utah – and you’ll only be having Thanksgiving with your 1-3 most-immediate family members, and you are forced to choose just one pie, I know, I know…
…choose this Salted Caramel Apple pie.
My husband’s favorite desert is apple pie, and I love a good food challenge, and was really happy to try to up my apple pie game. When I stumbled across this recipe, I was immediately intrigued. It uses angostura bitters in the sugar coating of the apples, which gives a subtly perceptible depth of flavor. I like to think of the use of angostura bitters as giving something else for the sugar to do besides just being sweet. The bitters lets the sugar be a busy, happy, industrious, sugar when it hits your pallet in the finished pie.


It also calls for black pepper in the spice mix for the apples, which is genius. That little bit of black pepper helps the other few spices to meld together and make sense with one another. If you weren’t told that this pie has black pepper in it, you’d never know. You’d just wonder what made this pie so intensely flavorful. (I recently read that Joanna Gaines puts a smidge of ancho chile powder in her pecan pie, which is sheer genius. I’ve often added my favorite smoky chile powder to coffee with some cocoa powder, to brownies, to candied nuts for a salad topping; I can definitely see, in my mind, how great that would be in pecan pie. I now want to try adding just a pinch or two into some banana walnut bread. But I digress: black pepper in an apple pie is the same idea: I’ve come to view it as an essential, though nearly imperceptible, ingredient, and I love it in there.)
The original recipe is the best-selling pie from Emily and Melissa Elsen’s Four & Twenty Blackbirds, a pie shop in Brooklyn, NY, from which, when I last checked, you can order one online. They also have shared this recipe originally on the Panna Cooking app, as well as on Saveur and Food&Wine, and I am sharing it here, since it’s now my apple pie recipe too ;-), so you can make your very own. So! follow me step-by-step!
Let’s make some pie!
You’ll need:
For the Crust
- 1 recipe of all-butter double pie crust
For the Apples
- 5-6 large, mixed apples (use a mix of sweet and tart apple varieties)
- 2 lemons, the juice of
- 2 Tbs granulated sugar
For the Caramel Sauce
- 1 cup granulated sugar
- 1/4 cup water
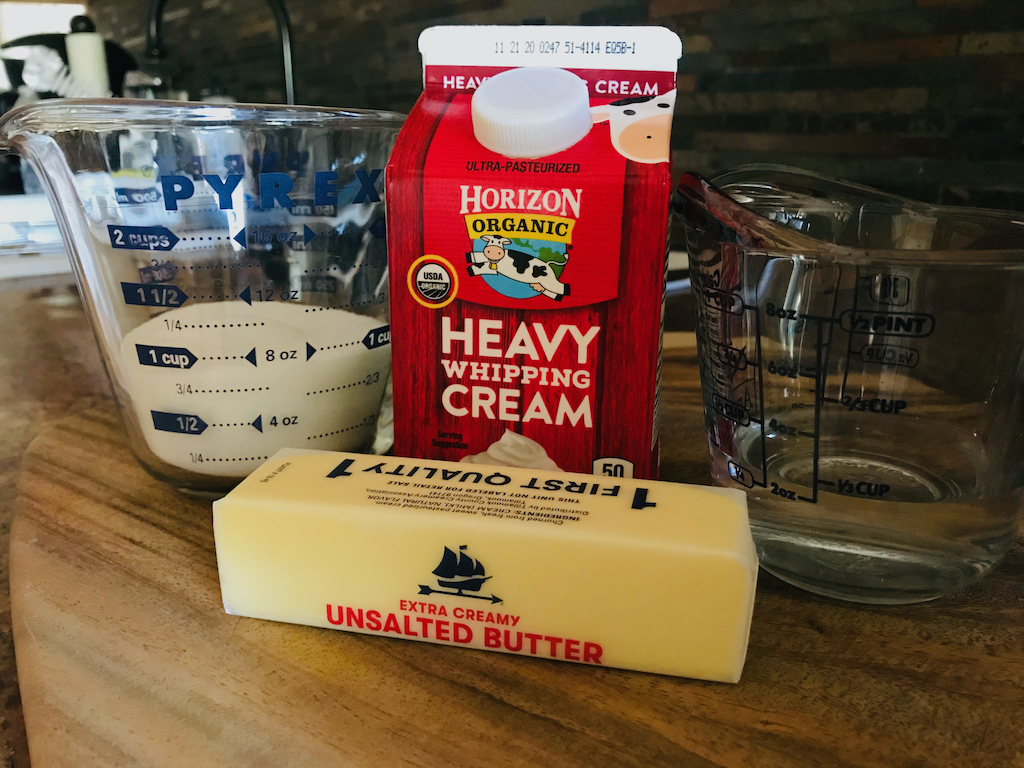
- 8 Tbs unsalted butter
- 1/2 cup heavy whipping cream
For the Spice Mix
- 1/3 cup raw, demerara, sugar
- 5 dashes angostura bitters
- 1/4 tsp salt
- 3/4 tsp cinnamon
- 1/8 tsp nutmeg
- 1/4 tsp allspice
- 4-5 grinds freshly ground black pepper
- 2 Tbs all-purpose flour
For Garnish
- 1/2 tsp flaky sea salt (divided, 1/4 tsp to top salted caramel & 1/4 tsp for final finish.)
- 1/4 tsp raw, demerara, sugar
- 1/8 tsp cinnamon
- 1 egg + 1 Tbs water for an egg wash


First, you’ll need to run to the store and get some good quality vanilla ice cream.
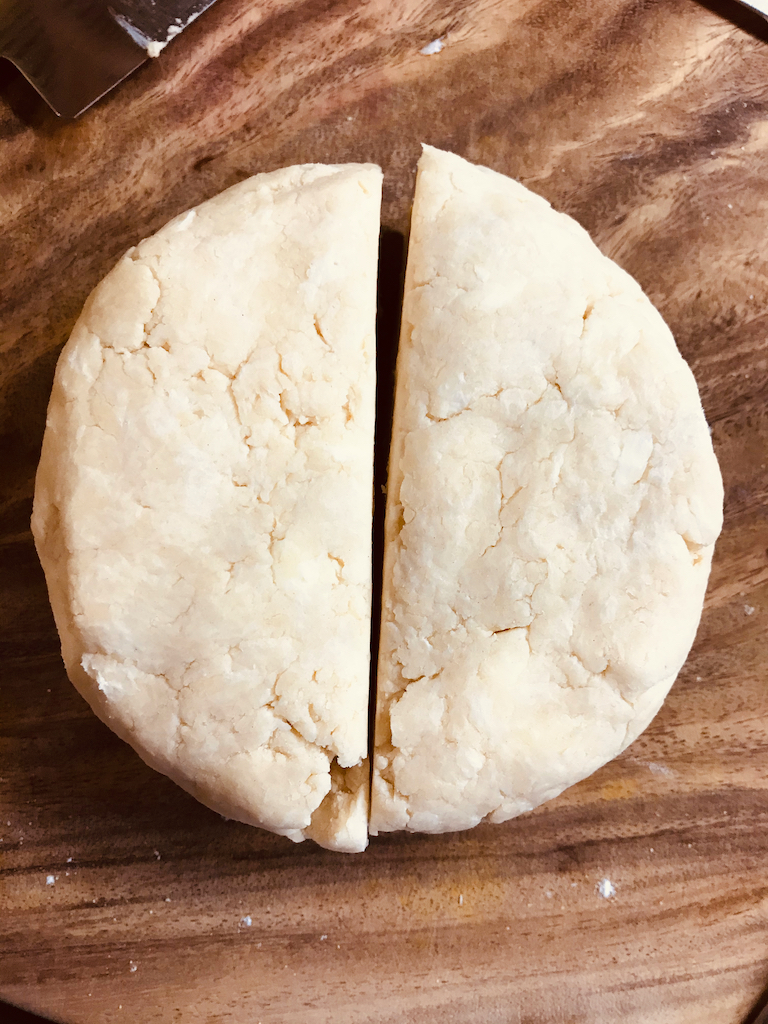
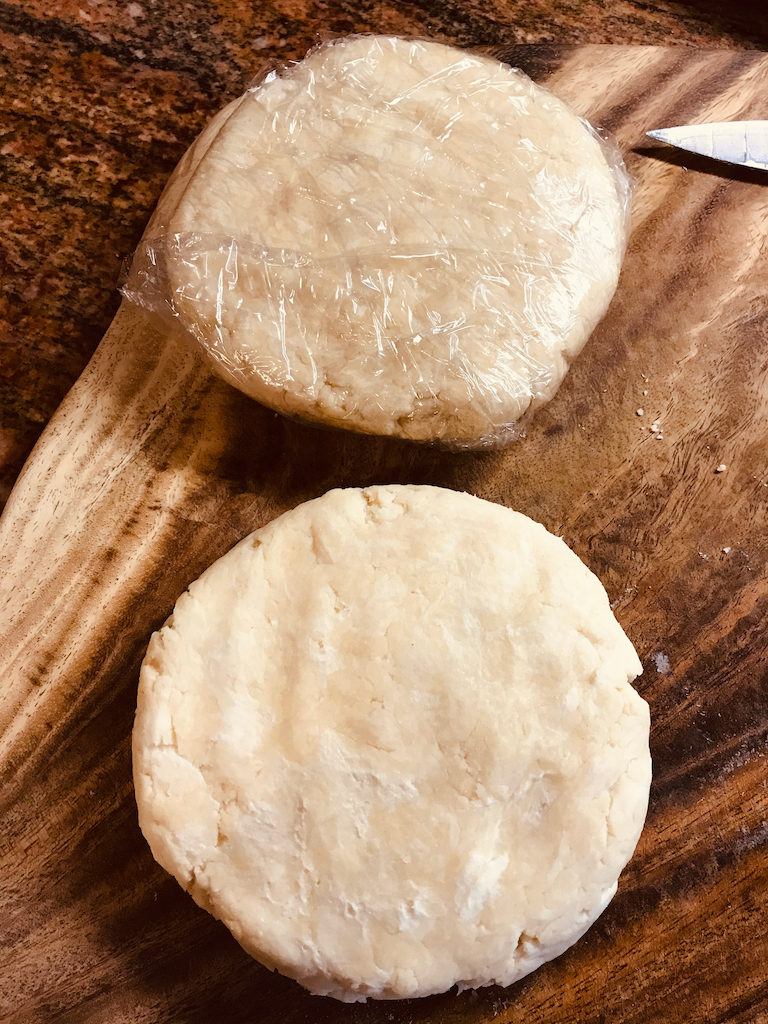
Now that you’re back, the next step is to prepare one full recipe of the all-butter double pie crust. (See my blog post and instructions on all-butter double pie crust here.)
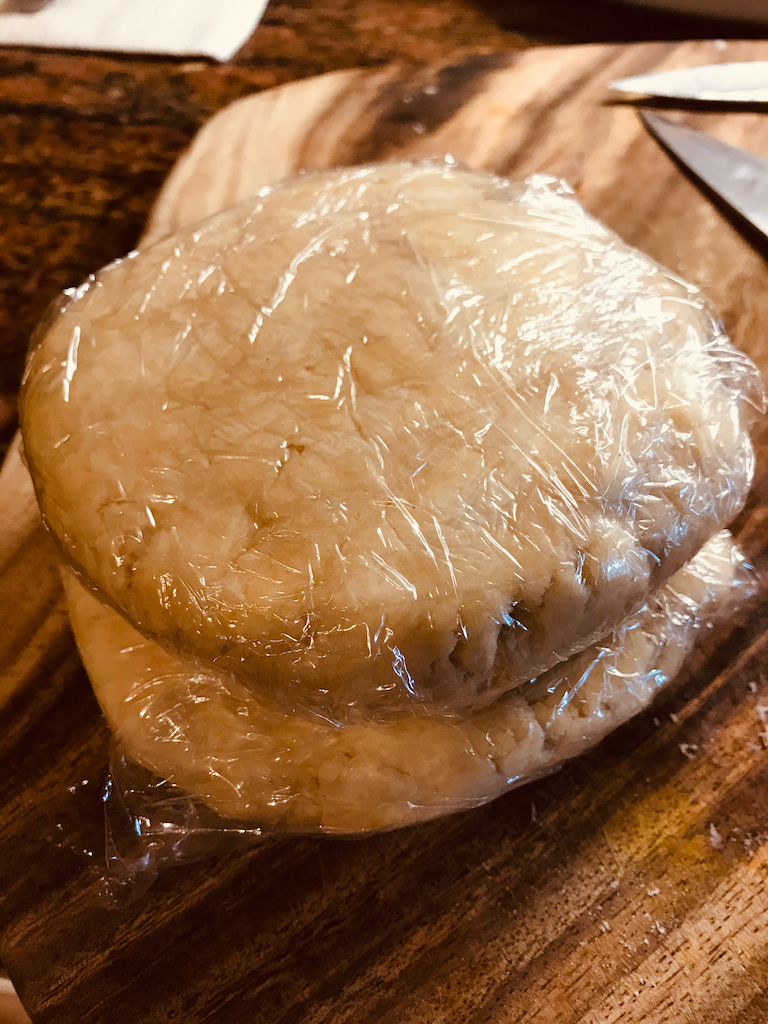
Once your pie crust is made, divided into two, shaped into discs, wrapped in plastic wrap, and chilling and melding in the refrigerator,
it’s time to prep the apples.
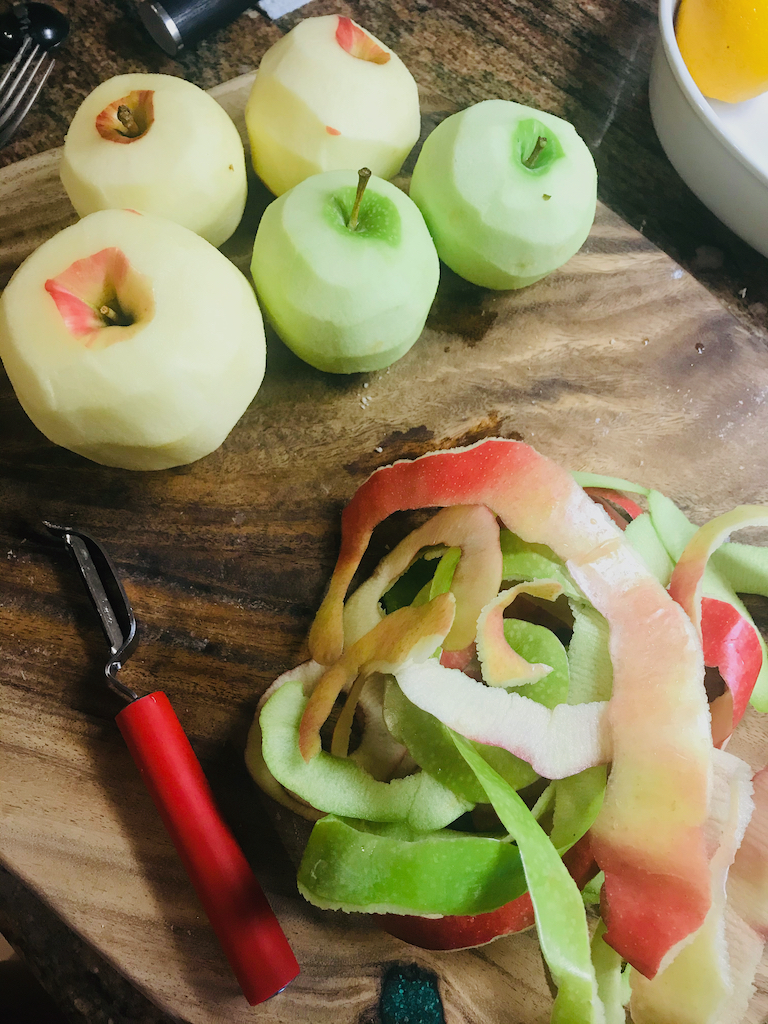
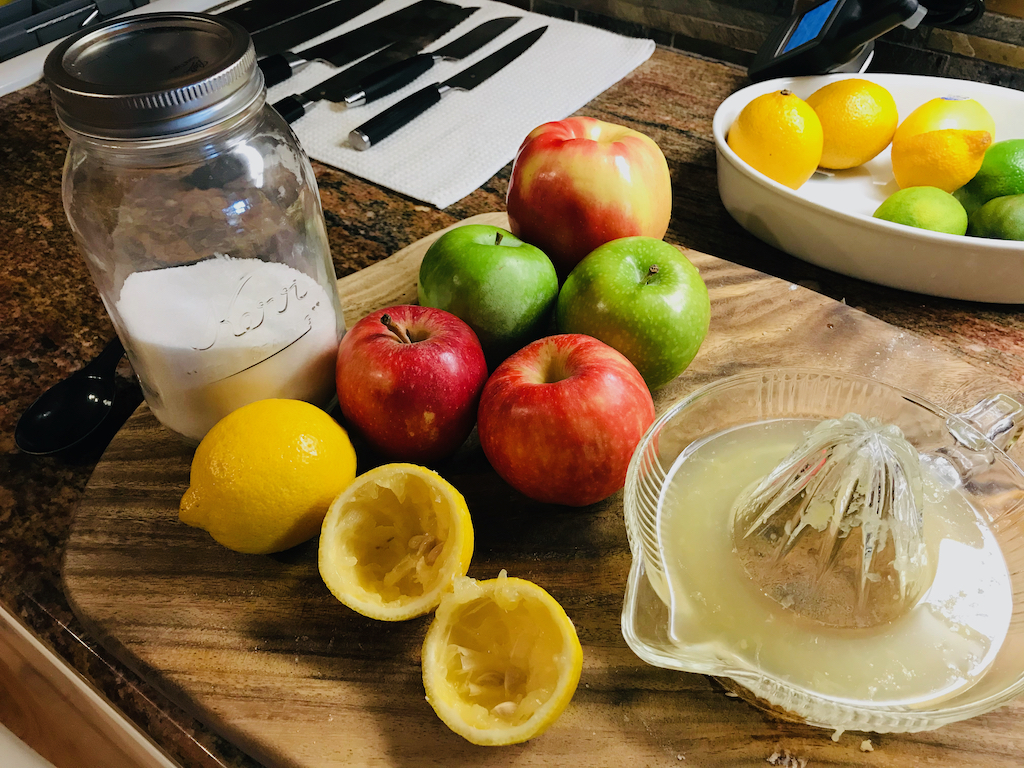
I don’t own an apple corer or peeler, so I just peel with a vegetable peeler and slice them by hand, well, by hand with a knife.
Wash and pat dry your 5-6 large, mixed apples. And I already alluded to the depth of flavor that this pie has, simply from a couple key ingredients, but one of the key things that adds so much depth to this pie is using a mix of apple varieties. Be sure to use some sweet, some sour.
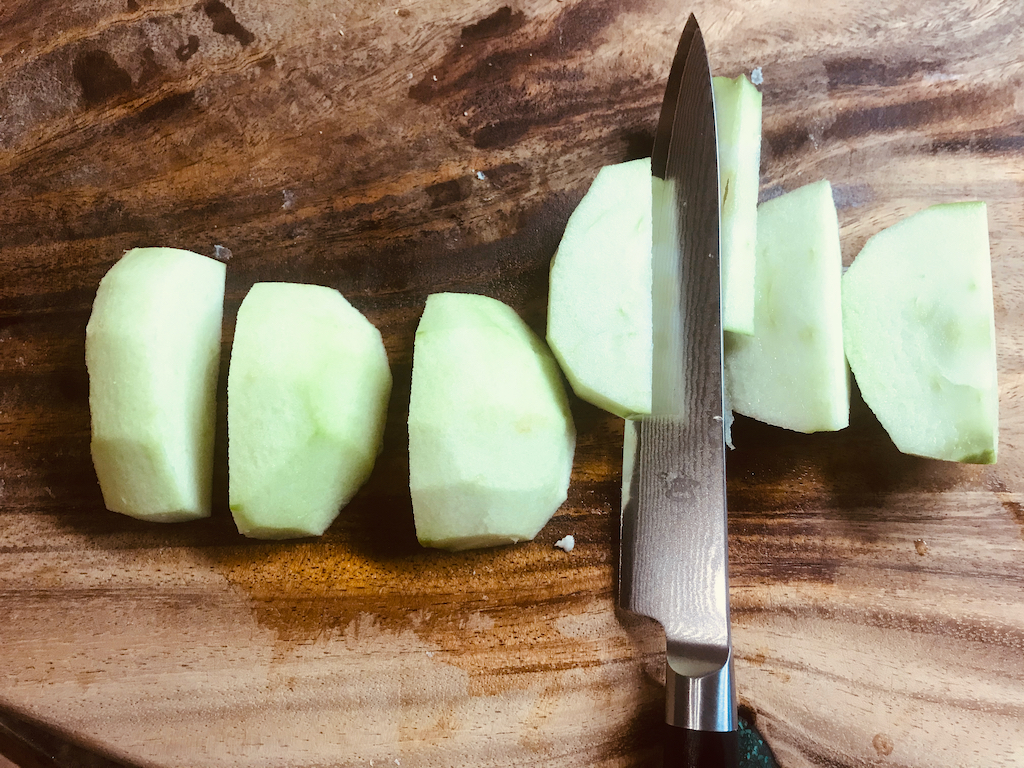
I peel all my apples, as I said, with a vegetable peeler, then I slice each apple in half, then slice the half into thirds, very close to the core. This gives me nice flat edges that I can use to get a little leverage when slicing very thin.

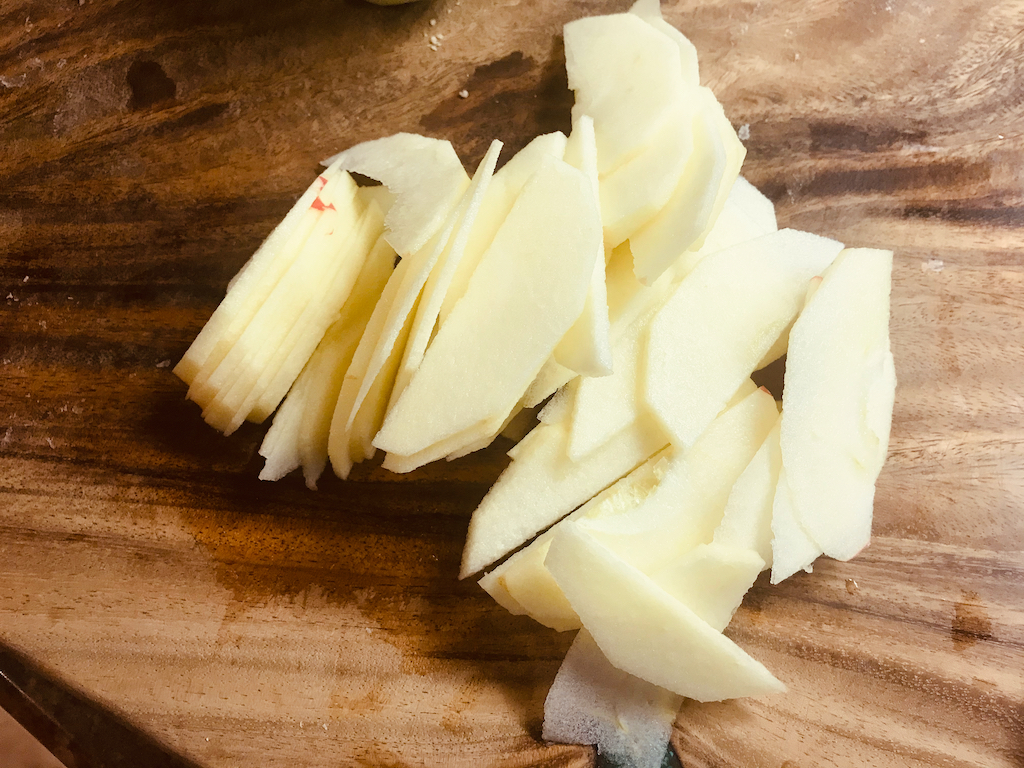
In a bowl large enough to toss all of your apples, squeeze the juice of 2 lemons and toss together with 2 tablespoons of sugar, using your fingers to combine. Then place your apples in the bowl, and toss to coat and separate, and coat some more, all your apple slices.

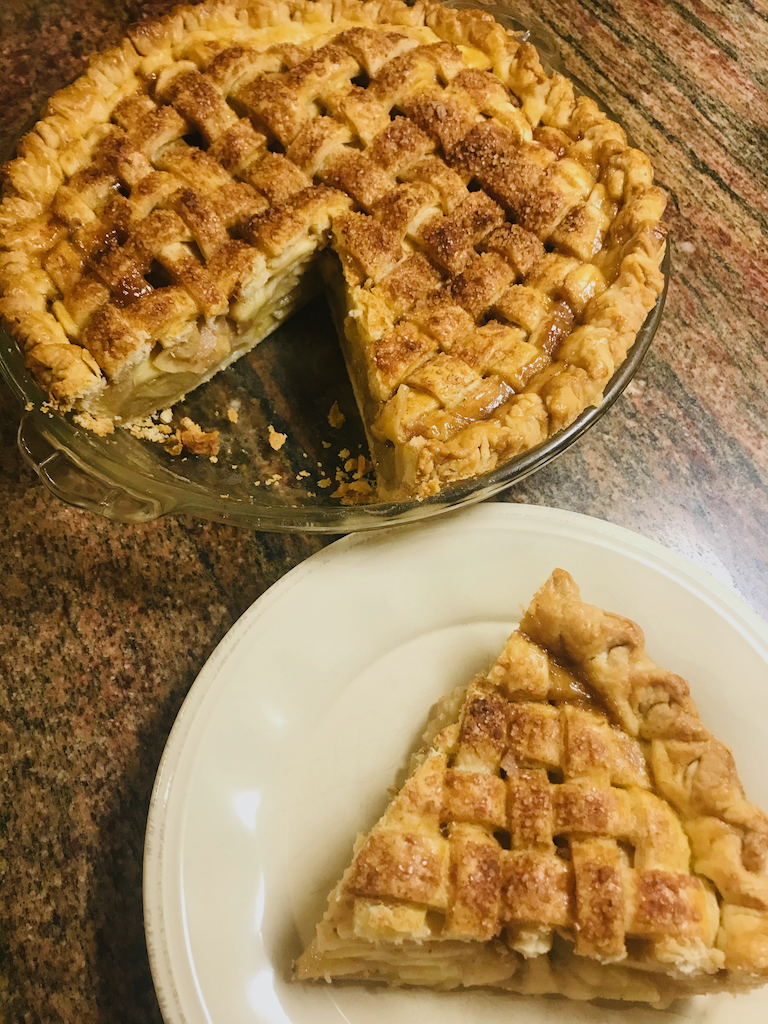
Cover with plastic wrap or a dish towel, and set aside for at least 30 minutes. (One note: you can place them in the refrigerator at this stage overnight and it only intensifies the flavor of the apples. There are two stages where, as much time as you want or can give your apples to marinate, it only helps.) I am a firm believer in allowing your apples to marinate overnight! It gives you perfectly sweet-tart apples that pack nicely, bake perfectly, taste even better the second and third day after baking, and, perhaps the single most gratifying benefit: marinating your apples longer gives you that elusive, perfect first slice:

While your crust is chilling and your apples are marinating, it’s time to make the caramel sauce. Now I must admit, I almost left this out the first time I made this recipe, because it just seemed too much; but, I know this about myself: I like to follow a recipe to the letter the first time I make it, otherwise, it just really bothers me. I will make any number of alterations any successive time, just not the first go ’round, so I made the caramel sauce, and I’m so glad I did. It’s yummy.
Nowadays, I don’t use the full amount that Four & Twenty Blackbirds calls for, but I really like a little bit in there, so I recommend using 1/4 to 1/3 cup of caramel sauce, depending on taste, the tastes of your family, and actually how long you’re able to let your apples marinate the second time (in the final spice mix.) If you’ve had enough time to let the apples marinate in the spices more than four hours, I’d recommend using 1/4 cup of the caramel sauce. It gives you that perfect somethin’-somethin’, that balance between tart and sweet and salted, that people just can’t quite put their finger on that makes your pie so great.
One more note on making the caramel sauce: it’s not recommended to make less or reduce the recipe quantities of the caramel sauce, because of the risk of burning and scorching and boiling over when making minute amounts of caramel. This recipe makes about 1 1/4 cups of caramel sauce, so you will have some leftover, which quite frankly, is such a first-world problem, it’s not to be complained about. Problems such as, “Who can I get to watch my own dog and my kombucha while I go dog sitting in the Bahamas?” (an actual, first-world problem I once faced, it feels like, eons ago), but problems like these are not to be complained about. (So buck up buttercup, you’re going to have some caramel sauce in your refrigerator for using to top ice cream, or filling macarons, or for two weeks later when you make another salted caramel apple pie.)
In all sincerity, the caramel sauce can be stored in an airtight container in the refrigerator for several months. I put in in a used talenti GELATO container, because it’s the perfect container for caramel sauce!
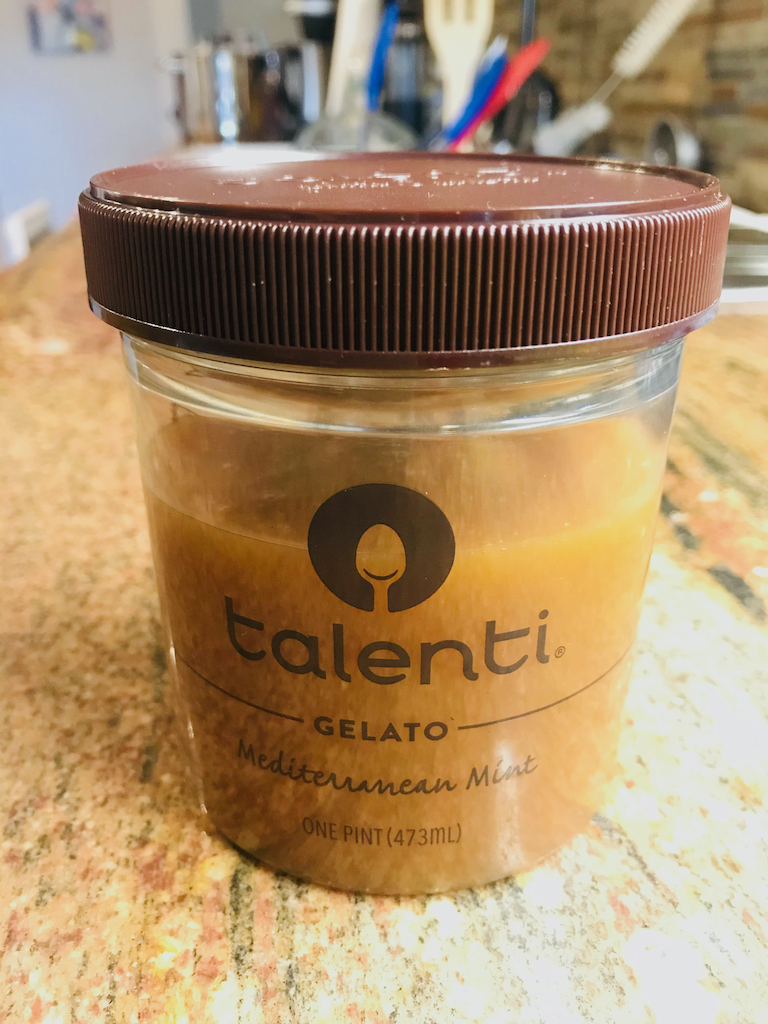
(I almost went out and bought (and ate) some salted caramel talenti GELATO just for the photo… but I didn’t. I restrained myself, and used the container that I have, that I always use to store my caramel sauce. But later, if using the leftover sauce to do things like top ice cream, just heat as much as you’d like to use, in a small glass bowl in the microwave for a few seconds at a time, stirring in between 7-second heatings, until it’s a drizzleable consistency. Or, as I mentioned, you can use the caramel sauce the next time you make this apple pie… three days after you’ve made the first one, because that’s how soon you’ll want another slice.)
Okay, caramel sauce:
Measure 1 cup of granulated sugar into a deep saucepan. (You will need to use a deep-ish pan, because, in the final step, when you pour in the cream, it tends to bubble up if you go quickly.)
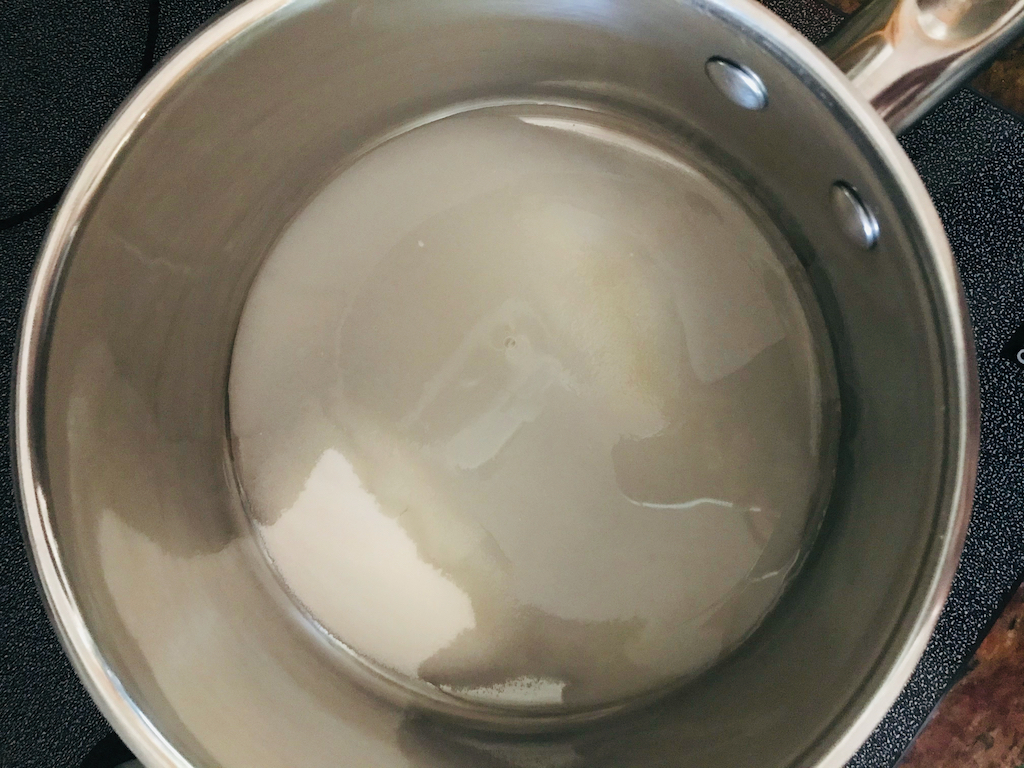
Add the 1/4 cup granulated sugar, and stir or whisk to dissolve the sugar.
Heat over medium heat about 2-3 minutes without stirring, allowing the sugar to dissolve completely.
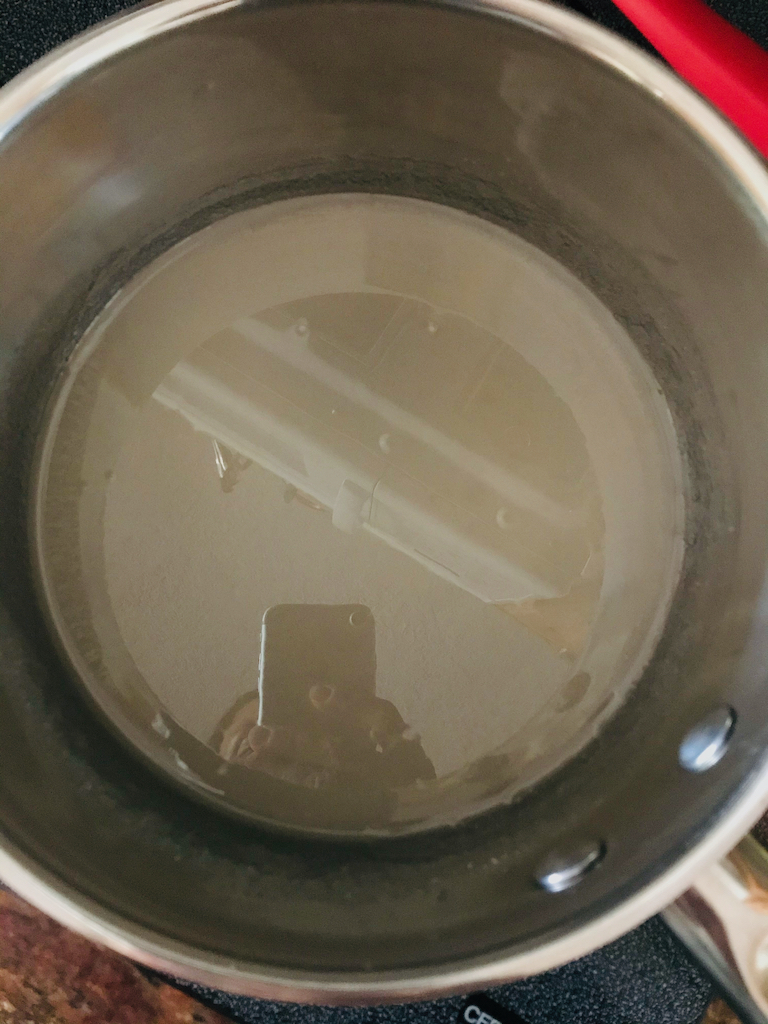
Once the sugar has dissolved, stir in the 8 tablespoons of butter, then bring to a boil.

Stirring occasionally, and often enough to keep the contents on the bottom from scorching, continue to cook until it becomes a deep, golden color. (It may take as long as 20-25 minutes, but enjoy this step, because it smells like toasted butter and sugar.)


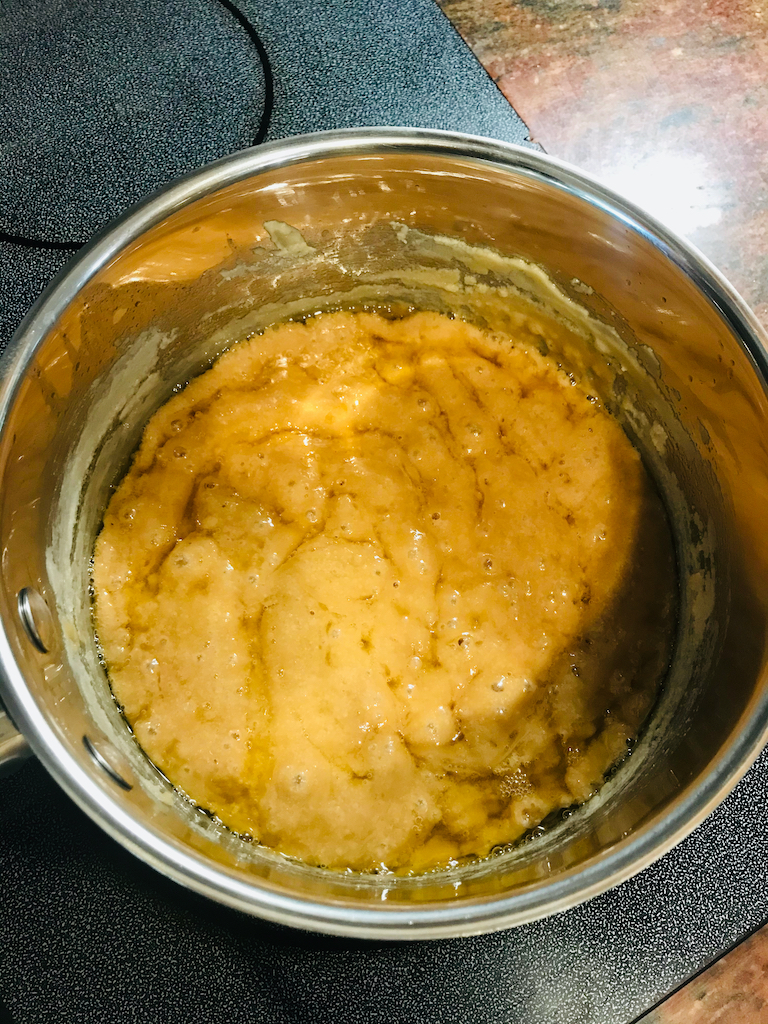
Once the color is a deep golden brown, (or the temperature reads 325˚F on a candy thermometer, if you like to be really precise,) remove the pan from the heat and slowly pour in the 1/2 cup heavy whipping cream in a slow and steady stream. (Be careful in this step, as the mixture is very hot, and may boil over if you add the cream too quickly.)
(I don’t have a photo of the cream streaming in, because both my hands were busy being careful to slowly and steadily stream in the cream.)
Stir until the caramel sauce is velvety smooth.


At this point, you can transfer your sauce to an airtight container and set aside at room temperature until you are ready to drizzle it atop your apples, but it can also be stored in the refrigerator for several months. As mentioned above, you can simply heat the amount you plan to use in a glass container for short, 5-7 second bursts in the microwave until it’s reached a drizzleable consistency again.

Now it’s time to spice our apples.
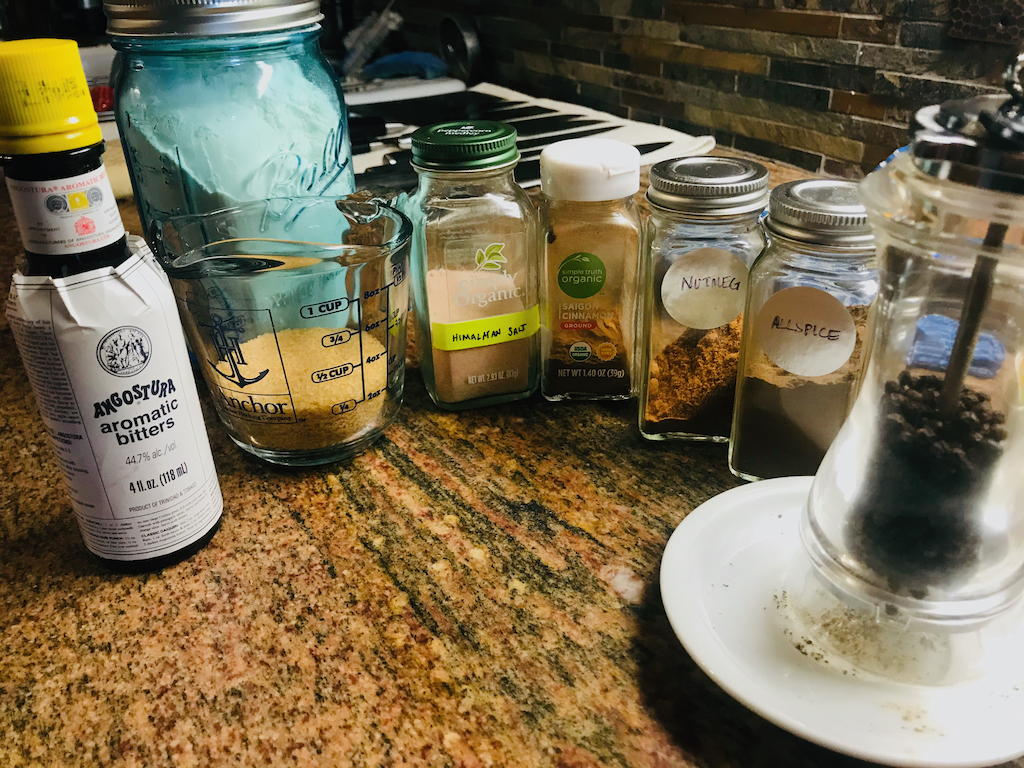
In a small bowl, measure out your 1/3 cup raw sugar and add 5 dashes of angostura bitters (you can usually find the bitters either in the alcohol-mixers section of your grocery store or, of course, on Amazon.) Use your fingertips to rub the angostura bitters into your sugar.


Then measure your spices into the bowl: 1/4 tsp salt, 3/4 tsp cinnamon, 1/8 tsp nutmeg, 1/4 tsp allspice, 4-5 grinds freshly ground black pepper.
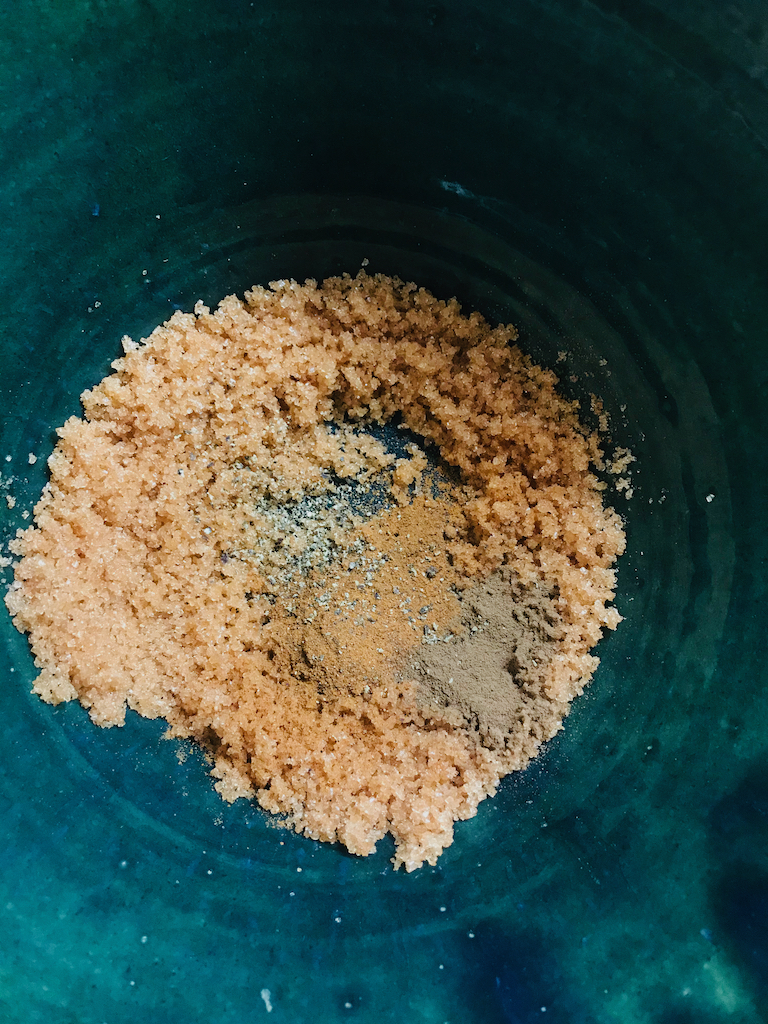
Toss all the spices around to combine.
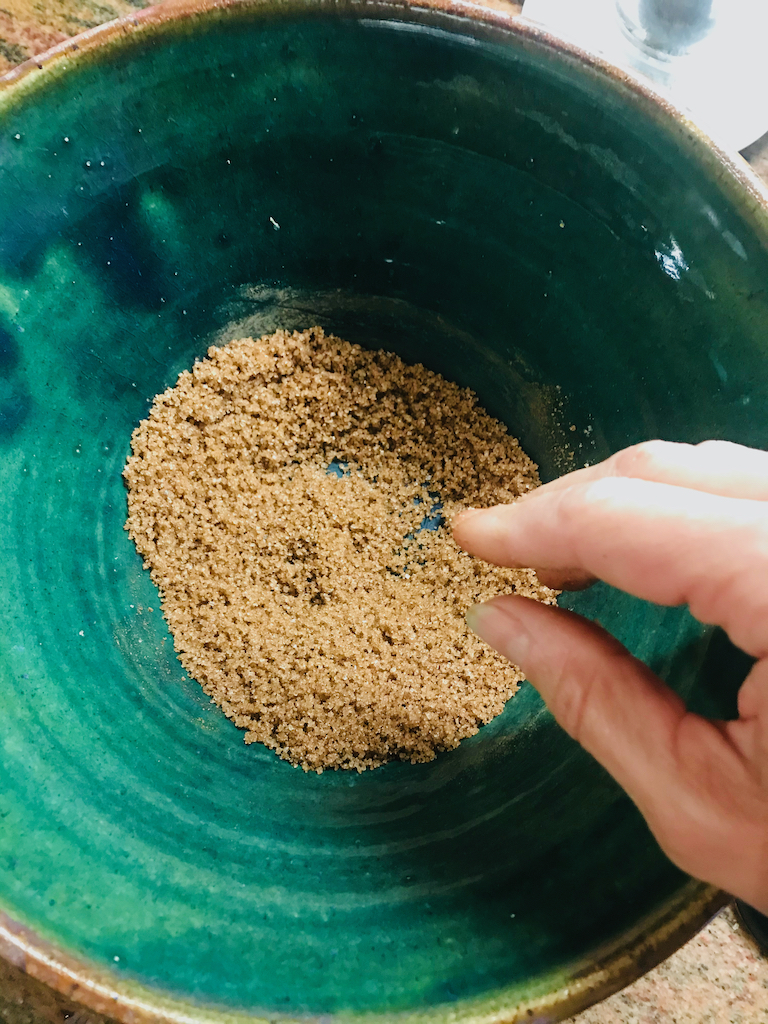
Add your 2 tablespoons of all-purpose flour, and toss that around too.


Drain the released liquid and juices from your apple slices. Lift the slices to separate and drain once more, then pour your spice mix over the apples and toss really well to coat.


Re-cover your apples and allow them to marinate for at least another 30 minutes. (But again, if you can leave them longer, please do. I like to leave mine overnight, but anywhere from 1 to 4 hours will make a big difference.)
Now that you’ve got vanilla ice cream in the freezer and have been prepping all day, it’s time to finally, really get started.
Remove each half of your pie crust from the refrigerator about 15 minutes before you’re ready to roll it out.
Position one rack on the lowest rung of your oven and another in the center, and preheat your oven to 425˚F.
Liberally butter a 9.5 inch glass pie pan.


Starting with your bottom pie crust layer, lightly flour a work surface, your hands, and your rolling pin, and press, or “whap,” your rolling pin across three places in your disc of dough to get your rolling started. Roll from the center up and then from the center down, then rotate your crust a quarter turn. And repeat. Flip your crust from time to time and lightly re-flour the top and countertop underneath as needed. Continue rolling from center-up, then center-down, then rotating 1/4 turn until your crust is about 1/8th of an inch thick and will overhang the edges of your dish by about one inch.


Use your rolling pin to transfer the crust over and into your pie pan. Lift and smooth the crust as necessary to get it to completely line and blanket the bottom of your dish. Don’t pull the dough to move it.


Remove the top crust from the refrigerator and allow to rest at room temperature for 15 minutes or so.
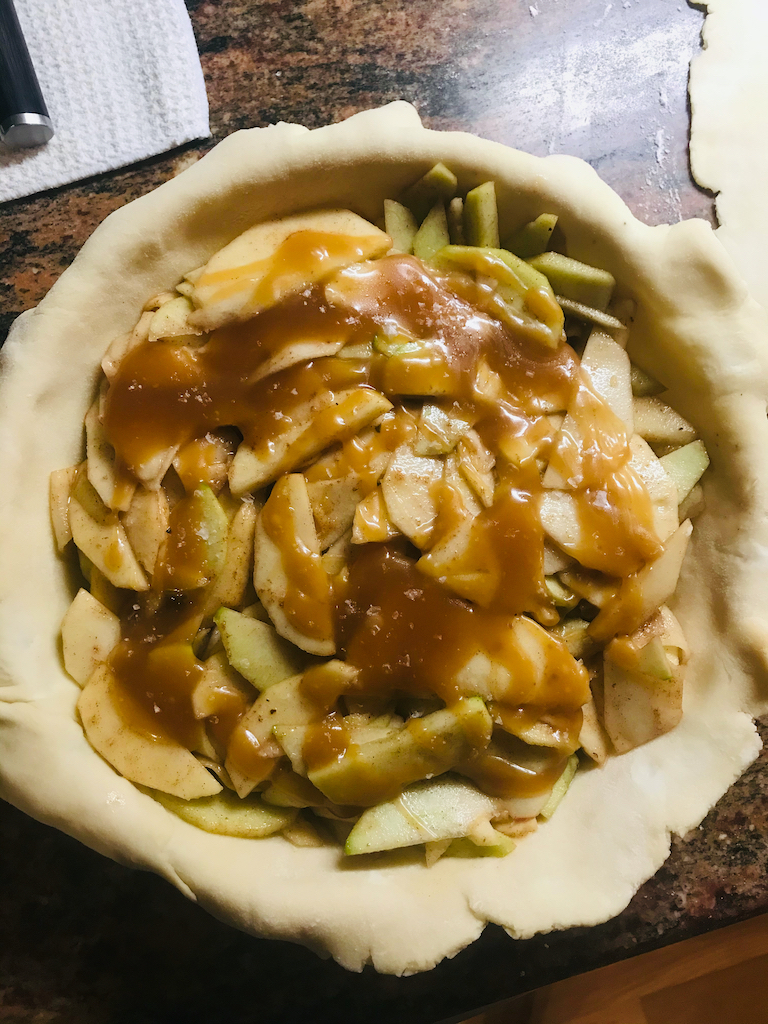
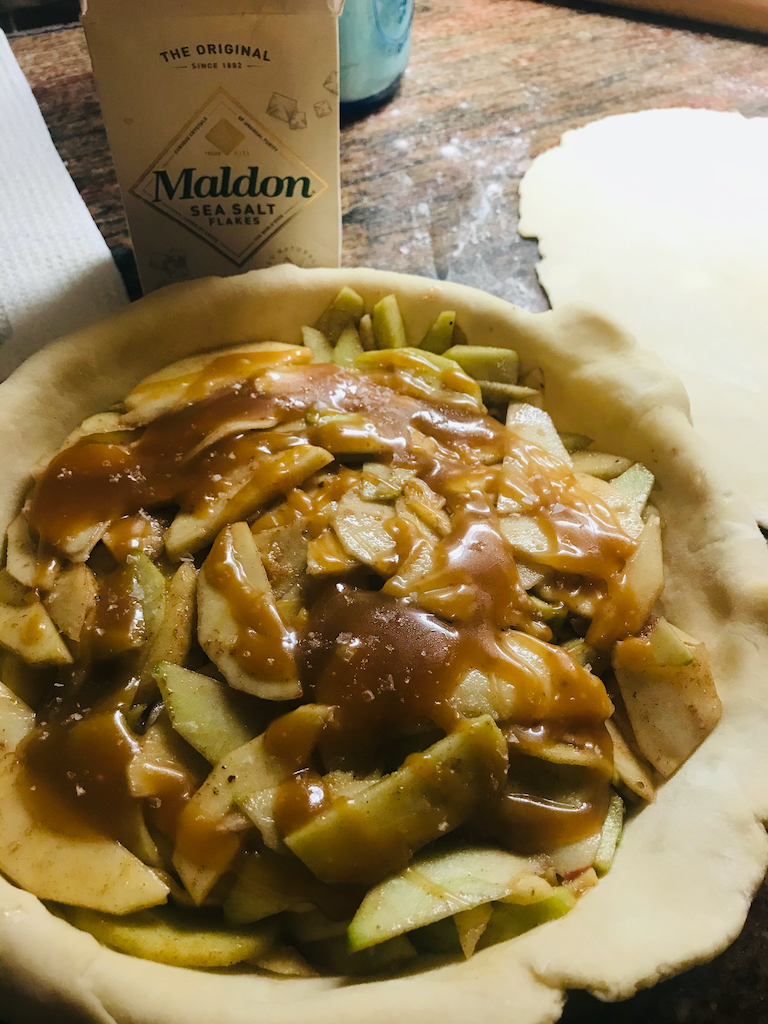
Now it’s time to start filling: use your hands to lift the apple slices from the bowl into the pie pan. This will help to leave behind superfluous juices that the apples have seeped out (that tends to make your pie runny, harder to slice, and can contribute to a soggy-bottomed crust. But that’s just if you pour all the juices in. A little bit is what you want.)
Mound your apples slightly higher in the center.
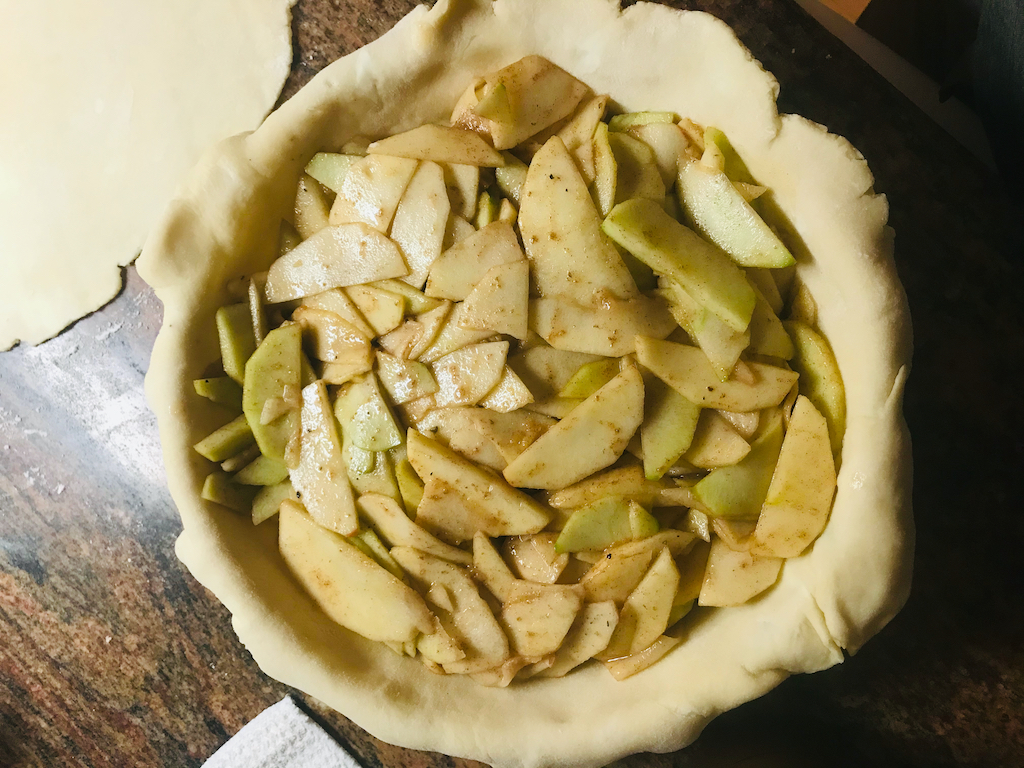
Drizzle anywhere from 1/4 to 1/3 cup of caramel sauce (or more if you want! You’re making your pie!) over the top of the apples. Then sprinkle with 1/4 tsp flaky sea salt.
Roll out the top crust in the same manner you did the bottom. Once you’ve got a big circle 1/8th inch thick, use a pizza cutter, ravioli cutter or knife to cut the entire top into long strips about one inch wide.


To make the lattice top, cross the longest three strips and lay them across the middle of your pie. Then I usually start filling in the vertical strips from the center, working outwards towards the edge of the pie, but you can pick any direction you’d like, just fill the pie with strips, using strips that are just long enough to reach across the pie. (Be sure to reserve the longest strips to go across the middle of the pie in the other direction. In other words: don’t use all your longest strips right off the bat!)


Starting in the center and going in the direction you’ve chosen to start, lay every other strip backwards, and choose a strip that just reaches across. Then lay the strips you’ve folded backwards, back down, and repeat, alternating which strips you fold back.


If towards the end, you find you need an extra strip or two, cut the ends of any pieces that overhang your pie more than an inch and pat those scraps together and re-roll, and re-cut into inch-wide strips. This happens to me most every time, because I really like the look of a tightly-woven lattice top.


(But here’s a note: if you really like more of a loose lattice top with spaces between strips, then you may very well end up with dough scraps left over, in which case! pat those golden babies into one little disc and wrap several times in plastic wrap and place that in a freezer bag in the freezer. I label mine “pie crust” and include the date, just so I know. You will be so grateful when you find yourself one day needing just that one more ounce of dough!)

Once your lattice is all woven and spit-spot, press the top and bottom crusts together all along the edge of the pie pan, then trim the pinched-together crust edge to one inch away from the edge of the pan.


Then roll that one-inch overhang under itself, really squeezing her to seal that rolled edge.


Then crimp the edge all the way ’round, by placing your thumb and index finger on the outside edge and your other index finger on the inside edge and squeeze slightly together. Then move to the edge of your last-made crimp, and repeat. If you use the last crimp you made as the edge of your next, you’ll end up exactly where you started, with perfectly spaced crimps. It’ll be beautiful!


Next, in a small bowl, beat 1 egg with 1 tablespoon of water to make an egg wash, and lightly brush the entire surface of your beautiful lattice-topped crust.


Then sprinkle with your remaining 1/4 tsp flaky sea salt, your 1/4 tsp raw sugar, and your 1/8 tsp cinnamon.

You’ll bake your pie on the lower rack of your 425˚F preheated oven for 20 minutes, then move the pie to the center rack and reduce your oven temperature to 375˚F and bake for another 30-35 minutes.
(Note: Your pie will bake for a total of 50-55 minutes, so if you find your crimped edge begins to brown more than you’d like, before the last 10-15 minutes of baking, you can wrap the edge in strips of aluminum foil to shield them from browning too much, but I’ve never had to do this with my oven and with this crust and pie recipe.)
You can check the pie for doneness by sticking a skewer into the pie to see if the apples are tender, but I generally just look in periodically (most often without even opening the oven door) to see when exactly the apples start to bubble slightly, and if they’ve been bubbling for 15 to 30 minutes, I know they’ll taste great and melded and complete. I prefer to check the doneness of my bottom crust by lifting the pan, carefully, and having a look at the bottom. That’s why I preferred, in the beginning, my plain ol’ glass Pyrex pie pan to my really pretty solid ceramic one.
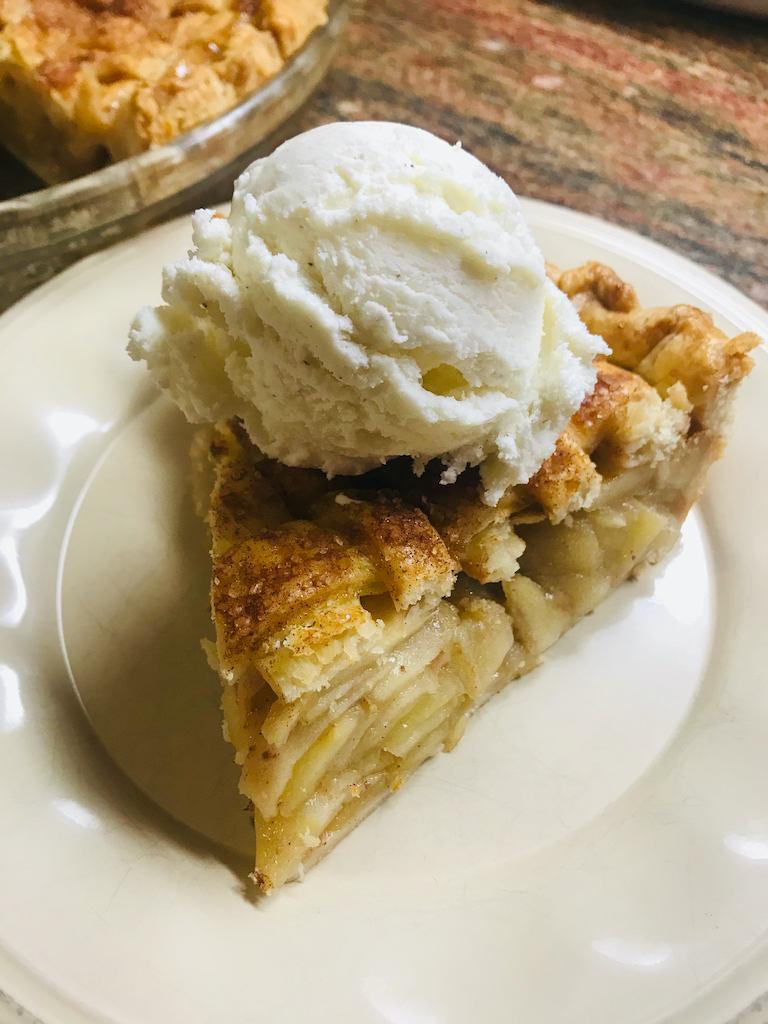
Allow the finished pie to rest for an hour or two. And you can absolutely eat this warm; it’s fantastic still warm with a scoop of that vanilla ice cream I keep pushing. But it also tastes really great the next day, so this is decidedly something you can start a couple days in advance.


So, if an apple a day keeps the doctor away, 5-6 large, mixed varieties coated in salted caramel is the next-best thing, right?
In all seriousness, I believe to my core, that you and yours will applesolutely love this pie!

Download the recipe file here.