High-Dose, Low-Sugar Vitamin C Gummi Bears
C–yonara Summer! Fall is upon us, and Jack Frost will be nipping at our heels before we know it.
That’s why you should absolutely start making these vitamin C gummi bears at home right now, and forevermore!

{This post contains some Amazon affiliate links. If you click on and purchase an item linked in my blog posts or from the store page, I will earn a percentage from Amazon. Your purchases don’t cost you any more, but it certainly does help me and my blog!}
(Jump to the recipe file here.)
Sit back and prepare for a slightly long story of how I came to my maybe-weird, but definitely-deep, love of gummi vitamins.
And I do love these things, and am so happy to know how to make my own!
Last September, actually on the very day of our daughter’s 10th birthday, my husband was in a very bad car accident. The accident happened at 11 am, and I didn’t find out where he was or any of what had happened until 8pm that night. His parents happened to be in town for Elizabeth’s birthday, and even with their help, I still didn’t find out what had happened until we called the police, who gave me the name of the nurse and the number to St. Mary’s hospital in Grand Junction, CO.
So with Kevin’s parents looking after Elizabeth (and eventually my own mommy– thank you parents! I seriously couldn’t have done it without you!), I finally made it to Kevin’s side by 11pm that night, and that is where I stayed for the next 24 days.
The morning following the accident, from 7-11am, exactly, and exactly as long as the surgeon said it would take, Kevin underwent spinal fusion and laminectomy from T11 to L4. That’s big, the only thing bigger, is the recovery.

So while Kevin was healing from surgery, going on meds, coming off meds, going through daily physical therapy, and healing all the while, I pretty much sat on a vinyl loveseat… …directly under the air-conditioning vent. I know! I know! It completely pales in comparison to what Kevin was going through, with amazing grace I might add. He may have been the most friendly, nearly-jovial patient the physical therapy ward at St. Mary’s has ever seen before or since.
I however, just don’t like being under an air vent; and I don’t like being cold; and that may have been the coldest I have ever been for 24 days straight, ever. (I once got to spend 4 days in Switzerland, and my two fondest memories of that place, is that the landscape looks like a model train set every which way you look, and the second, is that there is just no air-conditioning. I just love a place that doesn’t need it.

<— That’s exactly what Switzerland looks like! (I, unfortunately, no longer have any actual pictures of it, because my laptop was stolen during a home break in in 2013, and the only file that hadn’t made my back up was my folder of raw photo files 🙁 Sorry for the sad story within a sad story…
Anyway, one day while in Grand Junction, I needed to go to Target to get some shorts that Kevin could wear for physical therapy (as his had been cut in half with a utility knife by the EMTs.) And while there, they had these vitamin C gummies on sale, buy-one-get-one-free. I, of course, bought a couple.


Now I have always, ALWAYS, been a sucker for supplements, I will watch every single hour-long video emailed to me telling me why I need to start taking chelated citrus pectin. I am a sucker for supplements.
And Kevin liked these gummi vitamin C too, which I cannot tell you how happy that simple fact made me. We ate those four jars of vitamin gummies in those 24 days. Kevin was even handing them out to some of the nurses.
The store-bought ones do however, have quite a bit of sugar for the amount of vitamin C you are getting. And I fully believe in getting several 1000mg of vitamin C daily. It helps your body absorb and use iron; it’s believed that our bodies used to create our own vitamin C, as plants do for themselves now. And when my sister told me that some people take vitamin C intravenously to treat certain types of cancer, I was sold even further. In that article that she sent me, they suggest taking vitamin C “to bowel tolerance.” Challenge accepted! These gummies I am about to share with you are so slightly sweet, decidedly tangy, and dissolve into nothing, leaving only that slight twist of your facial expression from their slightly sour quality.
I often, being the full-grown adult that I am, eat 12 of them at a time.
Very quickly, here is how I came upon this recipe. I follow both the blog and Instagram feed of Leah Bergman of Freutcake Essentials, who reps Young Living Oils, and runs a really quality blog at Freutcake.com. Last spring, she posted a recipe for, you guessed it, home-made-vitamin C gummies! I love her! She has two adorable twin toddlers and often posts low-sugar, really useful recipes that are kid friendly. In hers, she uses a powdered drink supplement, called Sufficient-C for her source of vitamin C, so her original recipe is not as high-dose as mine. She does however, only sweeten them with fruit juice and honey, which is perfect in my book. We have stopped drinking a lot of juice in my household, so I am even more ready to welcome it into my vitamin C gummies.
I do, however, prefer to use ascorbic acid powder in my gummies, for a few reasons. Sufficient-C has added ingredients like green tea extract, which is wonderful, but I already add that to my morning smoothie, the ascorbic acid powder I use is cheaper by half, and I can control the dose of vitamin C pretty easily. One gram of this ascorbic acid contains 1000mg of Vitamin C.
If, like me, you’re looking to customize the dose of vitamin C in your gummies, simply divide the number of wells in your silicone molds (which you will need some sort of silicone molds to make these easily), but divide the number of milligrams of vitamin C by the number of molds. My recipe uses 40 g ascorbic acid, which is 40,000mg vitamin C. Divide 40,000 by the 159 mold wells, and you get 251.57 mg of Vitamin C per single gummi bear. I tell my daughter to go right ahead and eat 4 at a time, making our serving size 1000mg of vitamin C with 2 grams of sugar, again only coming from juice and honey.
(Quick note on my notes: Our juices we use contain 40g sugar per 8oz. serving (1 cup), which is what this recipe calls for. Our honey comes from our very own bees, but the average raw, local honey label at the grocery store says that honey contains 16g of sugar per tablespoon. So that’s where I get my measurements and quantities of the two sources of sugar in this whole recipe.)
I just had to include this video of me catching my first wild swarm! I had missed two previous swarms that landed in my yard that year, but got these massive beauties and gave them a lovely home!

Here is the breakdown of milligrams of vitamin C versus grams of sugar for the three kinds of gummies I’ve discussed in this post:
| Megafood Gummies | Freutcake’s Home-made Gummies | Just A Little Grand’s Home-made Gummies | |
| mg VitaminC per single gummi | 90 mg C | 25 mg C | 250 mg C |
| g sugar per single gummi | 1 g added sugar | 1/2 g sugar from juice & honey | 1/2 g sugar from juice and honey |
So! If I’ve convinced you to try making your very own, here it is!
The recipe and instructions for
High-Dose, Low-Sugar Vitamin C Gummi Bears
You’ll need:

- 1 cup fruit juice of your choice, divided in half
- 3 Tbs raw honey
- 6 Tbs unflavored gelatin
- 40 g ascorbic acid powder
- 3 drops orange or lemon essential oil (optional, but nice)
Prep your molds by placing them on a large cookie sheet. This will help you both get them to the refrigerator and also help you find an acceptable place to balance them in the refrigerator. I often balance the pan on top of my container of spinach or across two Pyrex containers of leftovers, you know.

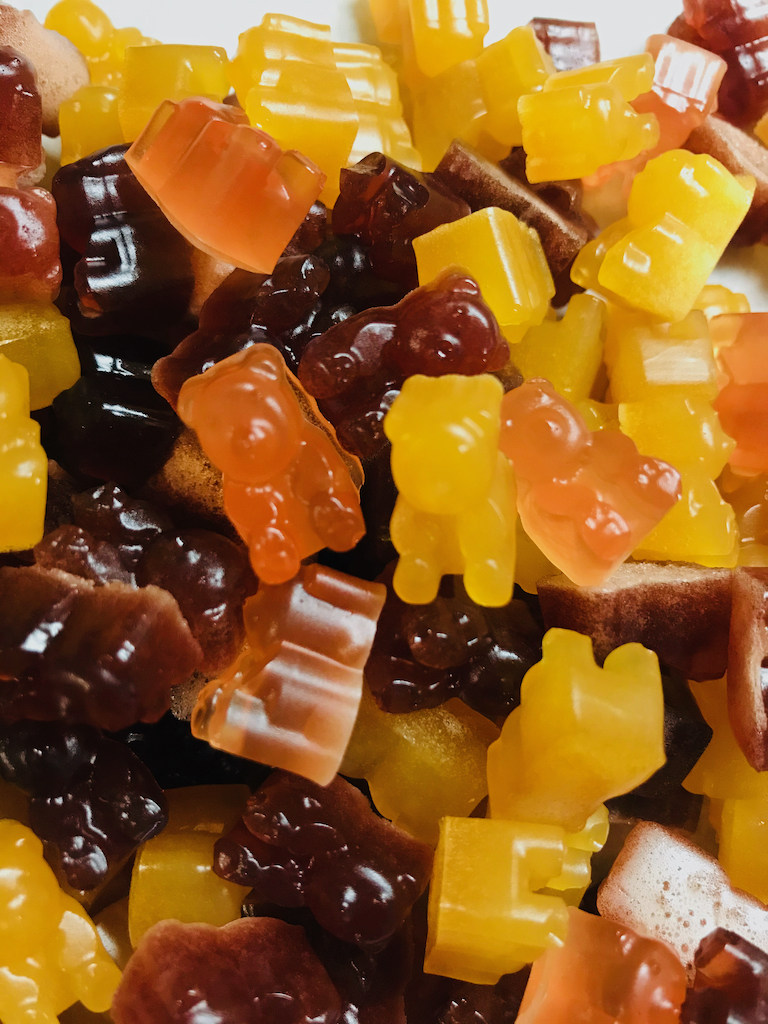
A few notes on the first ingredient, which is juice. The gummies pictured throughout this post are made with 100 % pomegranate juice, orange juice, Ocean Spray’s 100% Juice, Cranberry Mango flavor, which is my daughter’s favorite juice. (And hers, oddly enough has even less sugar per serving than my favorite organic juices! What do kids know?!) But I have also used, and love, black cherry juice. And! My parents suggested I make some with elderberry juice to give these even more of a healthy, supplemental boost! I am definitely going to make my next batch with elderberry juice! In short, you can use any flavor of juice that you have or like, just try to make sure it’s 100% juice with no added sugars, and you’ll keep these nice and potent and nice and healthy.
Begin by dividing your juice in half, pouring 1/2 cup into a medium-sized saucepan, leaving 1/2 cup in another small glass bowl. I like to use a 2-cup glass measuring cup for this.


Add the 3 Tbs of honey to your juice in the saucepan and heat on medium-low heat just until the honey is completely dissolved. Stir as necessary to get it all dissolved.

Once the honey is melted, add your gelatin to your cold juice in your glass bowl or measuring jug. Stir the gelatin as best you can, but no matter, just know that it will be pretty chunky. (Be sure not to do this step too soon though; if you stir the gelatin in too soon, it will become even chunkier by the time it’s time to add if to the juice-honey, which makes it take longer to dissolve. So I recommend stirring the gelatin into the cold juice once your honey has melted into the juice in the saucepan.)


Next, remove the saucepan from the heat and stir in the juice-gelatin, and stir that juice-gelatin chunk until it also completely dissolves.


Be sure not to smell it at this point, as it may turn you off from wanting to eat them later. That’s my daughter’s tip for you all! 😉
This step does take the longest amount of time, I’d say about 5-10 minutes of stirring. I like to stick a spoon into the big chunk of gelatin and use it as a paddle to push the lump around, increasing the contact between the warm juice and the gelatin. I also find returning the pot to the still-warm, but turned-off burner to finish stirring and melting pretty helpful.
Once the gelatin is completely dissolved, making sure it’s off any heat, stir in the ascorbic acid and add the drops of essential oil.


The essential oil is optional, and I left it out of the second batch I ever made to see what difference it would make, and I have to say, the batch in which I left the essential oil out was made with orange juice, and there was just a little something missing and different. It was missing it’s essence for sure!
So if you’ve got some, drop it right in.
Place the pan close the sheet of molds and begin filling them with a dropper, or pipette.


(Now, you will need some sort of molds, and I bought these gummi bear molds which come with three molds and three droppers, and I really like them, and use them once a month. I can whole-heartedly recommend them. If you want to start making these gummies on a regular basis as we approach flu season… …flu season 2020, oh my… …I do recommend these little guys. They’re really cute, and easy to clean. I just rinse them under really hot tap water and wash them with about 1 drop of dish soap and then rinse in really hot tap water again. You could also just submerge them in a pot of boiling water for 5 minutes, or, you can put them in the dishwasher. I go the by-hand route, just because my dishwasher doesn’t dry them all the way, so they end up drying in the dish-drying rack anyway.)
If you already have a different set of silicone candy or chocolate molds, go right ahead and use those! You can calculate the dosage of vitamin C per your gummies by dividing your total milligrams of ascorbic acid used by the number of mold wells you have.
Or, you could also use something along the lines of mini baking cups in which case you could even use a spoon to fill them instead of a pipette.
Whatever way works for you, I highly recommend making these.
Now back to business!
Once your molds are filled, find a place for them in the fridge and chill for at least 1 hour. I generally let mine chill for about 4 hours.

Then pop them out of the molds and store them in the refrigerator for up to 3 weeks.


(One last note on storage life: they do need to be stored in the fridge; I store mine in a Pyrex bowl with a lid. If left on the counter at room temperature, they do get soft and sticky within an hour. Also, I have had one batch get some mold spots after one month’s time, so this is why I say they are safe to store for up to 3 weeks. That batch’s story, however, is that my daughter, who is 11, knows the serving size is 4 gummies, and is allowed to get them for herself; I just asked her to be sure to wash her hands before reaching into the communal bowl of vitamin gummies. While she was most diligent to wash her hands, she was not always so diligent to dry them. Oh the things you don’t realize as a parent that need explanation!)
So I hope you’ll carpe C-’em with me, that is, C-ieze the day!

–Becky
Download the recipe file here.